
November is one of my favorite times of year, and Thanksgiving has been my favorite holiday ever since I was a little kid. We shared so many special traditions with my grandparents, and now our family has new special traditions we’re building with our kids. One of the most important things we as parents can teach our kids is to be thankful, and to SAY “thank you” to those who do special things for us. This year, to help reinforce this concept, I decided to do a couple of projects with the kids for their teachers as a special Thanksgiving gift to help them know how thankful we are for each of them!
My partners over at Clear Path Paper were excited to get involved, and my mom pitched in a lot of help with her Cricut machine and card making skills to help get it all just perfect! Part two of this post will talk about the card portion.
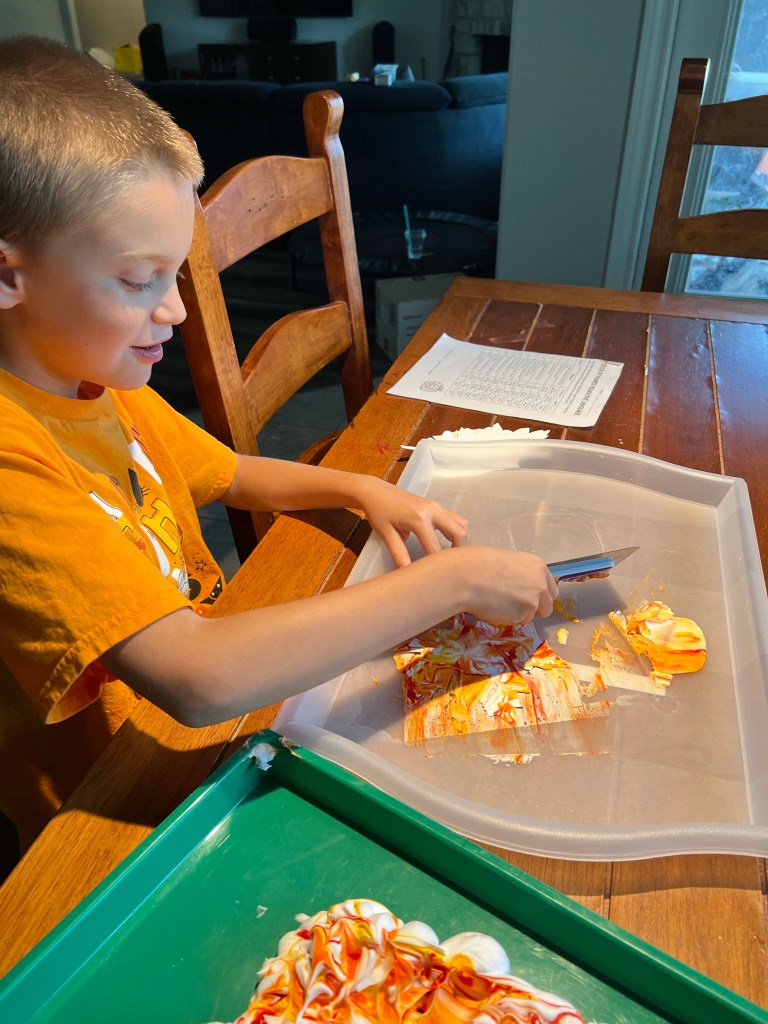
Today I want to share with you how we made our special fall leaves. There’s a couple ways you can do this- either by painting full sheets of paper and then cutting, or by cutting your leaf shapes first before painting. We did a few each way, and I think the leaves that were pre-cut before painting were better- mainly because it felt so wrong to throw away scraps of the painted paper when we didn’t end up using it all. (Looking for free leaf shape templates? I used these.)
Over the years, we’ve done painting with shaving cream several times, and the kids always love it. (And so do I!) The results are always epic and the whole dining room smells good from the shaving cream, too! Here’s what you’ll need:
-can of shaving cream
-food coloring
-toothpicks (or we used an old pencil about halfway thru this time and it worked WAY better!)
-an activity tray or otherwise large surface with edges- could use a metal sheet pan (for mixing your shaving cream paint)
-another tray or even layered newspapers (for scraping off the paint)
-cake frosting scraper or large popsicle stick
–Clear Path Silk White 100lb Coverstock (precut into leaf shapes)
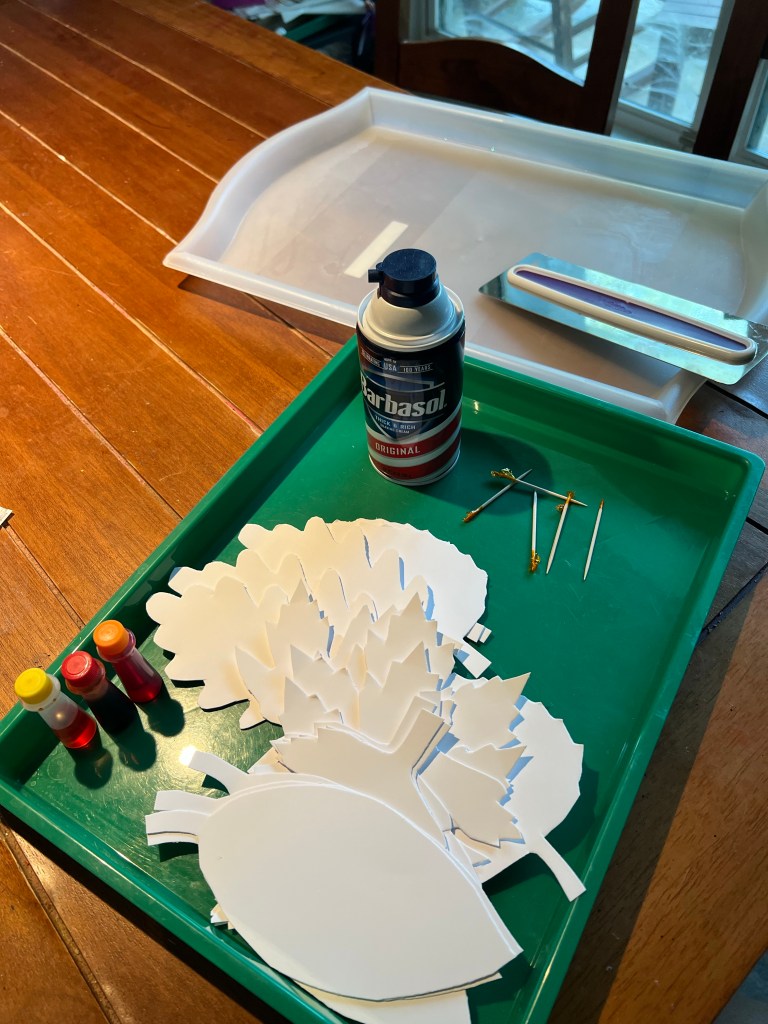
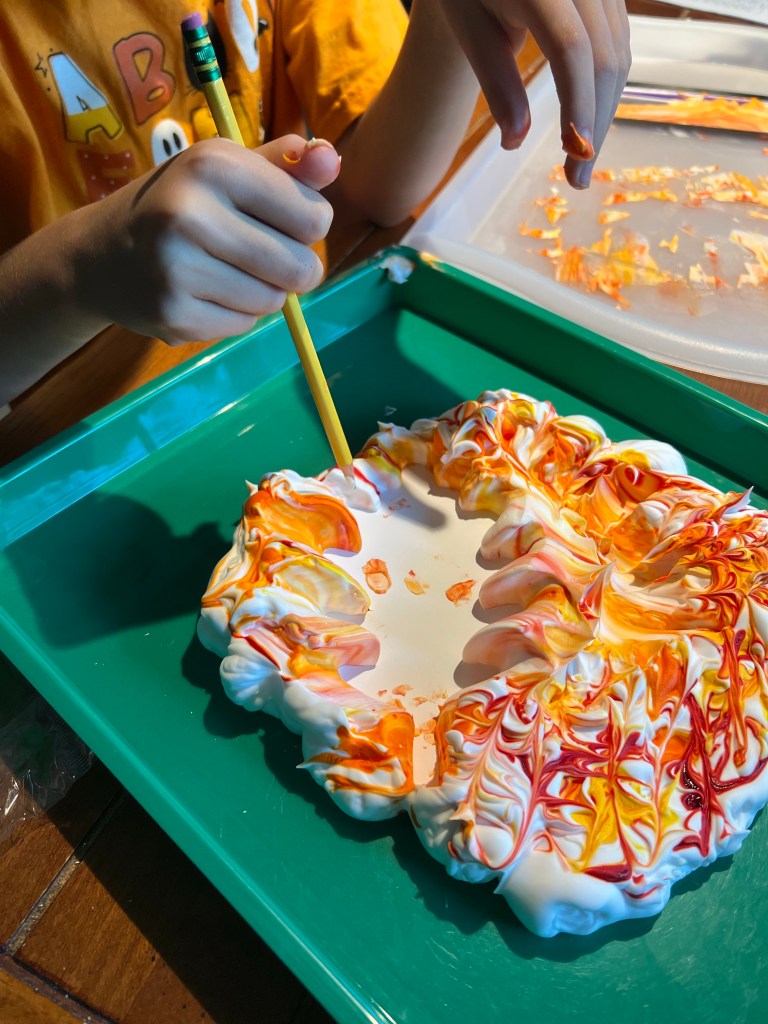
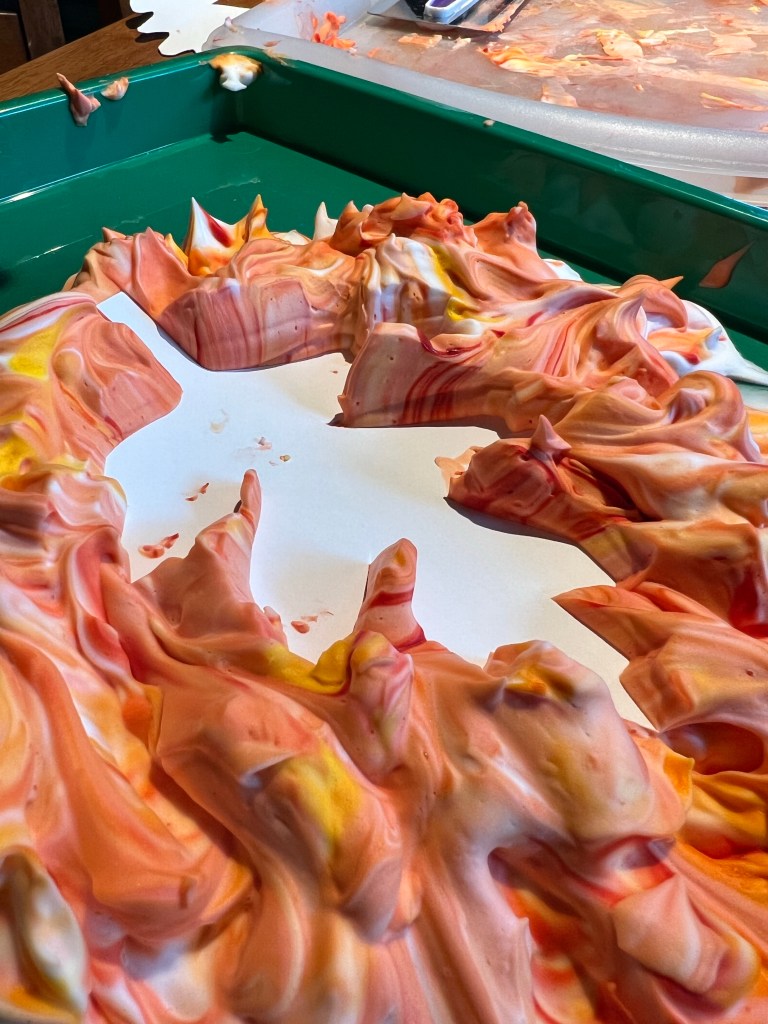
Once you have gathered your materials, squirt a generous amount of shaving cream onto your tray or sheet pan, and drip orange, red, and yellow food coloring all over. Use the toothpick or old pencil to gently swirl your colors.
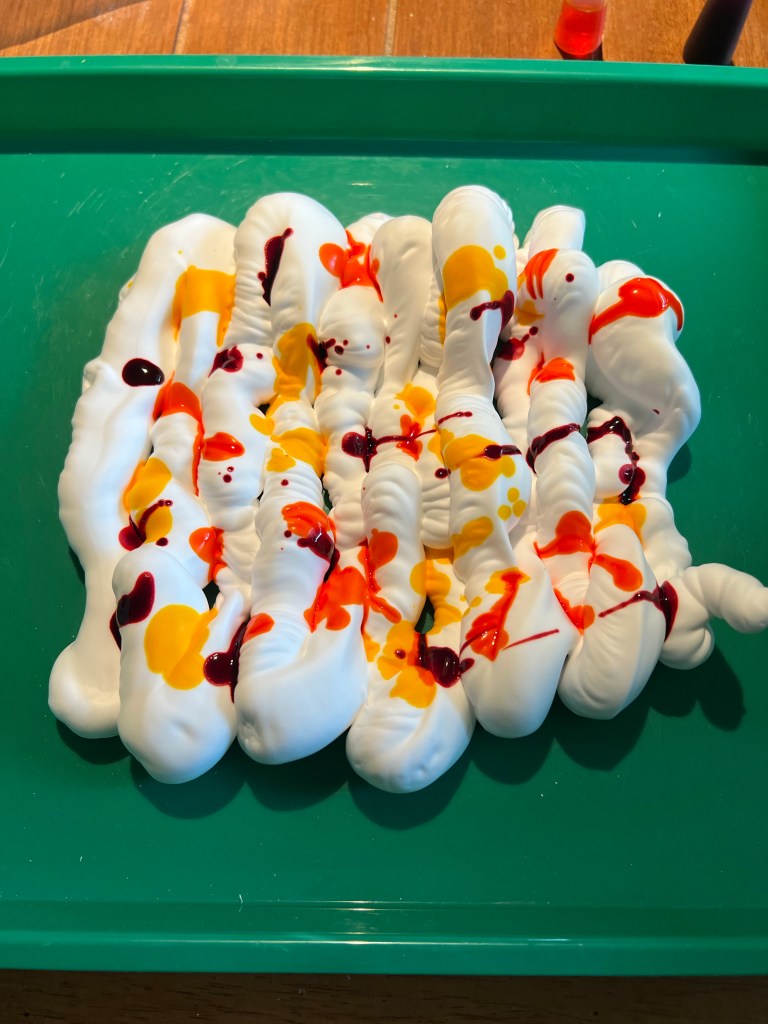

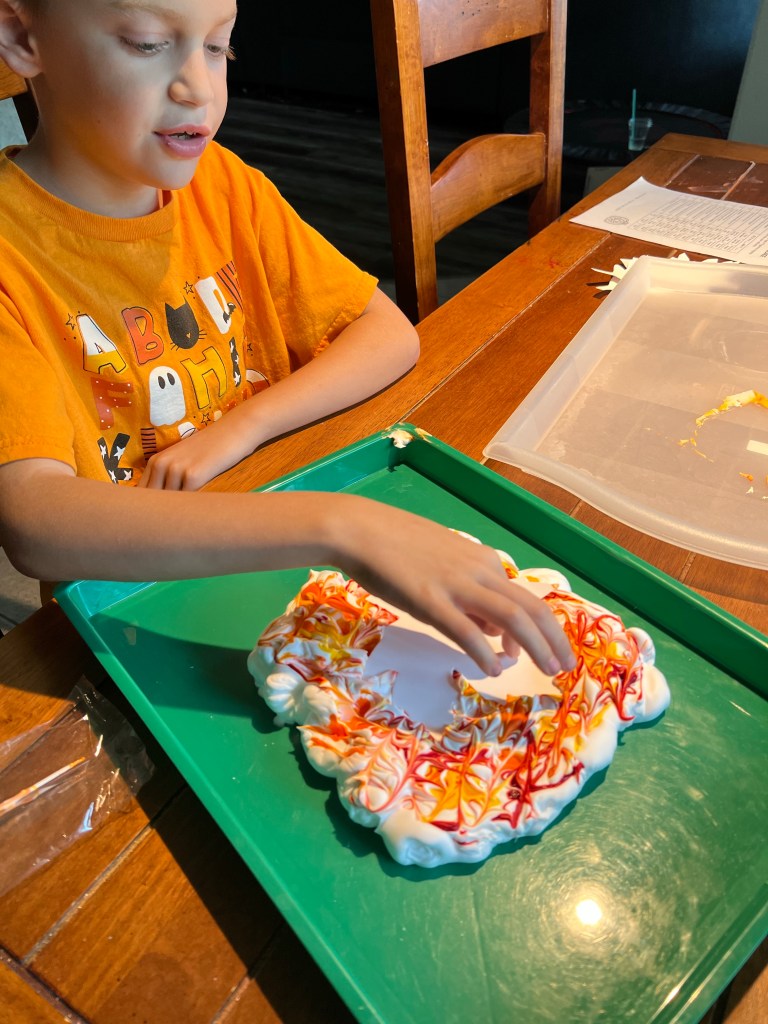
After swirling, start laying your leaf down into the cream, gently pushing it down about halway into the foam so that all areas get covered. Gently pull it up, and scrape the excess foam off of the leaf, revealing your painted masterpiece!


It is SUPER important to use the heavy Cover Stock paper from my partners at Clear Path Paper, because regular card stock can’t handle the amount of moisture you’re soaking up with all of the shaving cream and food coloring. Their paper is PERFECT for all your painting needs!
If you decide to color the entire sheets of paper, you can dip them the same way, OR you can dab bits of the colored shaving cream to the top of the page and then scrape it down the paper for some beautiful results! Please note- the food coloring WILL stain your finger tips for a couple of days. Use gloves if this is a problem!!


Once the colors get too mixed for your liking, feel free to add little blobs of fresh shaving cream to add in more white, and then adding specific areas of more red or more yellow adds more definition to your color once it becomes mostly orange.
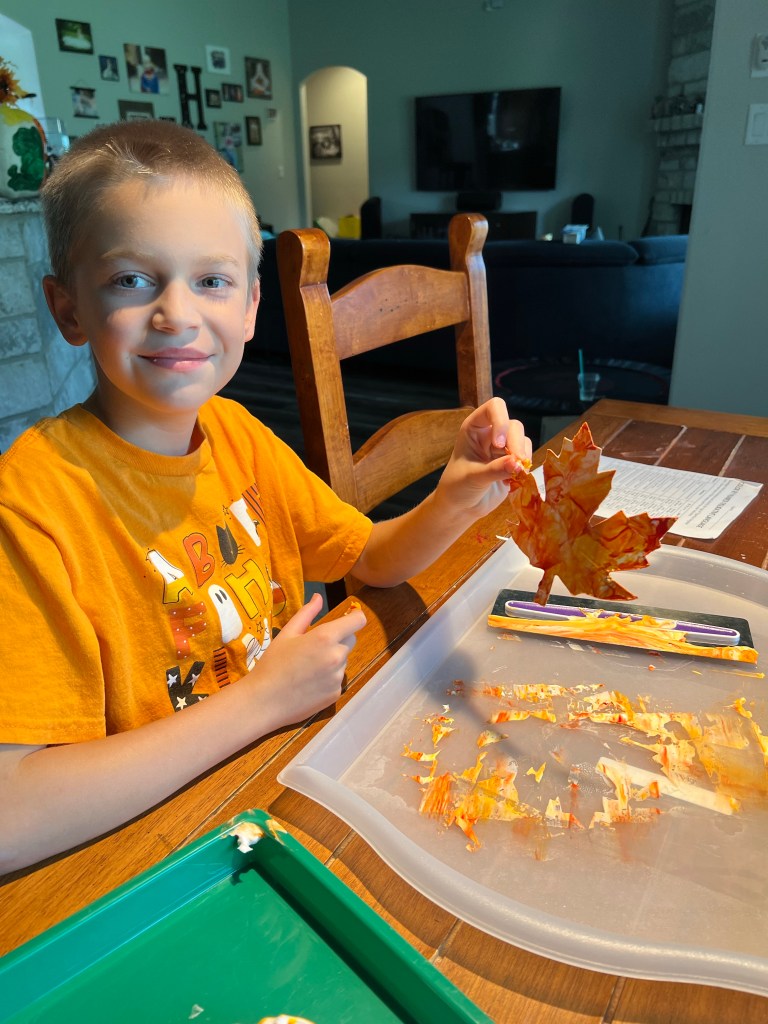
I then hand-lettered each leaf, but it would be adorable to have young children write their own messages on the leaves as well.


Each teacher who receives a thank you card will have a special leaf “fall” out of it when they open it! Be sure to check back next weekend for part two of the project- our epic bear designed thank you cards made by my mom, and written by the kids! This project was just too special to be all one post! 🥰

Go be blessed… and be thankful!!! ❤️


2 thoughts on “Giving Thanks Project – Part One”
Comments are closed.