
Well, my intent was to post this yesterday, but life happened! Again! It has a way of doing that… 🤪
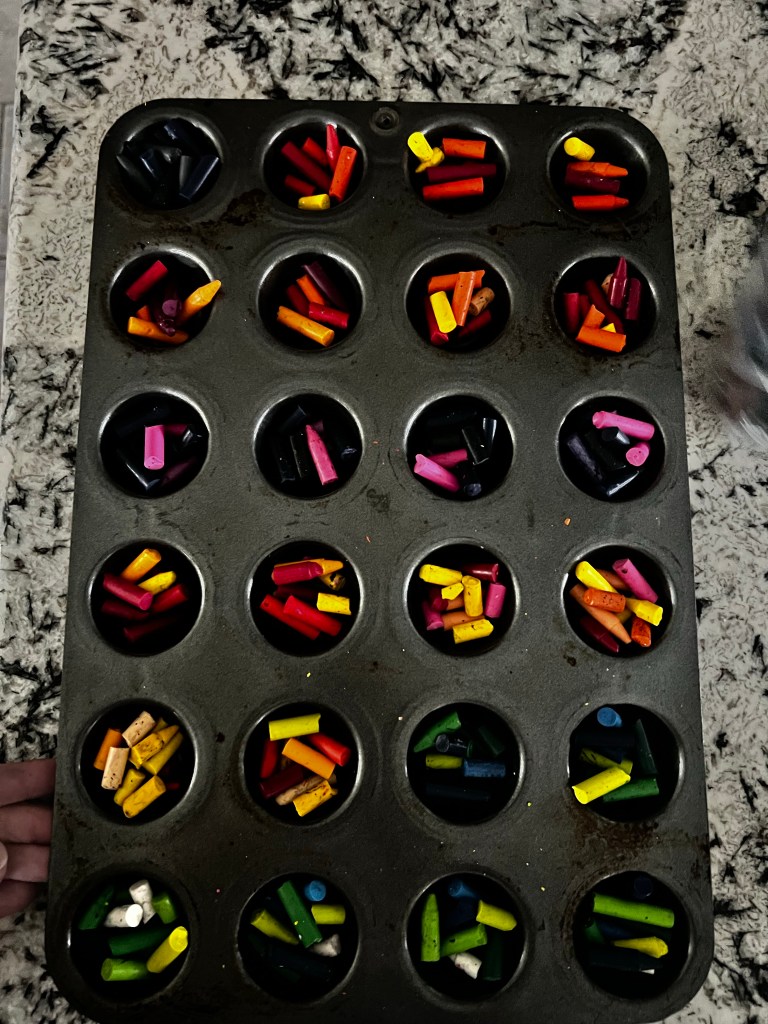
So we collected all those hundreds of crayons. And the first step is to sort them out. Over the years I have learned that Crayola brand crayons are next to impossible to peel. Something about the glue they use. So since we had a LOT of crayons to pick from, I opted to set those aside to give to our school’s art teacher. Because art teachers can ALWAYS use more crayons!!

Our art teacher will also be getting all the paper peelings from this project- because they are PERFECT for using to make new paper. They water down and mash into pulp really well because they are super thin and already torn into small pieces. So if you’re interested in recycling the wrappers as well, definitely look into how you can make your own paper! Last year we made some really awesome seed paper in her art class that would be amazing to make with your crayon peelings! This website has great directions on how to make your own seed paper!

After you’ve peeled all your crayons, you’ll get out your pans. I HIGHLY recommend silicone molds over metal, unless you want to spend a good bit of time banging the pan to get the finished crayons to unmold. Any silicone molds you get will work- whether they’re fancy ones intended for chocolates that you get from the craft store, or they might be cheap ice cube molds from your local dollar store. Silicone just makes it easier to unmold them. The more basic the design, the better, as small points and details may break off when you remove the crayon from the mold.

Pre-heat your oven to 250F and begin breaking your crayons into small pieces. Kids love lots of colors melted together, so feel free to melt brights like yellow and darks like black together. The colors will NOT melt into each other and all become one. They will maintain their own color integrity, making some really cool color swirls. I like to use warm colors together and cool colors together. Last year, I even used green, blue, and white together to make crayons that looked like Planet Earth. As you can see further down, this year I put yellows and oranges together with greens to make pineapples, which the kids thought were super fun. I also made some wacky pineapples mixing some weird neon crayons we were given alongside blacks and grays. The boys especially LOVED them!
Once you feel like your colors are together like you want, and the bottom of each mold is covered, then stick them in the oven. Silicone molds need to go on top of a metal cookie sheet so that when you get them out, you’ll be steady and won’t accidentally spill the hot wax and burn yourself.

The time really varies on how long to bake them, depending on how deep you’ve layered your wax. Just check on them every ten minutes or so. The little round ones I made in my metal pan (never again on the metal, I swear!) are nice and smooth and thin for doing leaf rubbings, and they only took about 12 minutes to be all liquid. In contrast, the pineapples were deeper molds that I filled a lot more, and they took almost thirty minutes to be all liquid. This process will make your house or school smell like a crayon factory! Ha!

I miss being able to use the oven at school to make these, where the kids could actually watch their crayons melt. If you have the opportunity to do that, it’s so so awesome for your students to experience. Either way, this is a fabulous video to share so they can see the similarities and differences of how crayons are originally made, vs how they are recycled in your own oven!

Once the wax is completely liquid, pull them out of the oven and let them cool COMPLETELY. (This could be another 30-45 mins.) Once cooled, you can remove them from their molds and start coloring! These are super fun for kids to experiment with and see how many different colored marks they can make from their one crayon! Mine loved how the tops of the pineapples can make multiple lines on the paper at once, and if you have a smooth bottom on the crayon, leaf or embossing sleeve rubbings are super simple and fun!

This activity is great for kids of all ages, and even my 6th grader still gets excited every year about recycling crayons. It’s just a super fun project that any child can participate in. (And the peeling of the papers step is fabulous for working on fine motor skills as well as building stamina for a project that takes time and has multiple steps!)
Let me know if you try this with your own kids/students! Happy recycling! -Christy

One thought on “Melting Crayons for Earth Day… part two… making the crayons!”
Comments are closed.