Giving Thanks- Part two

Writing a handwritten thank you note is often something we forget to do. It’s quicker to send a text, or even just think it’s enough to SAY β€œthank you” when someone does something nice. But how often do we teach our kids the importance of WRITING β€œthank you,” and then follow up to make it actually happen?

My mom loves making cards, so when she showed me a new die cut she got for her Big Shot that went perfectly with our school mascot, I had to think of some way to use it… and immediately thought of making thank you cards for the kids’ teachers. I had planned on each of the three writing to each of their teachers, but Elle (my five year old) just didn’t have the stamina nor attention span for writing on that many cards, so I took the time to write to each of her electives teachers, and she wrote to her classroom teacher.

How we did it? It was all made possible thanks to my partners over at Clear Path Paper, who provided some of their fabulous paper to make them β€œextra.” We used the 65lb Royal Blue (around here we call it β€œLa Vernia Blue”) and 65lb Silk White as well as their 80lb White Linen and 83lb Deluxe Rhino Gray.

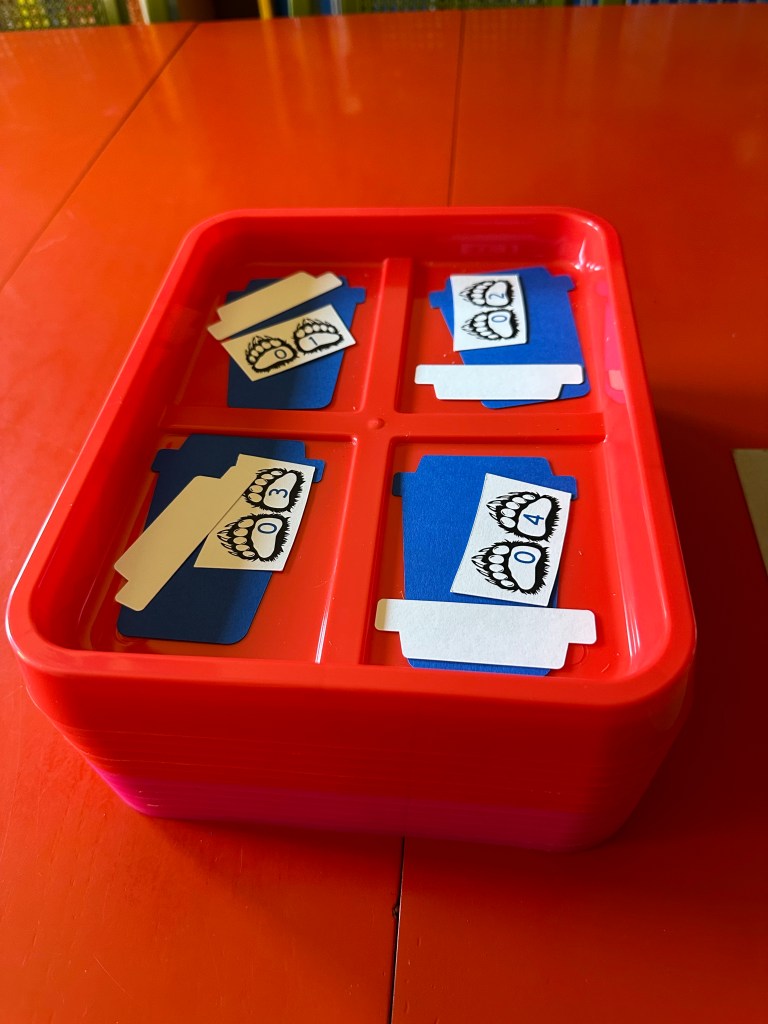
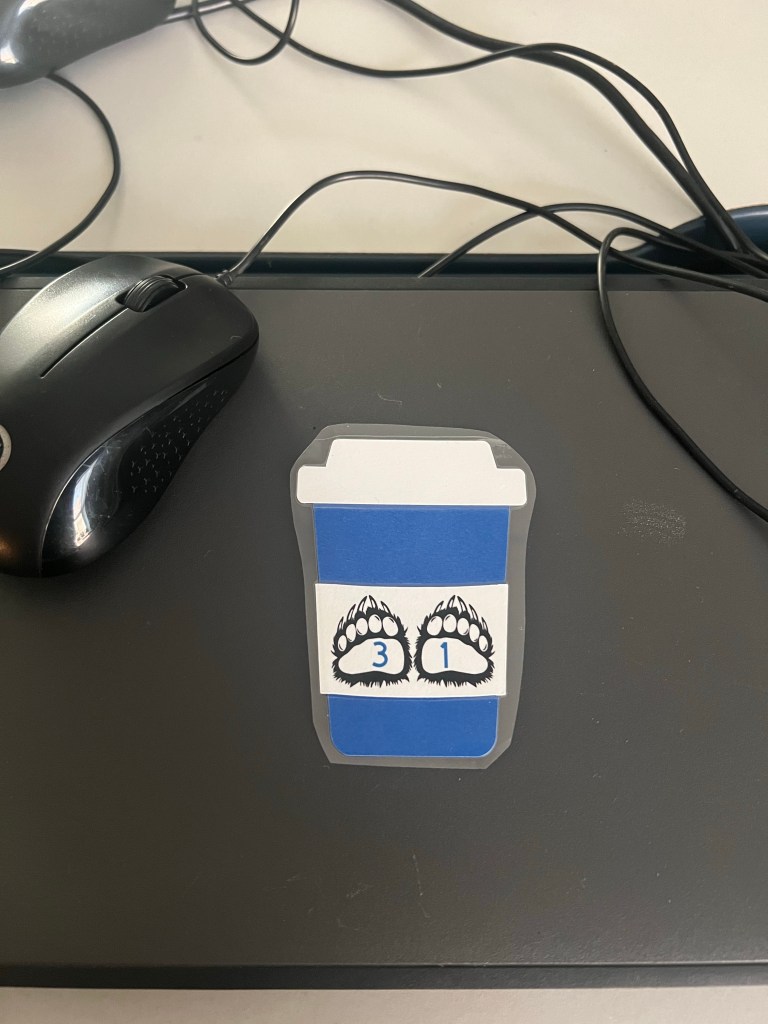
Mom made the die cuts for the fronts from the blue, and posted on white and gray. The bear paw and word β€œthanks” were cut on the Big Shot with metal dies. Then, she took a picture of the die cut and imported it into Design Space and created an offset for it, which was then cut on her Cricut Maker 3.

She also folded all the card bases made from the White Linen, and cut the Silk White paper for the kids to write on as inserts and attach… in case they made mistakes. She then put the royal blue inside for a stunning back layer. She attached double-sided photo splits to the Silk White inserts so that after the kids wrote their notes, they could easily attach to the inside of the card on top of the blue.

She also put double-stick 3d stickers on the die cuts. The kids enjoyed attaching them to the front and feeling like they had a part in β€œmaking” the cards, as well as the writing.

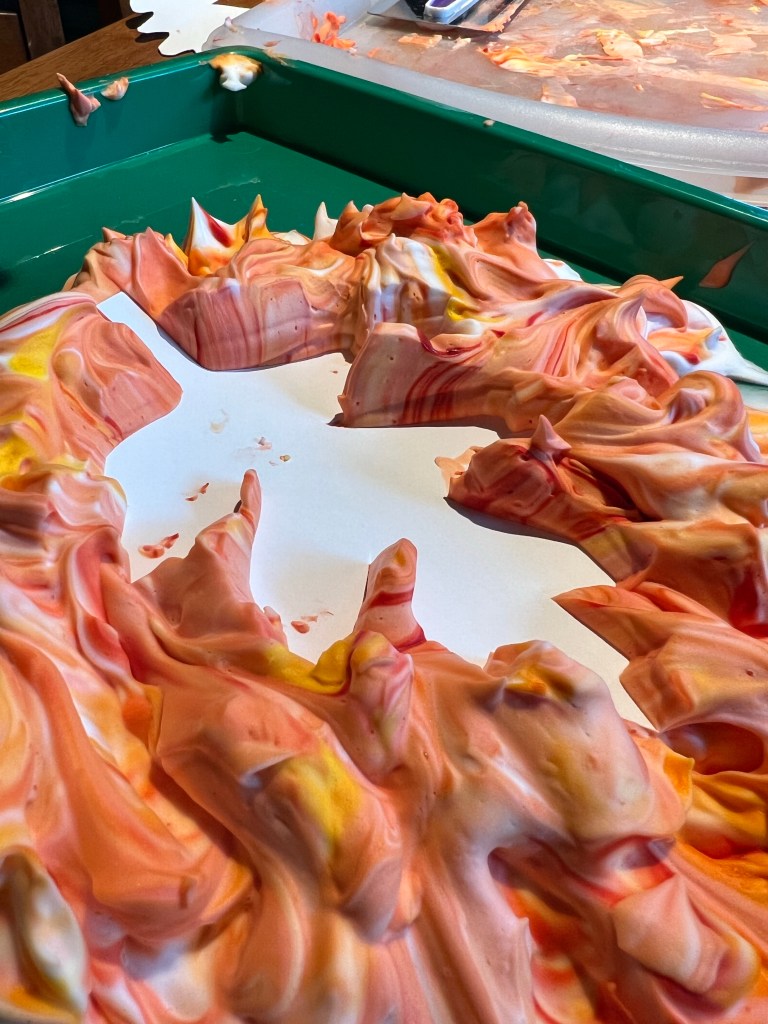
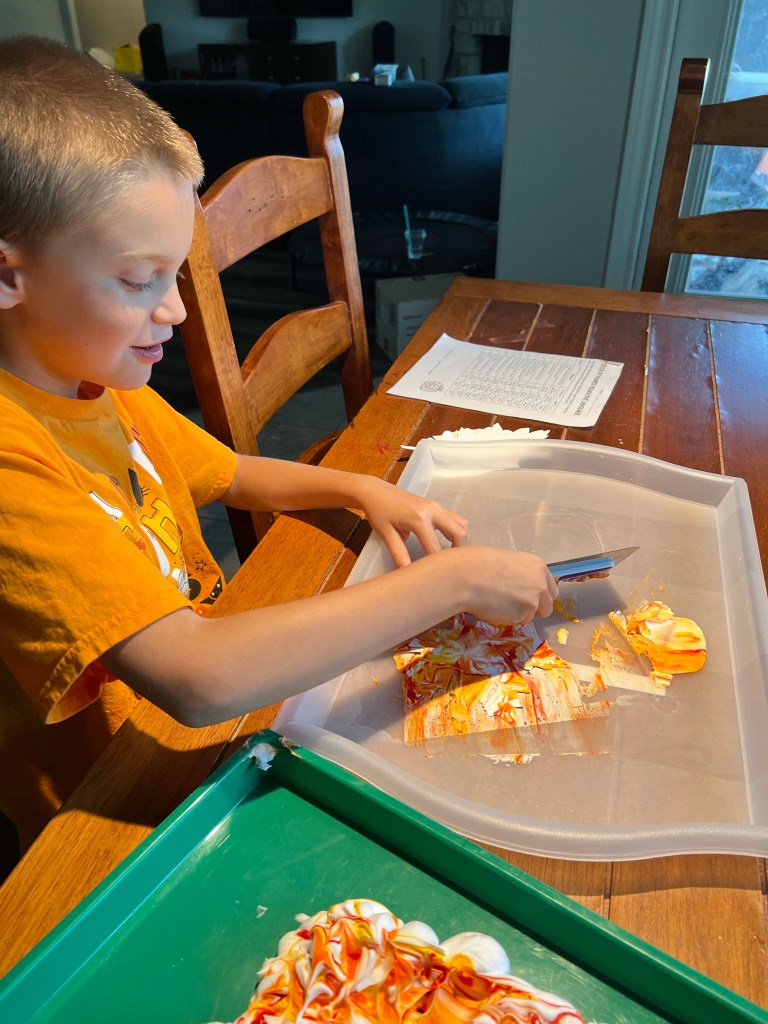
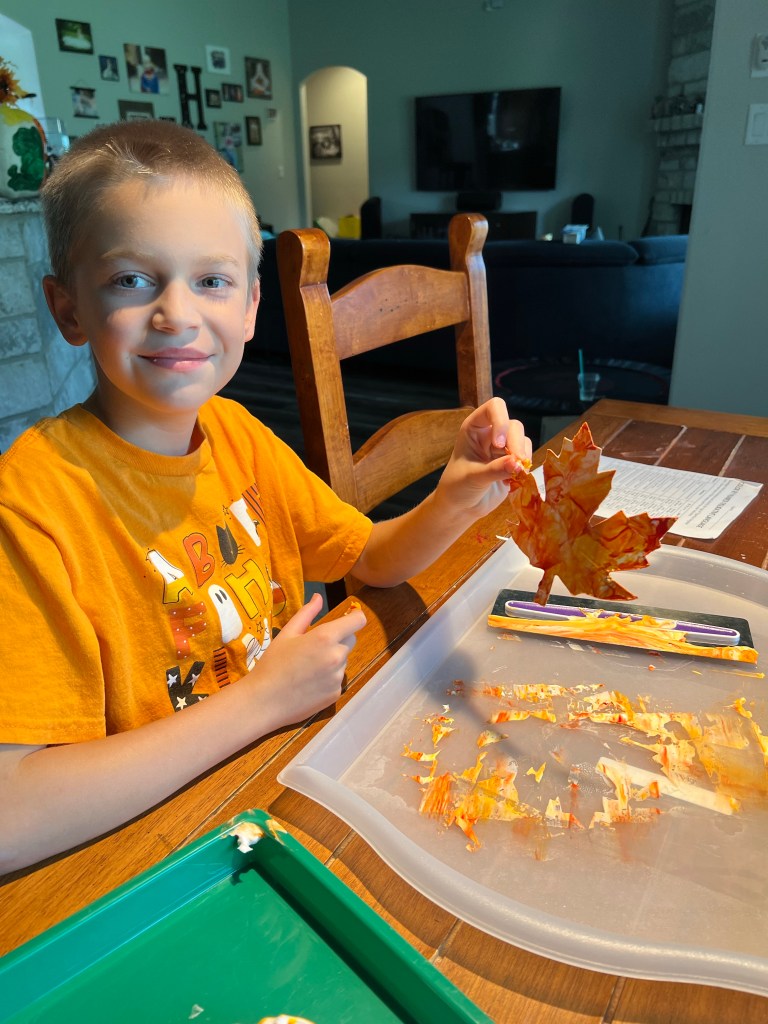
We inserted a special leaf into each card after it was written, and they are ready to deliver to their teachers on Monday! How is it that it’s already the week before Thanksgiving break?! I am beyond thankful for each of the teachers who is pouring their time and efforts into my kiddos this year, and I hope they feel that gratitude from receiving these special cards!

Giving Thanks Project – Part One

November is one of my favorite times of year, and Thanksgiving has been my favorite holiday ever since I was a little kid. We shared so many special traditions with my grandparents, and now our family has new special traditions we’re building with our kids. One of the most important things we as parents can teach our kids is to be thankful, and to SAY β€œthank you” to those who do special things for us. This year, to help reinforce this concept, I decided to do a couple of projects with the kids for their teachers as a special Thanksgiving gift to help them know how thankful we are for each of them!

My partners over at Clear Path Paper were excited to get involved, and my mom pitched in a lot of help with her Cricut machine and card making skills to help get it all just perfect! Part two of this post will talk about the card portion.

Today I want to share with you how we made our special fall leaves. There’s a couple ways you can do this- either by painting full sheets of paper and then cutting, or by cutting your leaf shapes first before painting. We did a few each way, and I think the leaves that were pre-cut before painting were better- mainly because it felt so wrong to throw away scraps of the painted paper when we didn’t end up using it all. (Looking for free leaf shape templates? I used these.)

Over the years, we’ve done painting with shaving cream several times, and the kids always love it. (And so do I!) The results are always epic and the whole dining room smells good from the shaving cream, too! Here’s what you’ll need:

-can of shaving cream

-food coloring

-toothpicks (or we used an old pencil about halfway thru this time and it worked WAY better!)

-an activity tray or otherwise large surface with edges- could use a metal sheet pan (for mixing your shaving cream paint)

-another tray or even layered newspapers (for scraping off the paint)

-cake frosting scraper or large popsicle stick

Clear Path Silk White 100lb Coverstock (precut into leaf shapes)

Once you have gathered your materials, squirt a generous amount of shaving cream onto your tray or sheet pan, and drip orange, red, and yellow food coloring all over. Use the toothpick or old pencil to gently swirl your colors.

After swirling, start laying your leaf down into the cream, gently pushing it down about halway into the foam so that all areas get covered. Gently pull it up, and scrape the excess foam off of the leaf, revealing your painted masterpiece!

It is SUPER important to use the heavy Cover Stock paper from my partners at Clear Path Paper, because regular card stock can’t handle the amount of moisture you’re soaking up with all of the shaving cream and food coloring. Their paper is PERFECT for all your painting needs!

If you decide to color the entire sheets of paper, you can dip them the same way, OR you can dab bits of the colored shaving cream to the top of the page and then scrape it down the paper for some beautiful results! Please note- the food coloring WILL stain your finger tips for a couple of days. Use gloves if this is a problem!!

Once the colors get too mixed for your liking, feel free to add little blobs of fresh shaving cream to add in more white, and then adding specific areas of more red or more yellow adds more definition to your color once it becomes mostly orange.

I then hand-lettered each leaf, but it would be adorable to have young children write their own messages on the leaves as well.

Each teacher who receives a thank you card will have a special leaf β€œfall” out of it when they open it! Be sure to check back next weekend for part two of the project- our epic bear designed thank you cards made by my mom, and written by the kids! This project was just too special to be all one post! πŸ₯°

Go be blessed… and be thankful!!! ❀️

Teacher Tech Tip Tuesday

So I decided that every couple of weeks, I’ll share a tech tip to help (hopefully) make your teaching life easier!

I’m going to start with my FAVORITE classroom tool, which is a totally FREE resource, tho it does offer even more features for a paid membership. I just use the free version.

Classroomscreen.com is epic, yall.

A view of my screen for this elective rotation

Easily customize your screen with lots of background options, clock, count down timer, and more! You can add images, and can even totally customize a traffic light. (Mine says β€œNo talking” for red, β€œQuiet Table Talk” for yellow, and β€œInside voices” for green).

If you’re running it off of a device with a microphone, you can even set a volume detector alarm in case your class has a tendency to lose track of their volume when working on projects. (Note- some classes respond well with this, while others will simply try to make the alarm go off to hear it make a noise… so, know your audience! Ha!)

There is also a recently added feature for smart boards which allows you to write on top of your classroom screen instead of having to open a new window or switch over to your whiteboard feature. This is PHENOMINAL! I love being able to write a quick note. It also erases super cool- by taking away the whole line or letter you wrote all at once, not having to swipe over the entire thing. Swipe one line thru the center of your word, and the whole word disappears! Super cool.

Here I’ve shown the write/highlight/paint/draw shapes feature. LOTS of options I haven’t even used yet.

You can also type on the screen, attach youtube videos (as long as they don’t have a live chat- I haven’t ever been able to get it to show a video that had live chat attached), and do so much more!

I attach photos of my tasks for each class, as well as my inspirational quote for each rotation, and it’s easy to switch out the photos for each grade level in just two clicks after the intial morning set up.

Once you get used to the format, I can go from a completely blank Classroomscreen to ready to use in literally two minutes. I highly recommend this program for ALL teachers- it WILL revitalize your classroom instruction.

I am NOT a paid affiliate for this program, just a teacher who has used it over a year now and absolutely love it so much, that I had to share!!

Let me know if you try it- I’m sure you’ll love it, too! I have shared with so many teachers who have started using it and love it! Enjoy!

Coffee Bar Themed Computer Lab

When I found out I’d be teaching in the portable building, I had mixed feelings… until I went into it the first time. It’s beautiful, and the newest, nicest room I’ve ever taught in. I absolutely love it. And I was able to transform the two white boards into bulletin boards to give even more space for displaying relevant information that I pieced together from various things I found online.

For example, I took a blank computer keyboard I had printed out, and ran it through the poster maker machine in our library, then colored it. I also took blank hands, ran thru the poster maker, and used coordinating colors to show which fingers should be used for proper keyboarding use.

β€œWhere Do My Fingers Go?” Bulletin board is attached to the white board using adhesive on the metal edge so it doesn’t ruin the whiteboard itself.

I also created a “THINK” bulletin board to encourage kids to make positive choices online, and have made the printables available for purchase here.

The large poster is 8.5×11 size on the file, and I ran it thru the poster maker in our school library.

But my favorite part of my decorating is all of my coffee bar themed materials. I had purchased some sets online in the past, and added a couple of pieces to the theme for this year. I also created several of my own posters using the Canva for teachers software. You can purchase your own copy of my Calming Corner posters here and here on my Teachers Pay Teachers page. My goal was to make the computer lab seem like a fun Coffee Bar-type environment, and the kids LOVE the theme. I can’t begin to tell you how many times each day a student will ask me if I can make them some coffee, or will call their own water bottle their “coffee.” I love to make learning fun, and this environment definitely puts them at ease and makes them smile. One sweet boy can never remember my name, but calls me “hey, teacher who likes coffee.”

One poster I made that is totally custom, and NOT available for sale on my page is this one:

The fine print: β€œUnlike at an actual coffee bar. Sadly, you must drink your water AWAY from the Chromebooks- for their safety, and yours.”

I originally started the year with numbers on pieces of paper taped to coffee cups I had purchased and run through the laminator to label each computer. But, the cups were printed off the side/not all centered (because that happens when you buy pre-printed products), and adding a number to the top of them made them too thick for the lamination to stick very well… and then there was the OTHER idea I had tried… I had wanted to put velcro on the front as well as by the screen, so the kids could move the coffee cup to stick up on the screen when they needed help, instead of raising their hands. Little did I know how much the sound of the velcro would DRIVE. ME. CRAZY. and how the kids (esp the third graders) would PLAY with the coffee cups and make them fall apart. So, by the time the first month was done, I was looking for another option.

Yeah, that plan did NOT work.

Enter my partners at Clear Path Paper, and my mom with her Cricut machine! Using their 65lb 12×12 Royal Blue and 65lb 12×12 Silk White to fit with our school colors, she made coffee cups with numbers printed on them for me. (Note the bear paw numbers that fit perfectly with our school mascot!!) I laminated them, and attached them to the Chromebooks with glue dots for a permanent attachment. No more velcro for me! HA! The kids immediately saw them and said “Hey! LaVernia coffee cups!” Go bears! πŸ˜‰ Using the nice thick paper from Clear Path and mom’s Cricut, these numbers will LAST. Very grateful to Clear Path and also to mom for making these possible! They certainly MAKE the theme complete!

Now my coffee bar themed room is complete! I definitely love how it has turned out, and so do my students!

A Fresh Start

This school year, I have started over.

After deciding that I needed to spend more time with my kids as mom, I took a step toward resigning my teaching career for a while. My principal and other administrators understood. I needed a clock-in, clock-out job where I could go home and be a mom, not working 24-7 on paperwork and planning for meetings.

Then, this summer God opened a whole new doorway. The paraprofessional who had been the technology instructor decided to work elsewhere, and a friend let me know the position had been posted. I started praying about it, and decided to apply. I prayed that God would make the decision for me – and the door would either be so wide open there was no doubt, or it would be slammed in my face. That of course, made me super nervous in the interview. Because I knew that God’s answer might be no… and I might not get the job despite having worked with the people on the committee for the past three years.

However, that wasn’t His plan. Before the interview was over, I was told the position was mine, and they were so excited to have me in this role. Such a huge blessing it has been. Four weeks in, and I’m loving my new job, and the stress level is SO much lower! I still get to see some of my former special needs students, while also instructing everyone else on technology, as well. I have my own classroom to decorate. PLUS, I get to work with the electives team, which consists of some fabulous ladies who were already my friends, but now are my TEAM. I am beyond blessed!

Look for a new post coming soon about how I have my computer lab organized and decorated… and a super fun paper project that my mom and my partners over at Clear Path Paper are helping me with! πŸ™‚

Until then, be blessed!