
Are you melting this summer like we are and looking for more FUN you can do in the A/C? A Dollar Tree find turned into a super fun summer activity that the kids and I really enjoyed! While walking around the store last week, we came across this big pack of foam trays, which are perfect for turning into large stamps!
What you’ll need:
-Foam trays
-A dull pencil
-Black acrylic paint
-A large paint brush OR small roller
-100lb weight White Card stock (available here from my partners at Clear Path Paper)
-Markers, colored pencils, or crayons (Also at Dollar Tree, we got an 8 count pack of Crayola brand crayons for coloring on dark paper that worked GREAT with the black paint!)
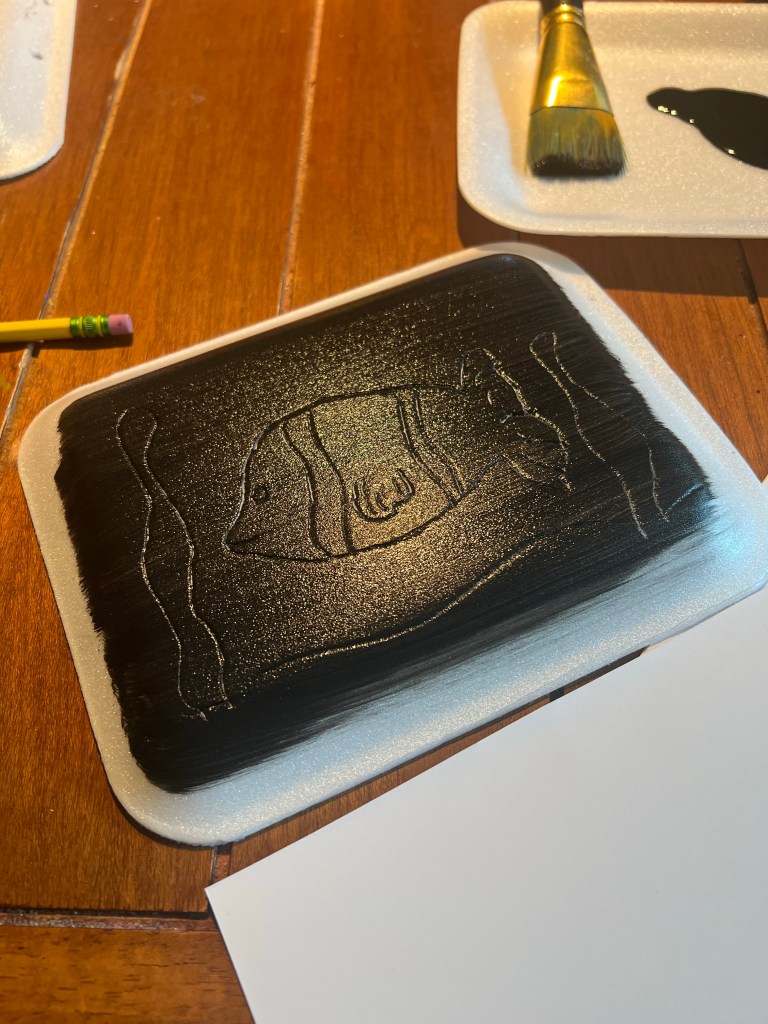
On the back of the foam tray, make your design with your dull pencil. Just be careful to not push too hard and poke a hole in your tray! Your goal is to make a nice thick ridge, but no holes!

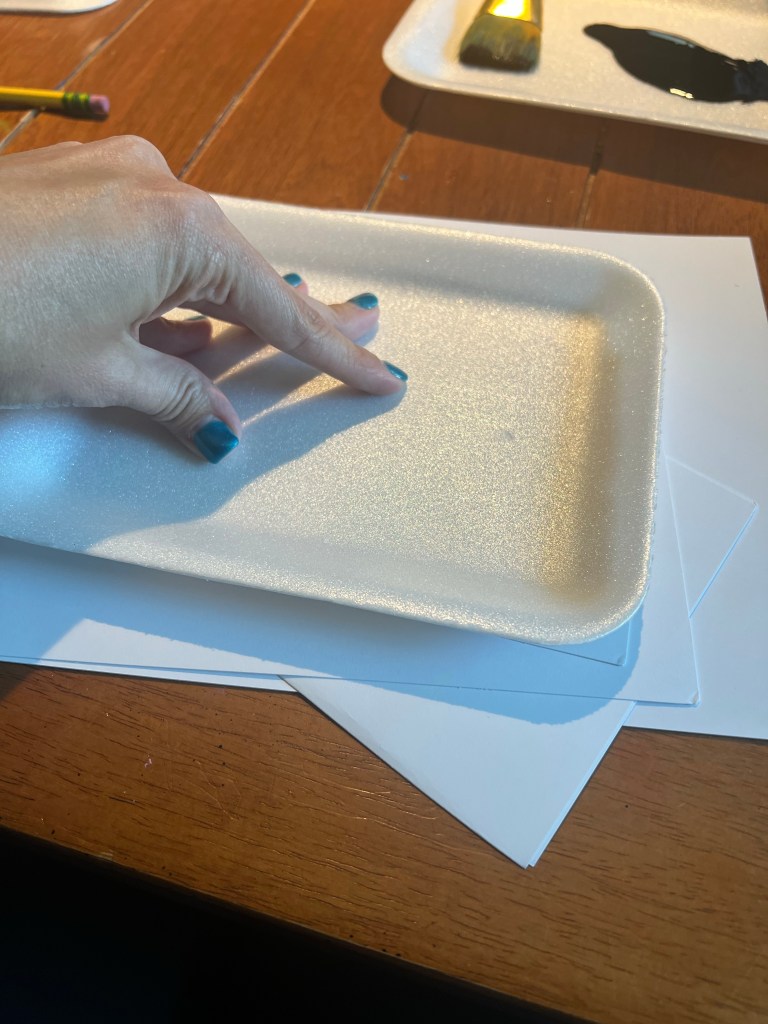
Once your design is done, paint your black paint in a thin, even layer over the whole tray (or the whole design if it’s smaller than the size of the tray). While the paint is still very wet, turn your tray over and press evenly onto your 100lb white card stock. (I cut the sheets in half so that we were using it most efficiently and not wasting any paper.) Then pull off the tray and wave your paper in the air to dry. Acrylic paint will dry really quickly if you’ve done a thin layer, and then in the white space of your design, you can use your markers, colored pencils, or crayons to color – if you so choose. They can look really cool just black and white, too!


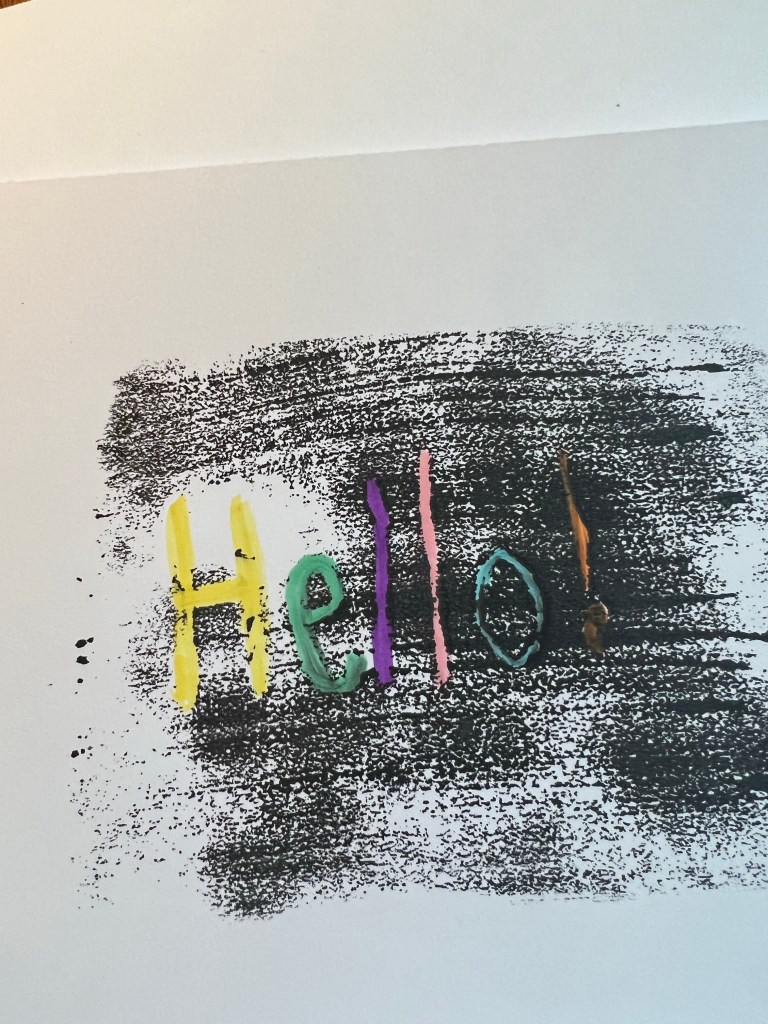
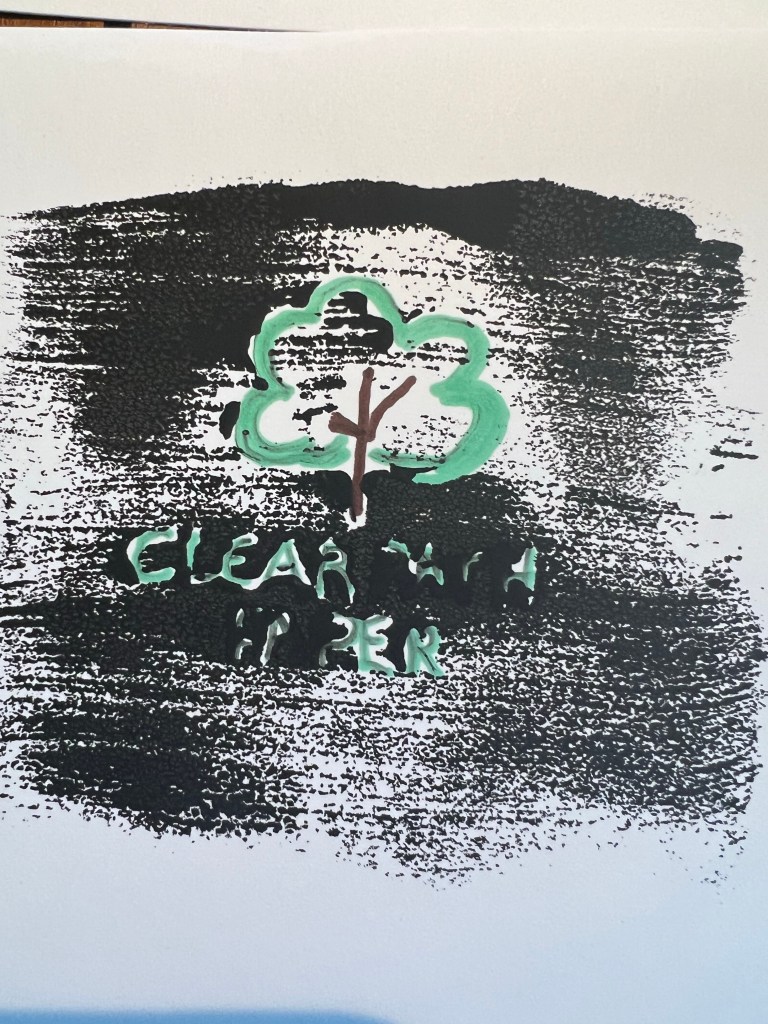
NOTE – doing letters in the trays is REALLY challenging because the ridges you make with the pencil fill in differently with paint for small spaces/details. I got fairly frustrated trying to make a fun surprise design for my Clear Path Paper partner, Andrew. But! Here’s a few tips if you DO want to brave lettering on the trays. Make sure your letters are large and any small spaces inside the letters are big enough that the paint won’t just fill in. It’s also very important that you make your letters MIRRORED so that when you stamp them on the paper they’ll be turned the right way. I used the nice thin labeling sheet from the card stock package to attempt their logo, and then used it again to make the word “Mirror” to show y’all. Any tracing paper would work, but I’m all about using my resources wisely, and then there’s no waste of the labeling sheet! Becca also used it to write “Hello” on a stamp as well. This graphic shows you the step-by-step:

I’d love to see YOUR stamps! You can email me anytime at butterbeesandbumbleflies@gmail.com
Happy Summer! Make the most of it… school starts back up soon! I’m excited to share my adventures in my new job soon… I’ll be backing away from a full teaching role so I can focus on being mom! And I’m excited about running the tech lab at our school as the technology paraprofessional! 🙂
“Summer is short – make it sweet!”


2 thoughts on “Stamp Carving Art”
Comments are closed.