A Bright Idea

The other night, a friend came over and we ended up talking about sensory activities.  She mentioned a light box, and told me I could set one up for Becca easily.  Then I started seeing posts from many of my favorite bloggers (see the list on the right of this page) about light boxes!  And, I decided that it would be a fabulous way to occupy her and let her play in my office near me while I work!  I have a desk, and she could have a desk!

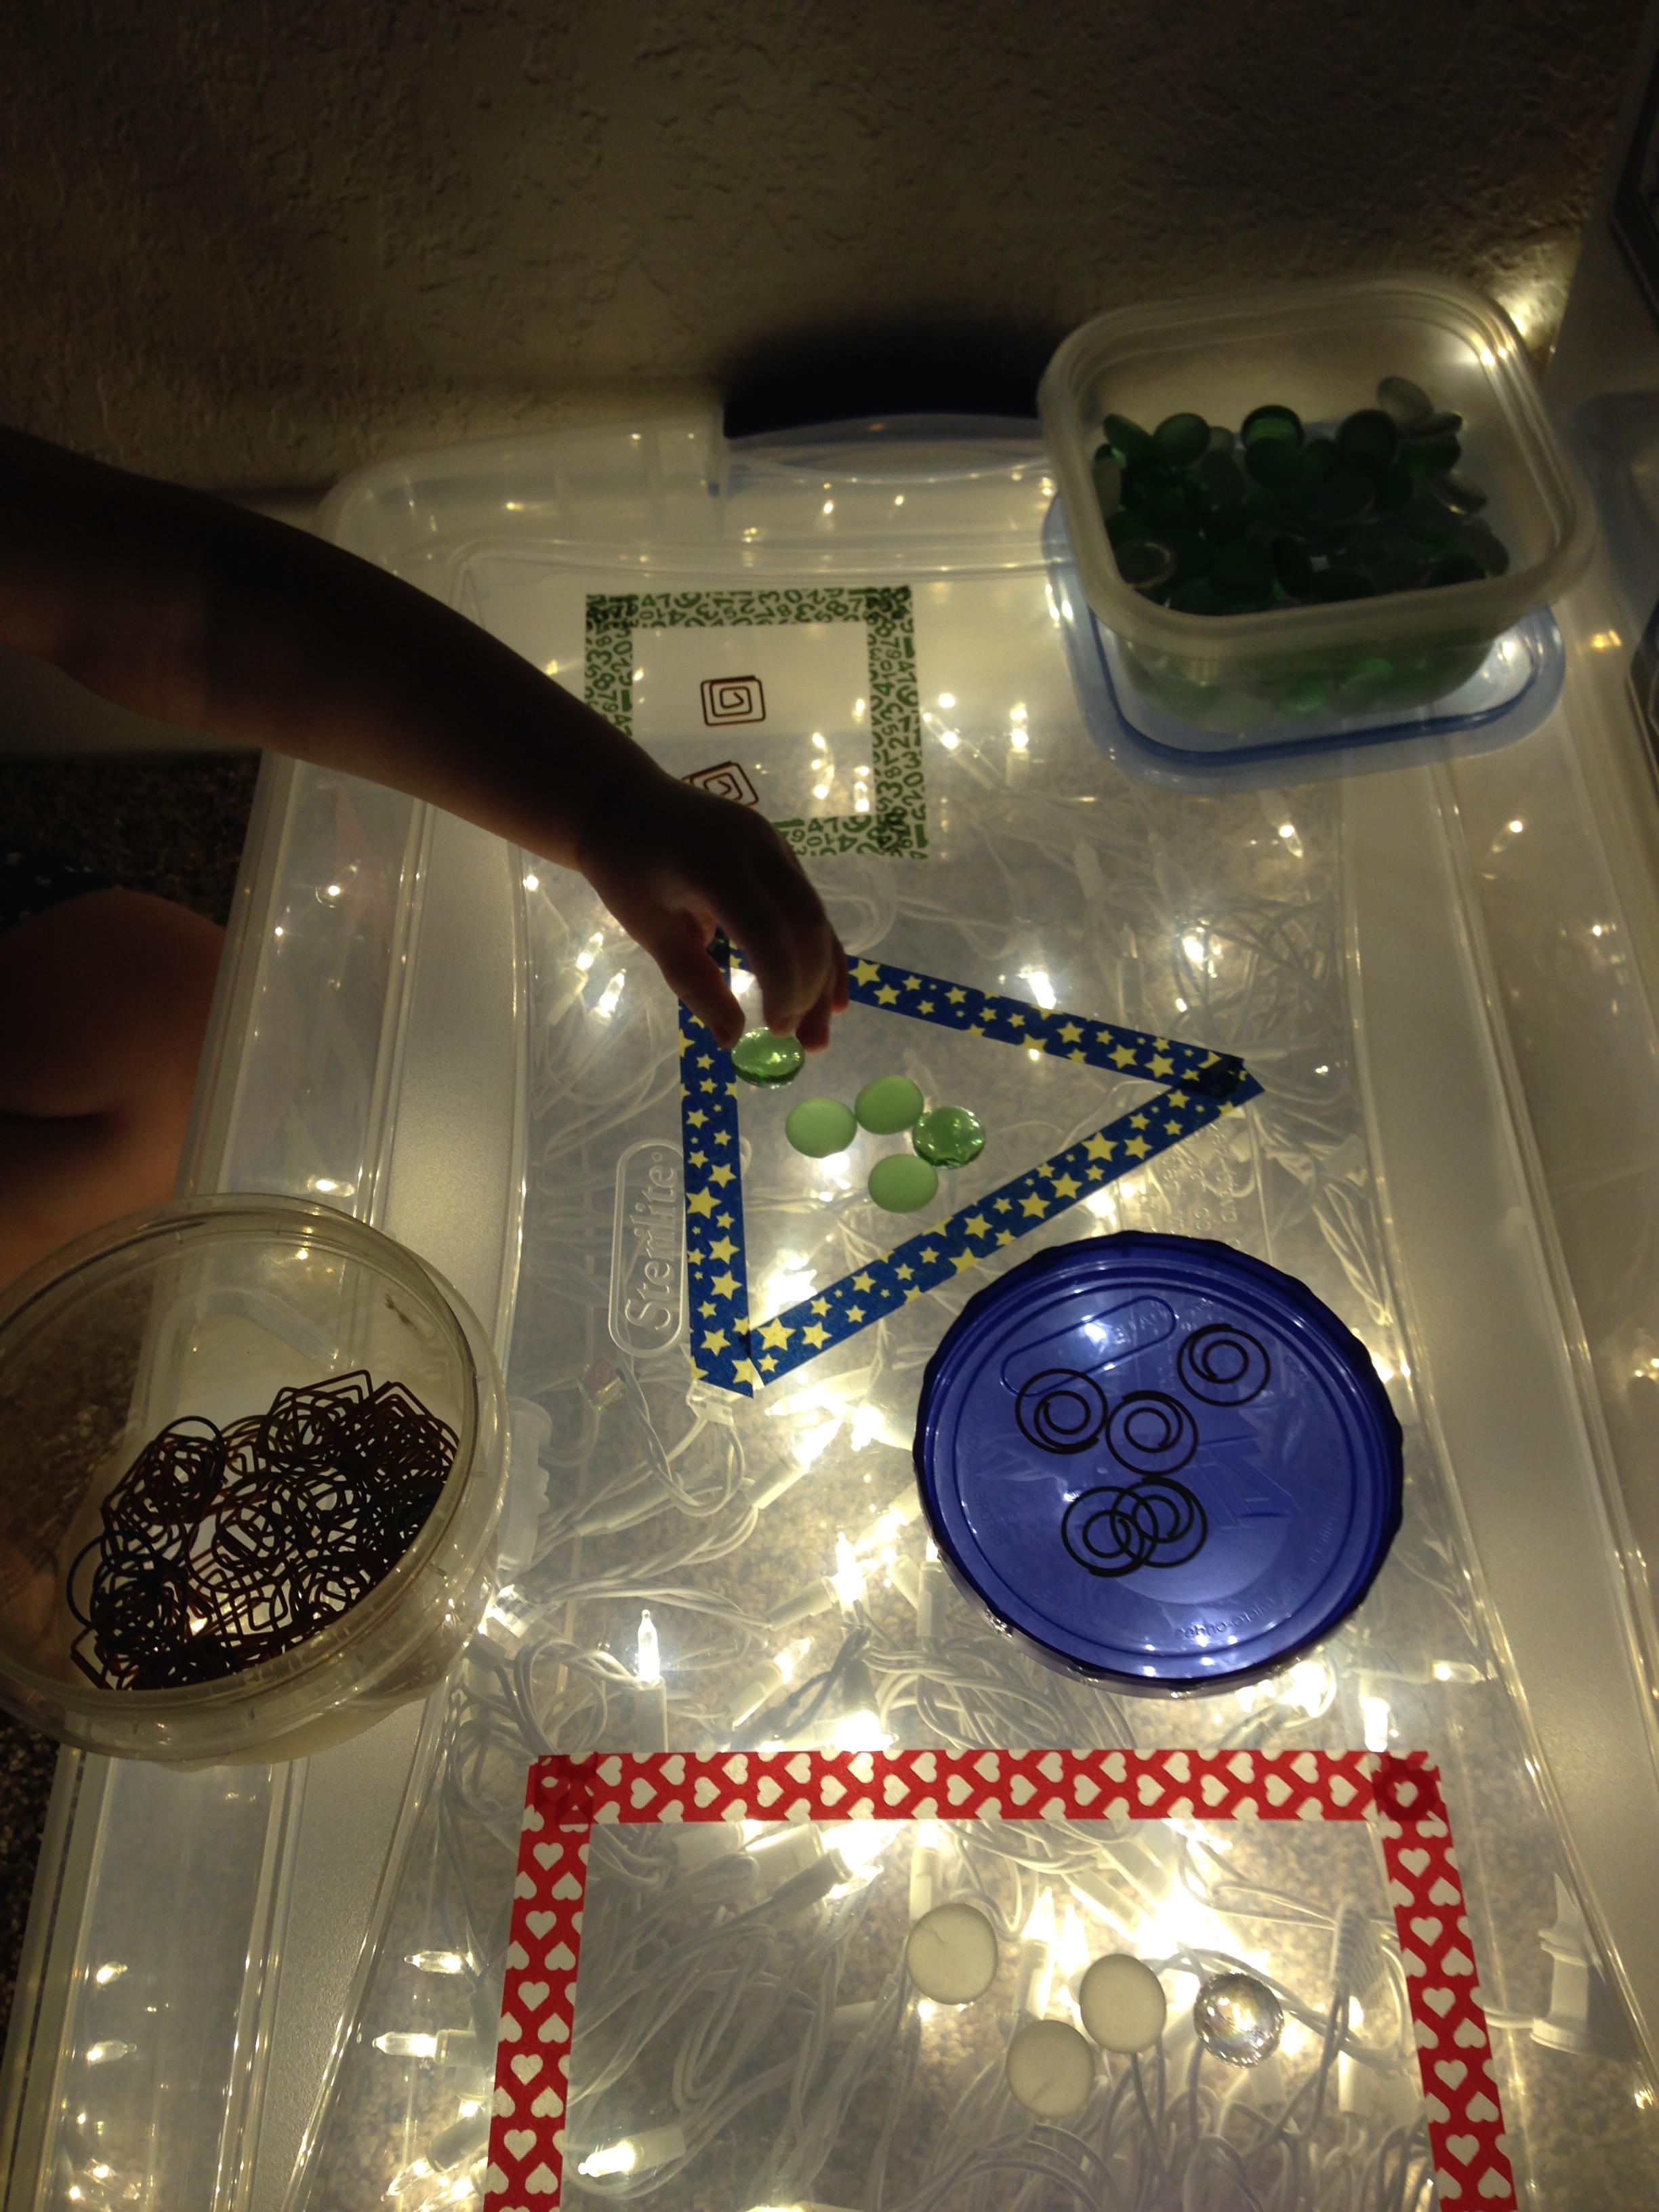
So, after digging through my attic and being disappointed with my options, I decided to buy a tub at Walmart (the one I picked was $6.95).  I already had a bunch of strings of white Christmas lights in my cabinet just waiting for a project, so I sat down and decided to go all out and use my washi tape for something other than to fill up a storage container.  HA!  Here’s what I came up with:


IMG_8318IMG_8320


I wasn’t real sure what to have her do with her light box – it’s on carpet, I wouldn’t be supervising her very closely at all, so I got some colored glass stones from the floral section at Walmart (two bags – $.98 each).  They have some frosted and some clear stones in each bag – green and white.  Then I also gave her a bowl of paperclips – some square and some round – because she loves to sort.  This is what she came up with on her own – squares go in the square, circles go on the round lid, greens go in the triangle, and whites go in the “nectangle”.  I’ll leave these for her to play with for a while, and then I’ll remove the washi tape and do something different for on top.  For now, it’s simple and fun.
IMG_8326

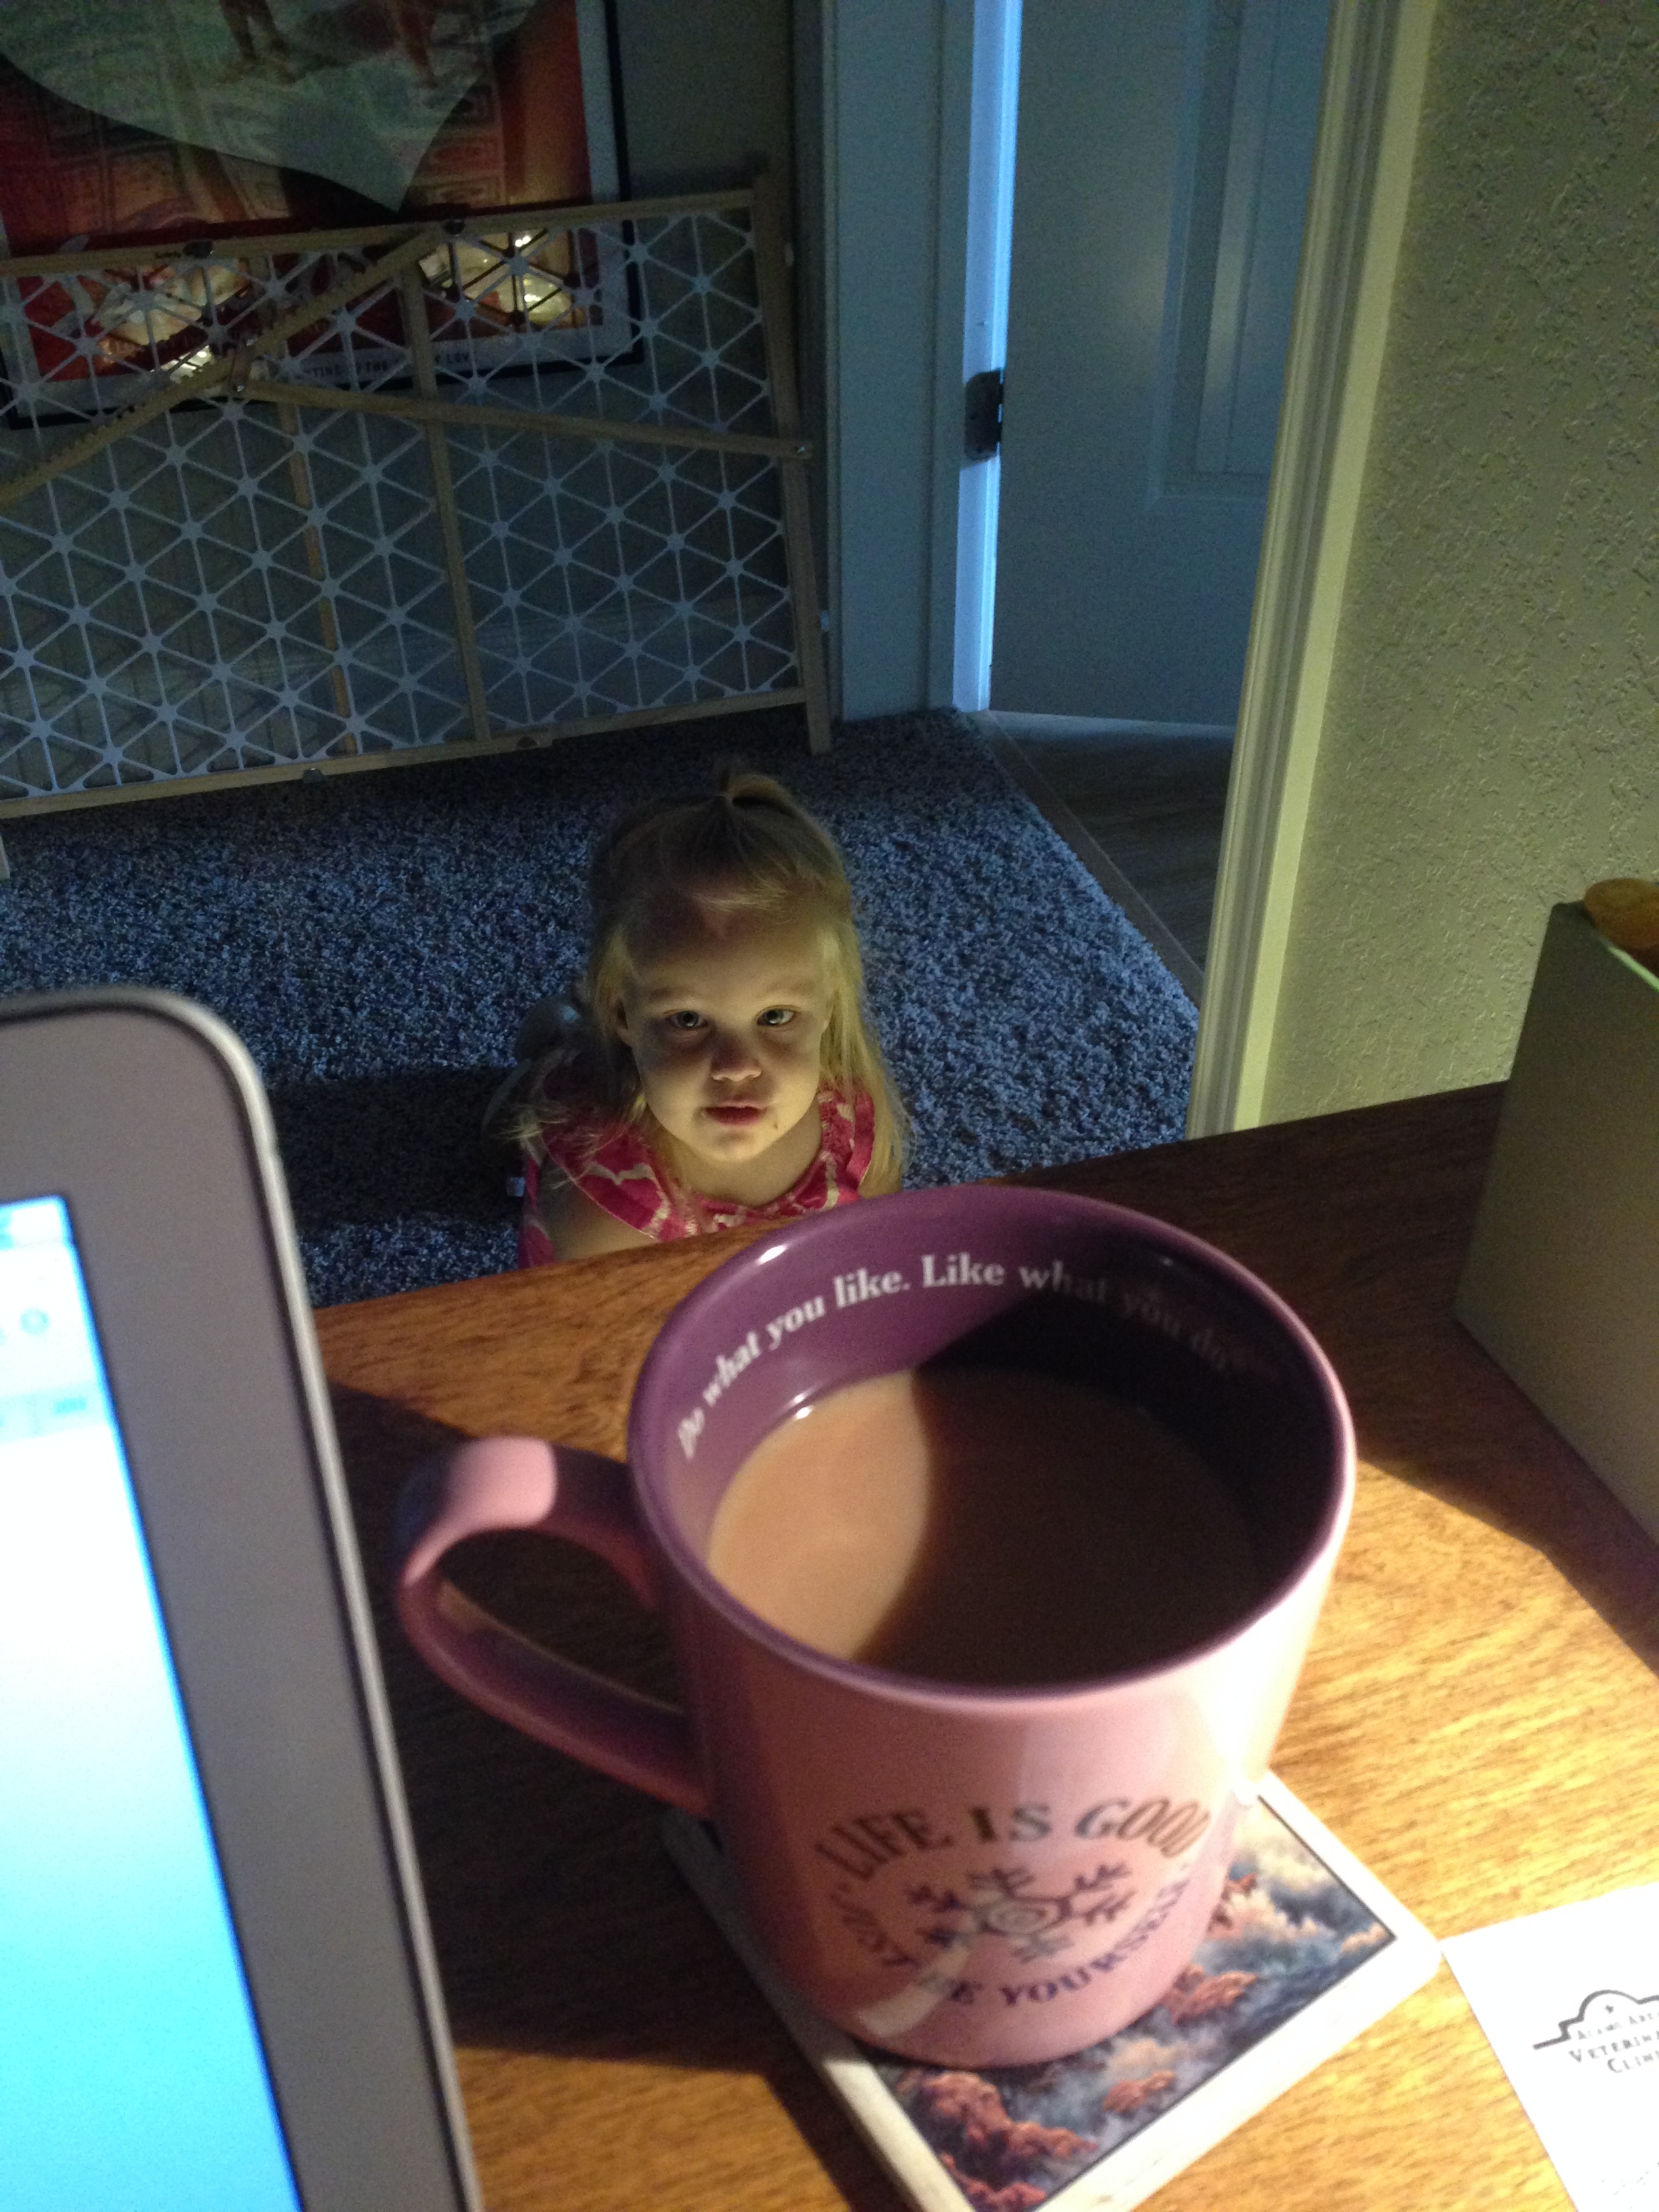
And the best part of all, is I can look over my laptop and see this:

IMG_8386

IMG_8390


Life is good.  Yes, yes it is.

Total Prep Time for Mommy: Maybe 5 minutes to put it all together – including the tape.  It’s as easy as throwing Christmas lights in a box and plugging them in.

Total Play Time for Becca: She has already played with it several times for about 15 minutes at a time.
Colored Rice Sensory Tray

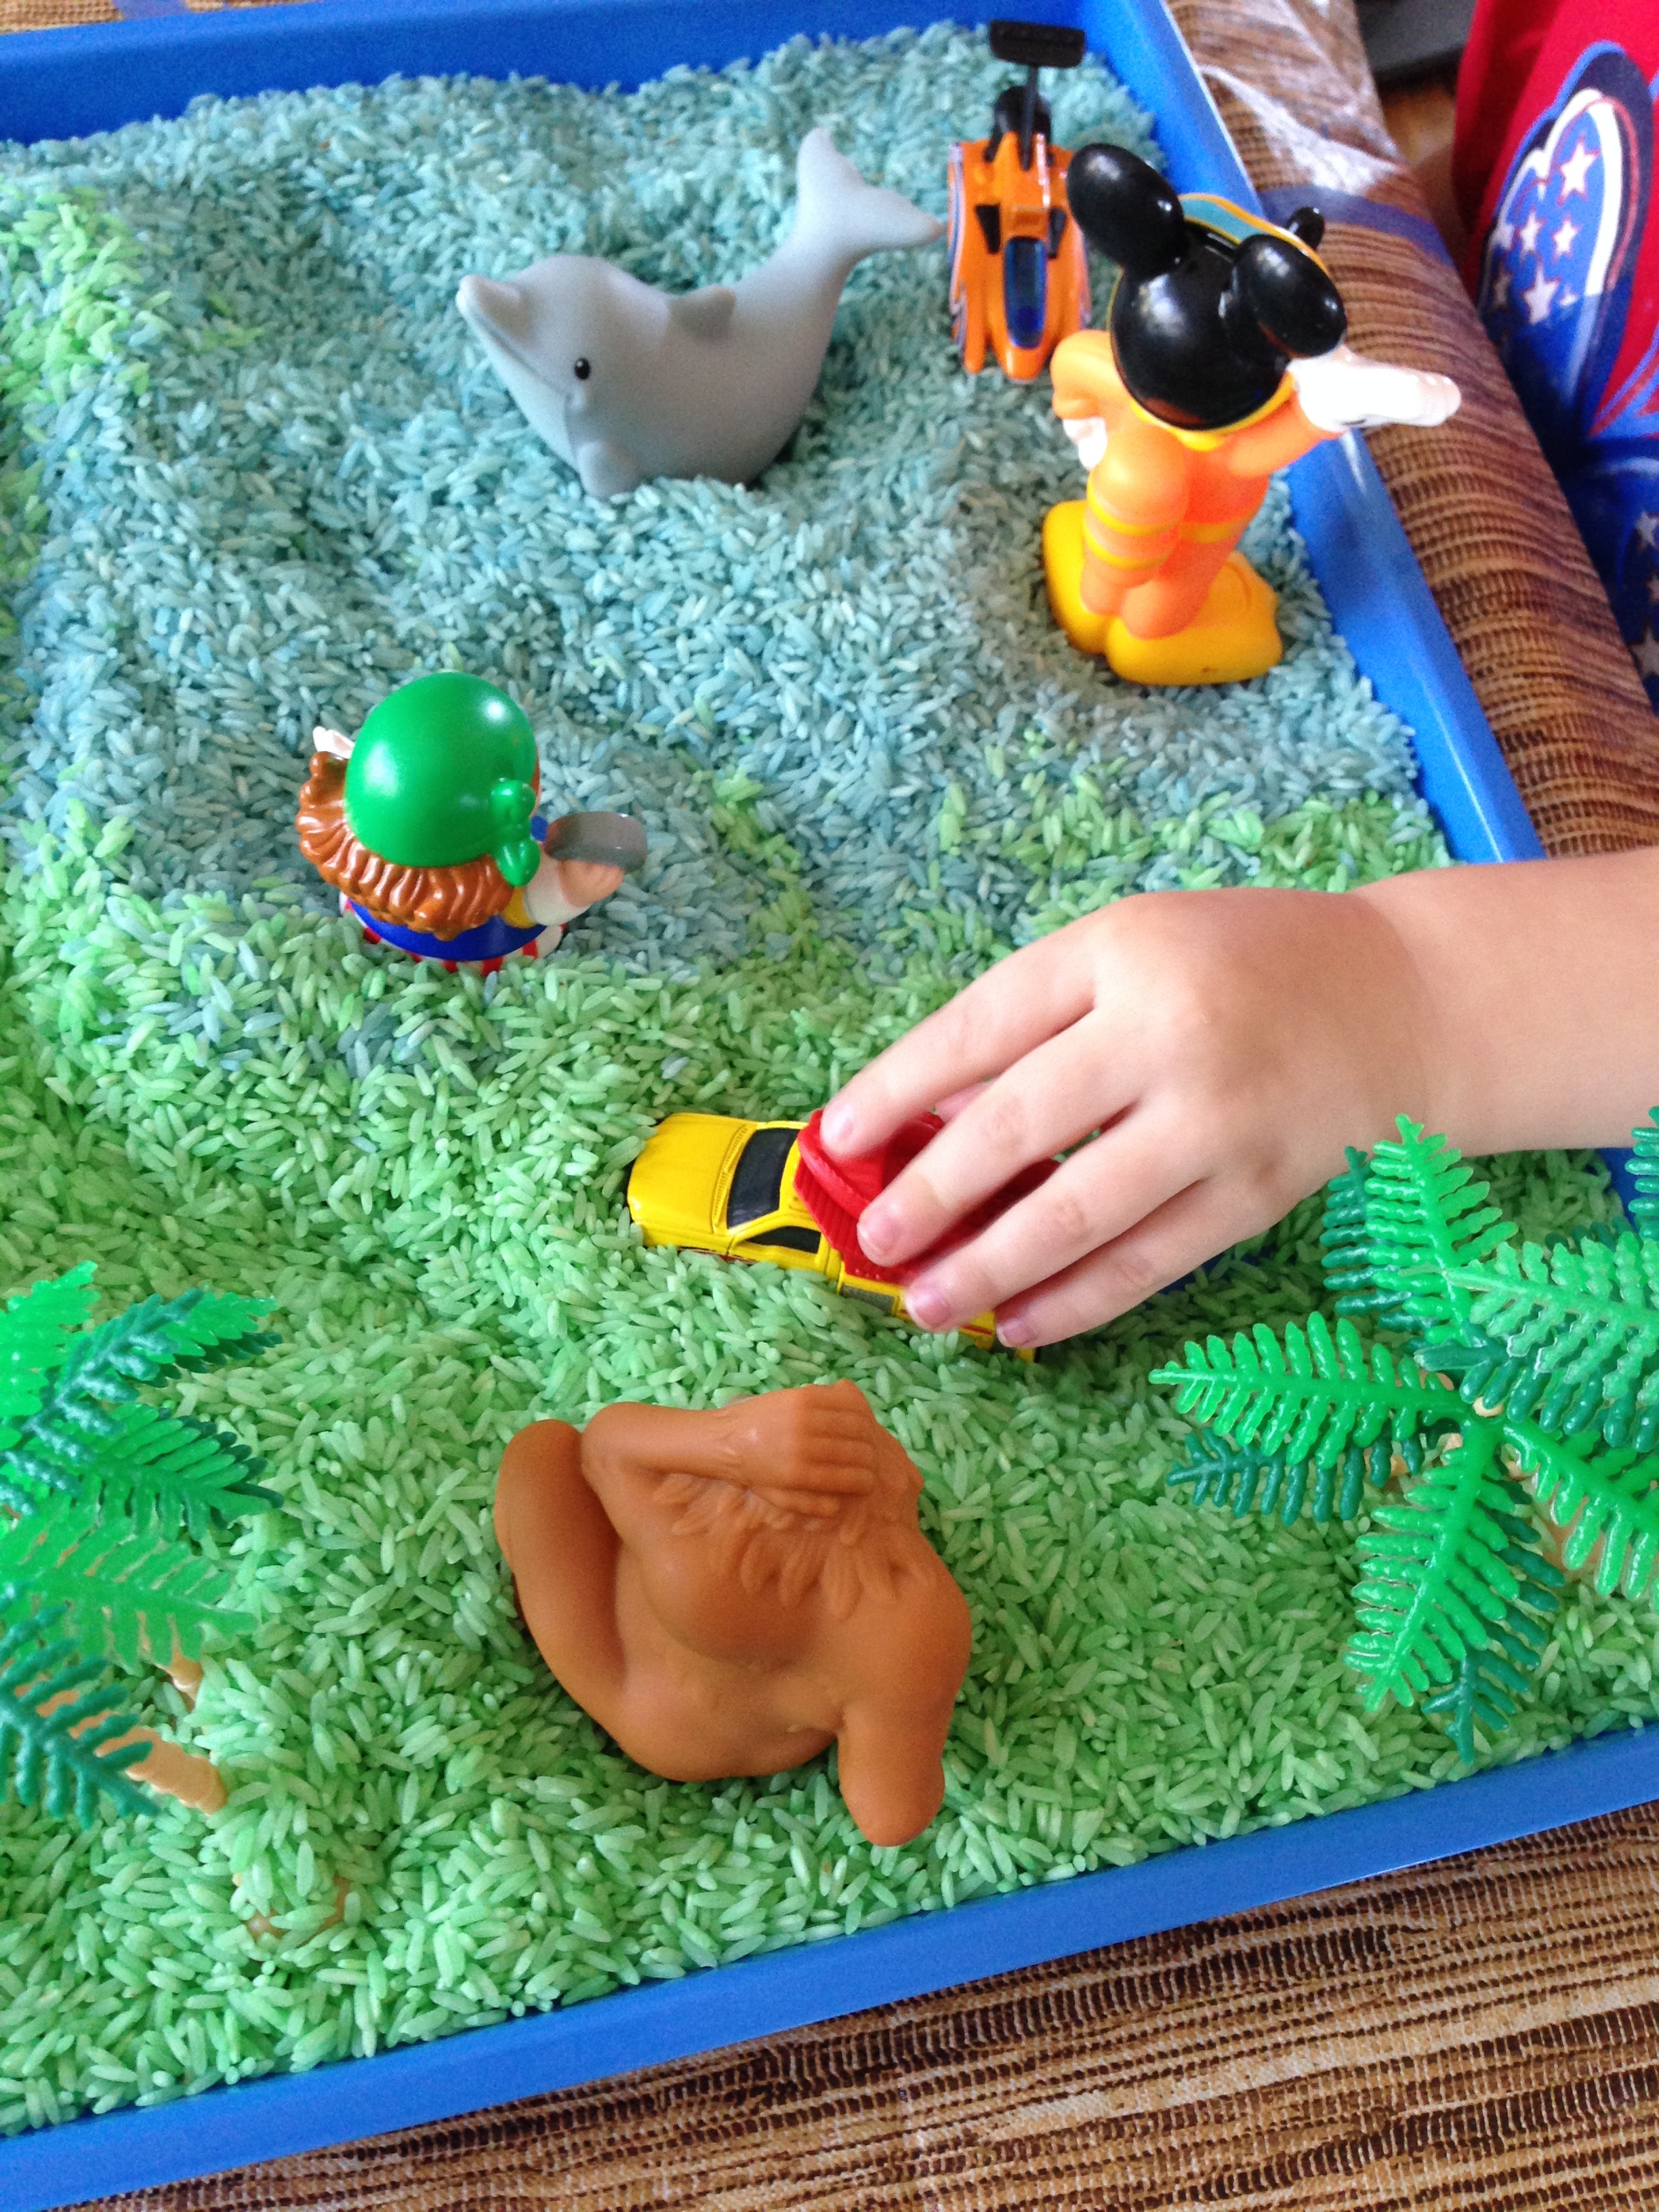
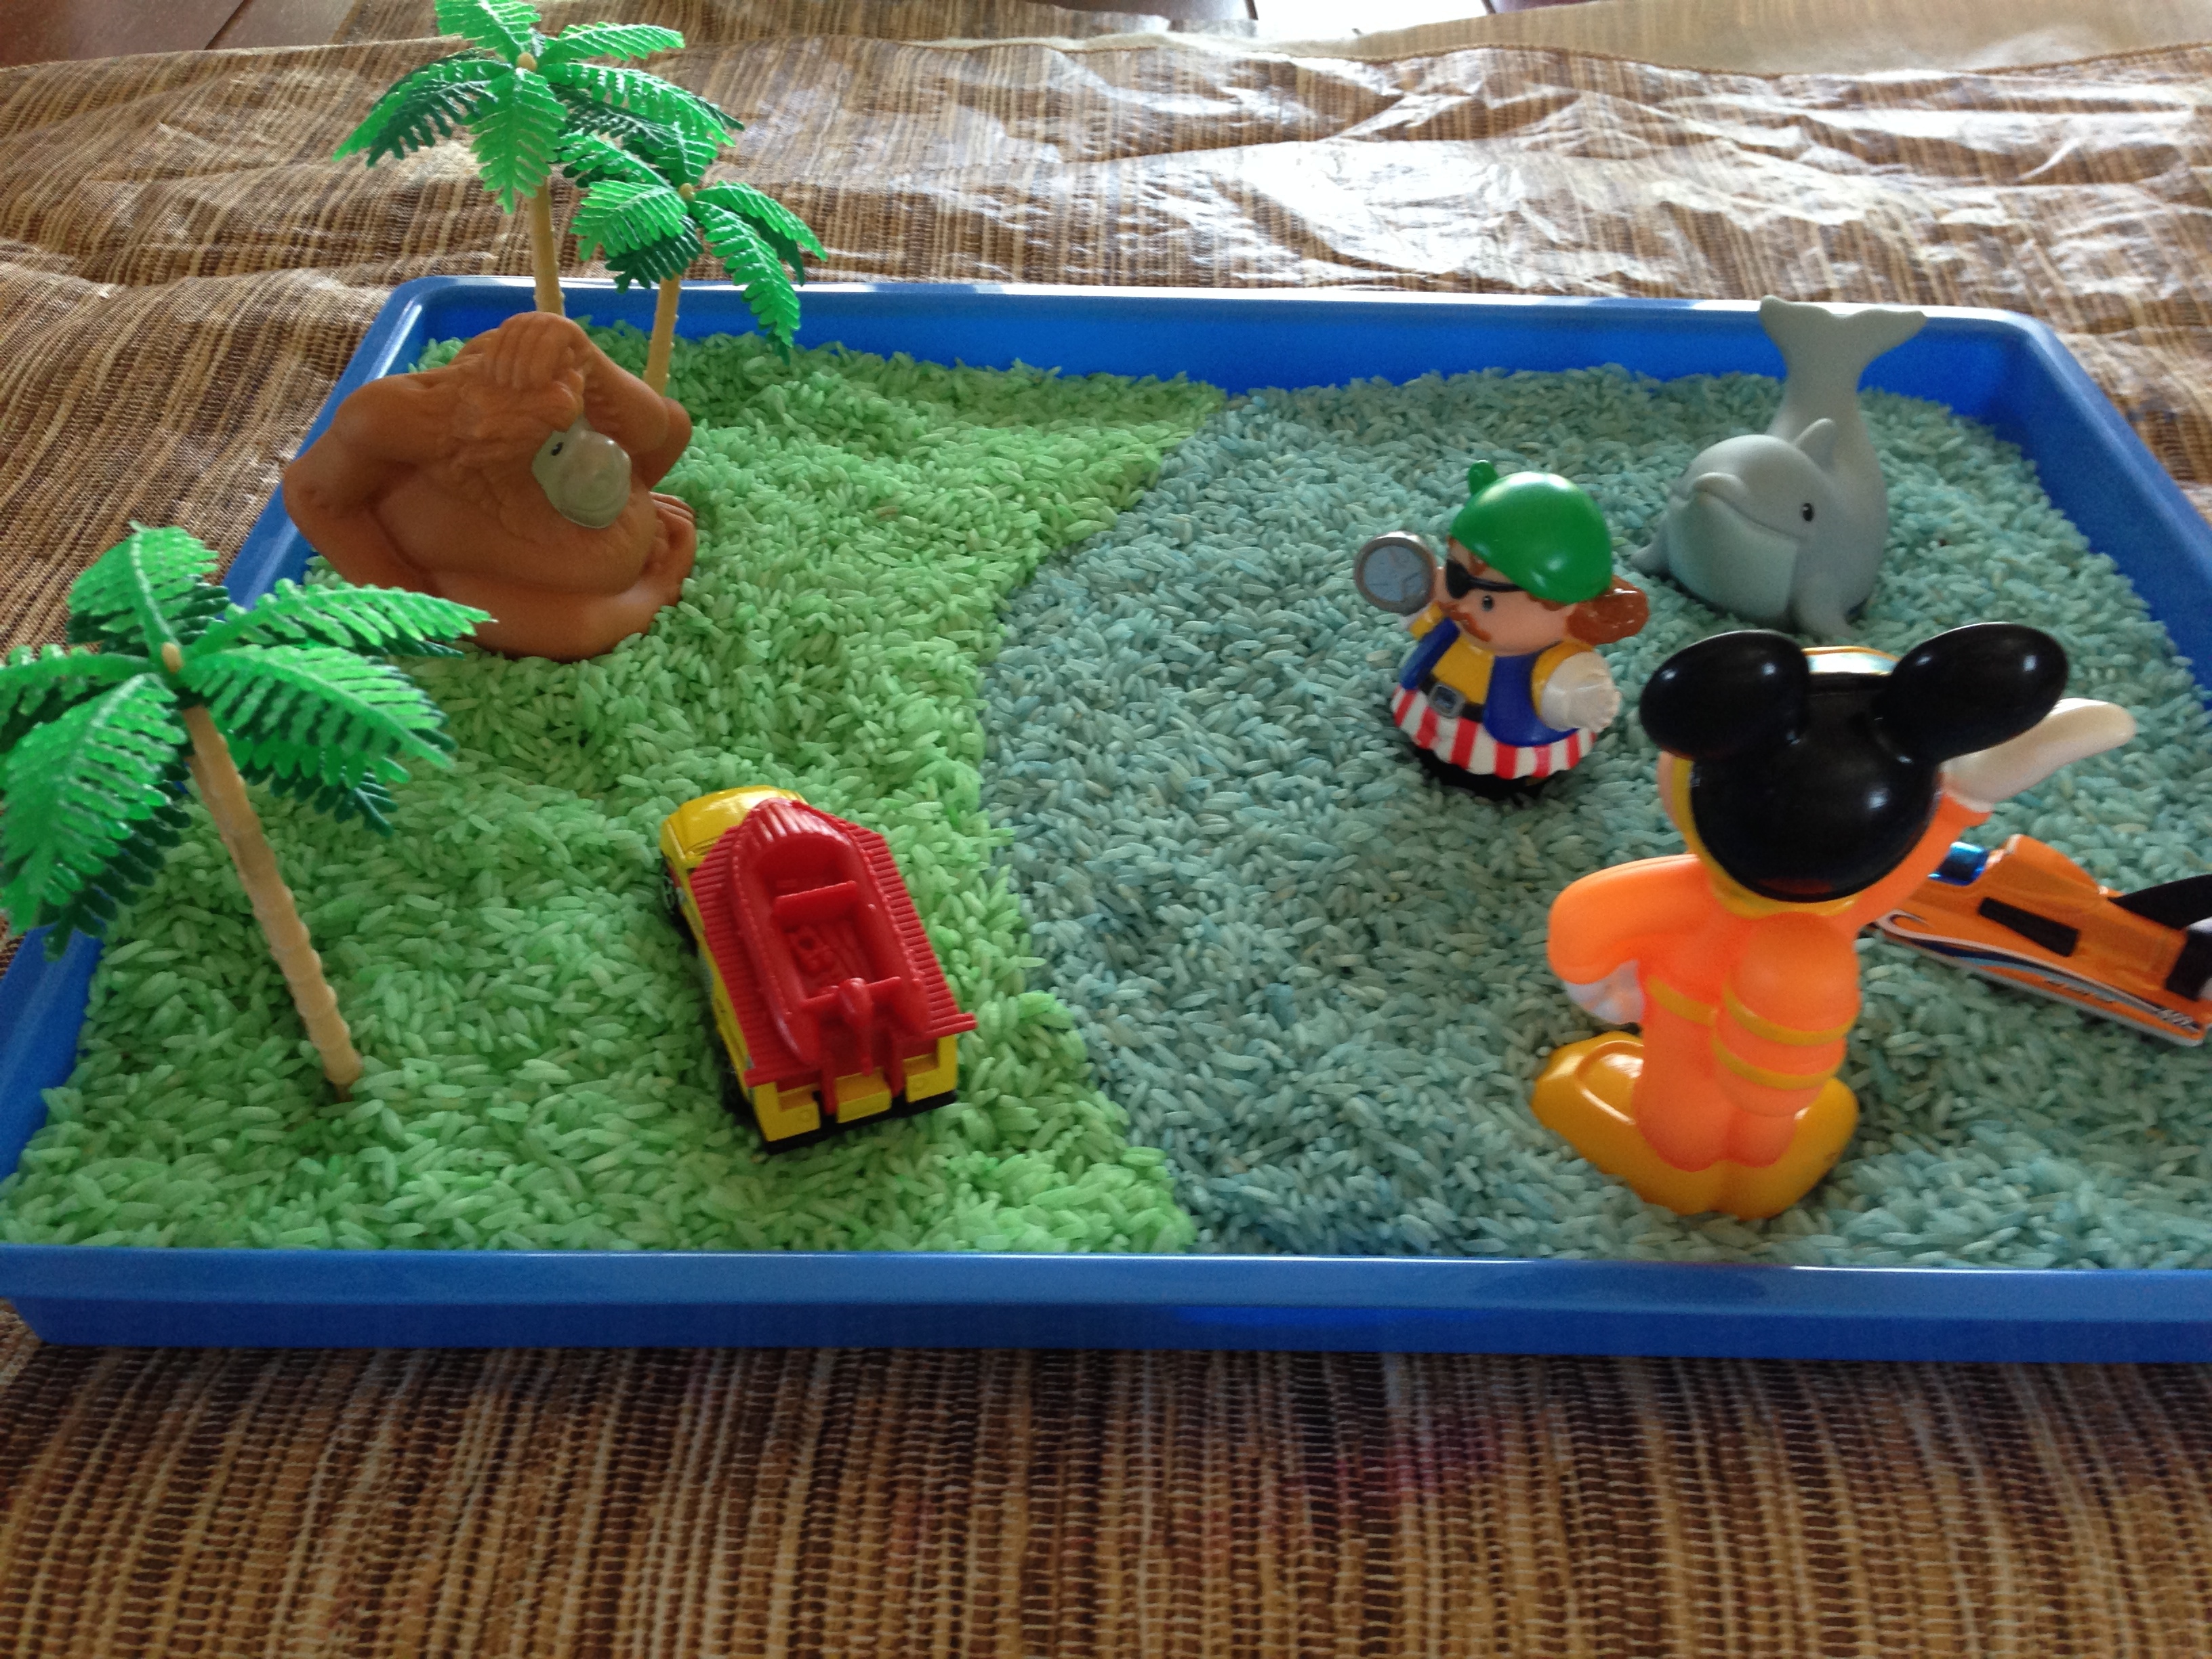
I’m not into messes.  Seriously.  (I whipped out the vacuum as soon as this activity was done.)  But I understand how important it is that Becca interact with a  variety of textures for the proper development of her senses.  And she loves sensory play.  So, I made some colored rice (here’s a link over to the recipe I got from Play at Home Mom – I used about 10-15 drops of regular food coloring with the vinegar) and decided to make a tray activity for her.  Live and learn – it needed to be in a MUCH larger container, and we needed to have just spread the entire plastic tablecloth out on the floor so that cleanup would be easier, and we wouldn’t waste so much rice.  Now we know for next time!  But, she did have a blast!  Here’s the scene I set up for her using little toys she already had:

IMG_8270

She was SO excited and immediately dug in and started playing.

IMG_8285

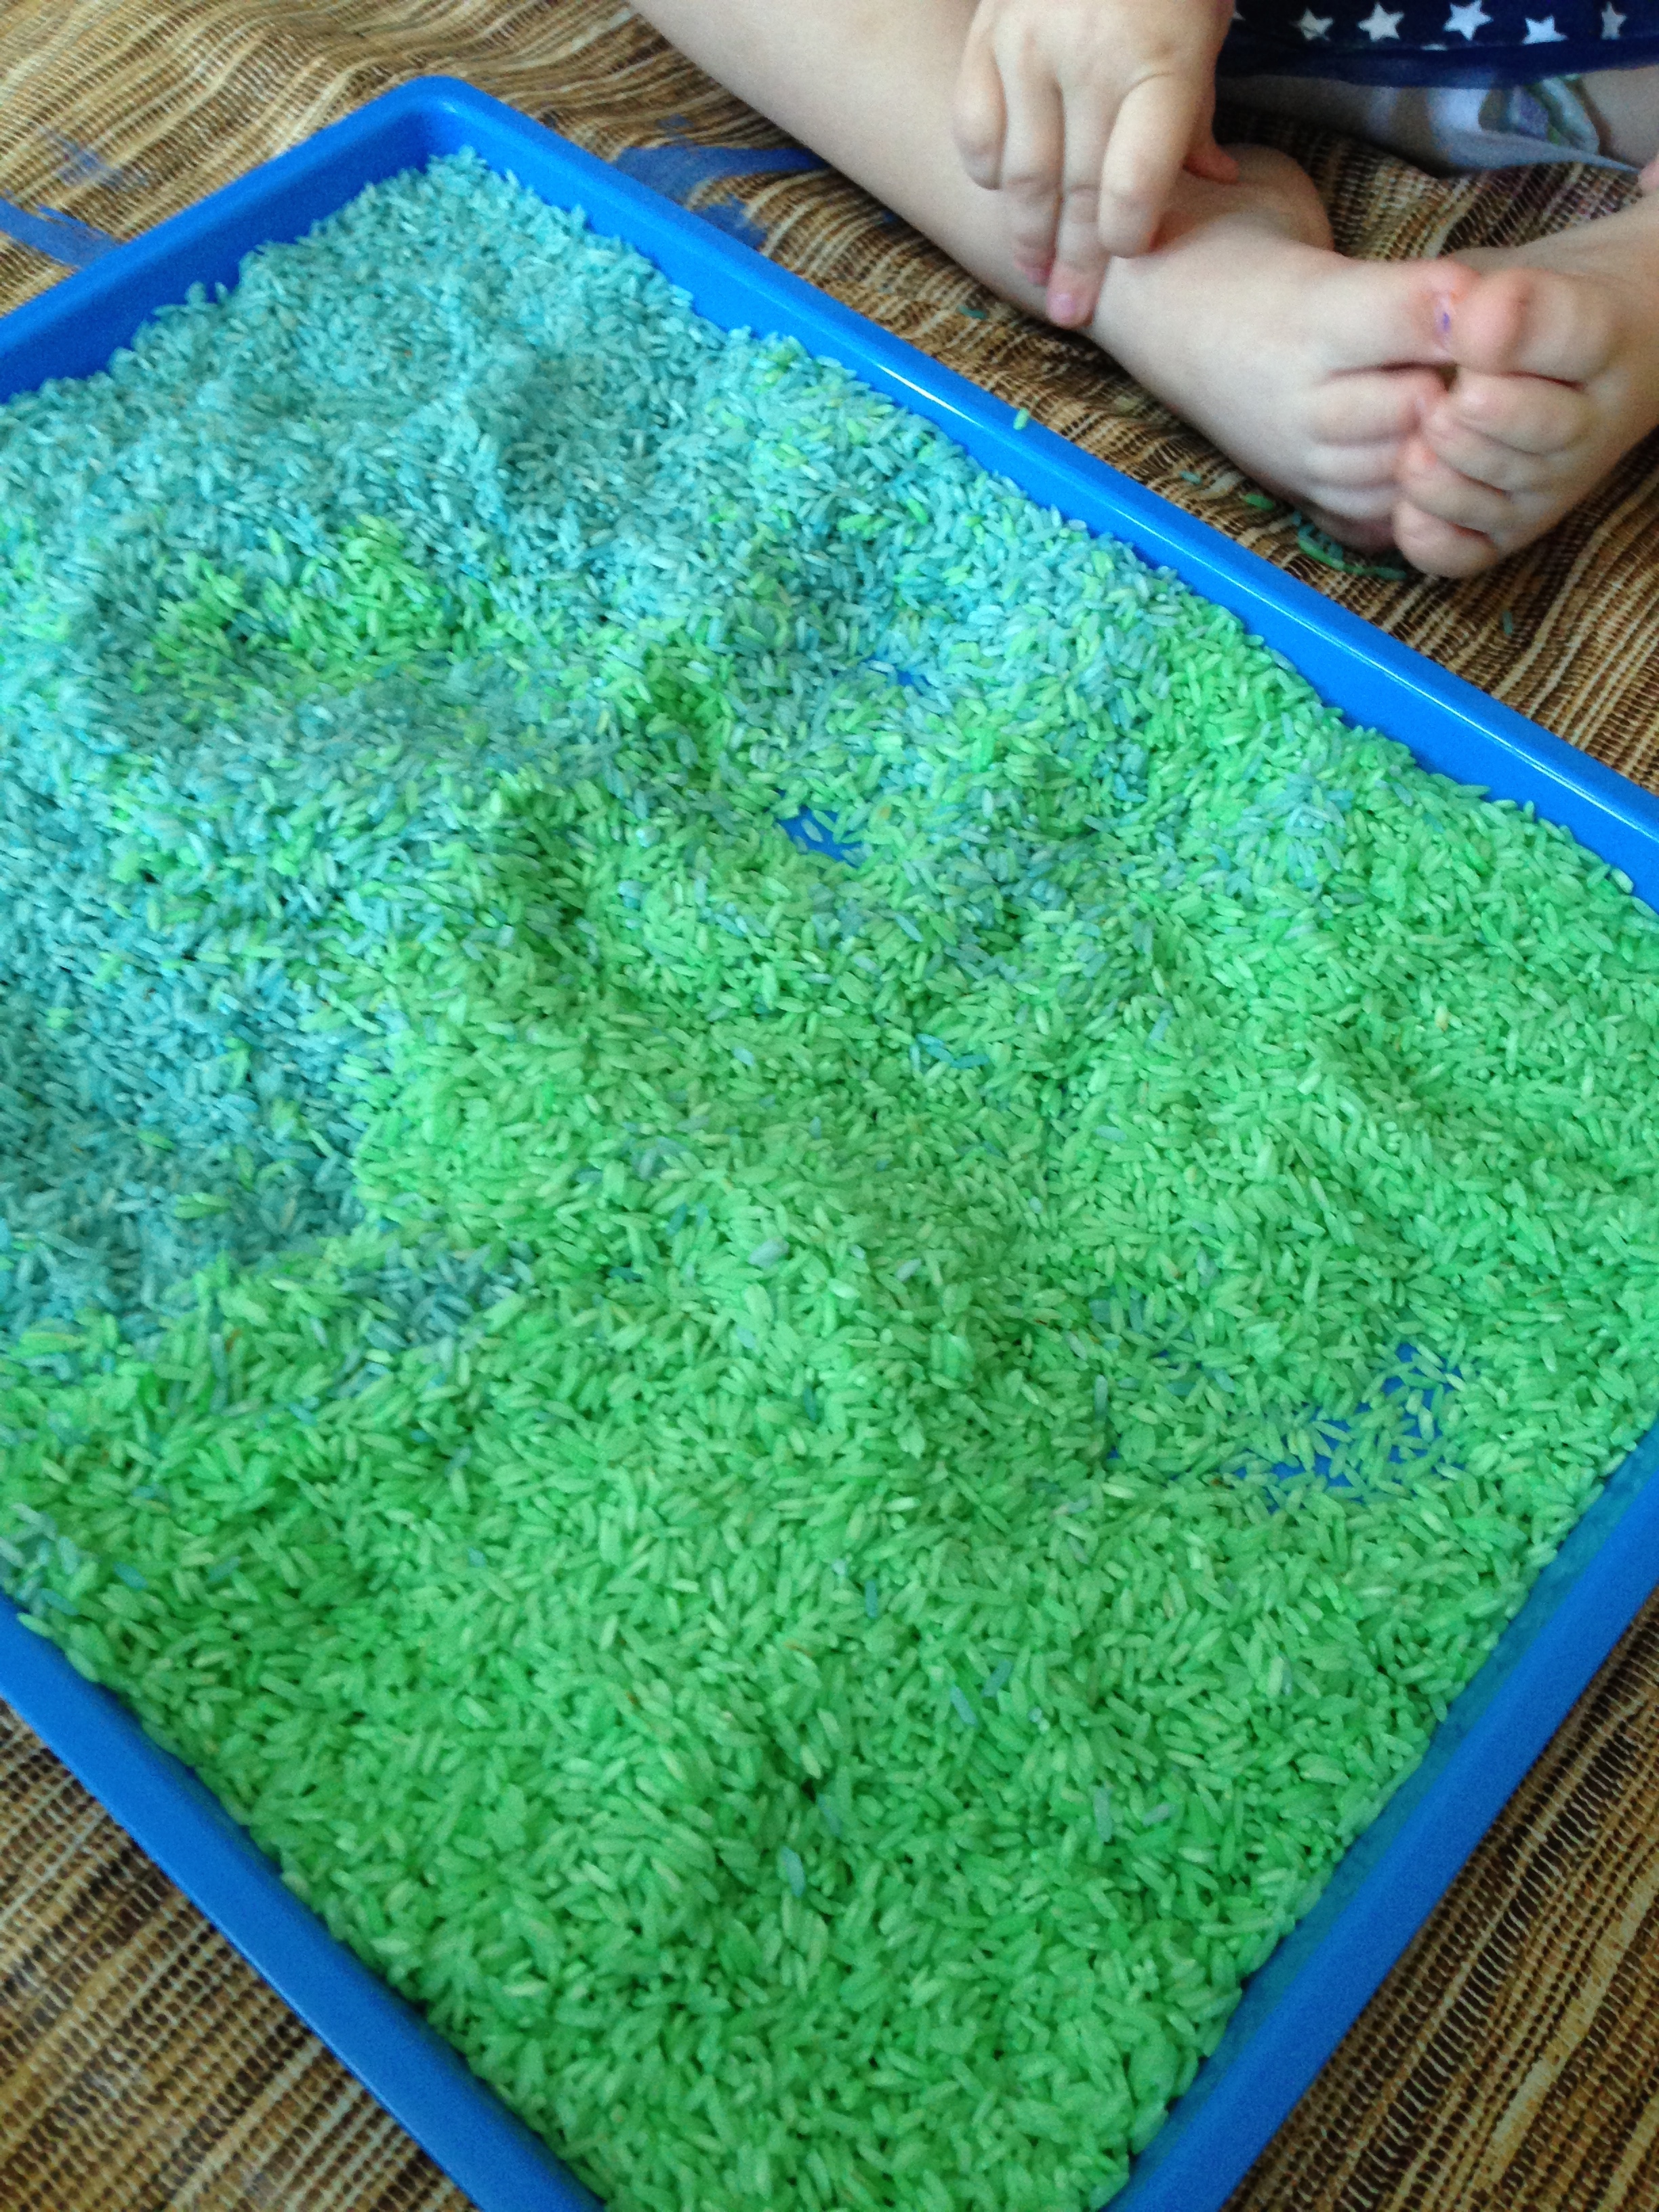
Then, she got tired of the toys and set them all out and just dug her hands into the rice.

IMG_8291

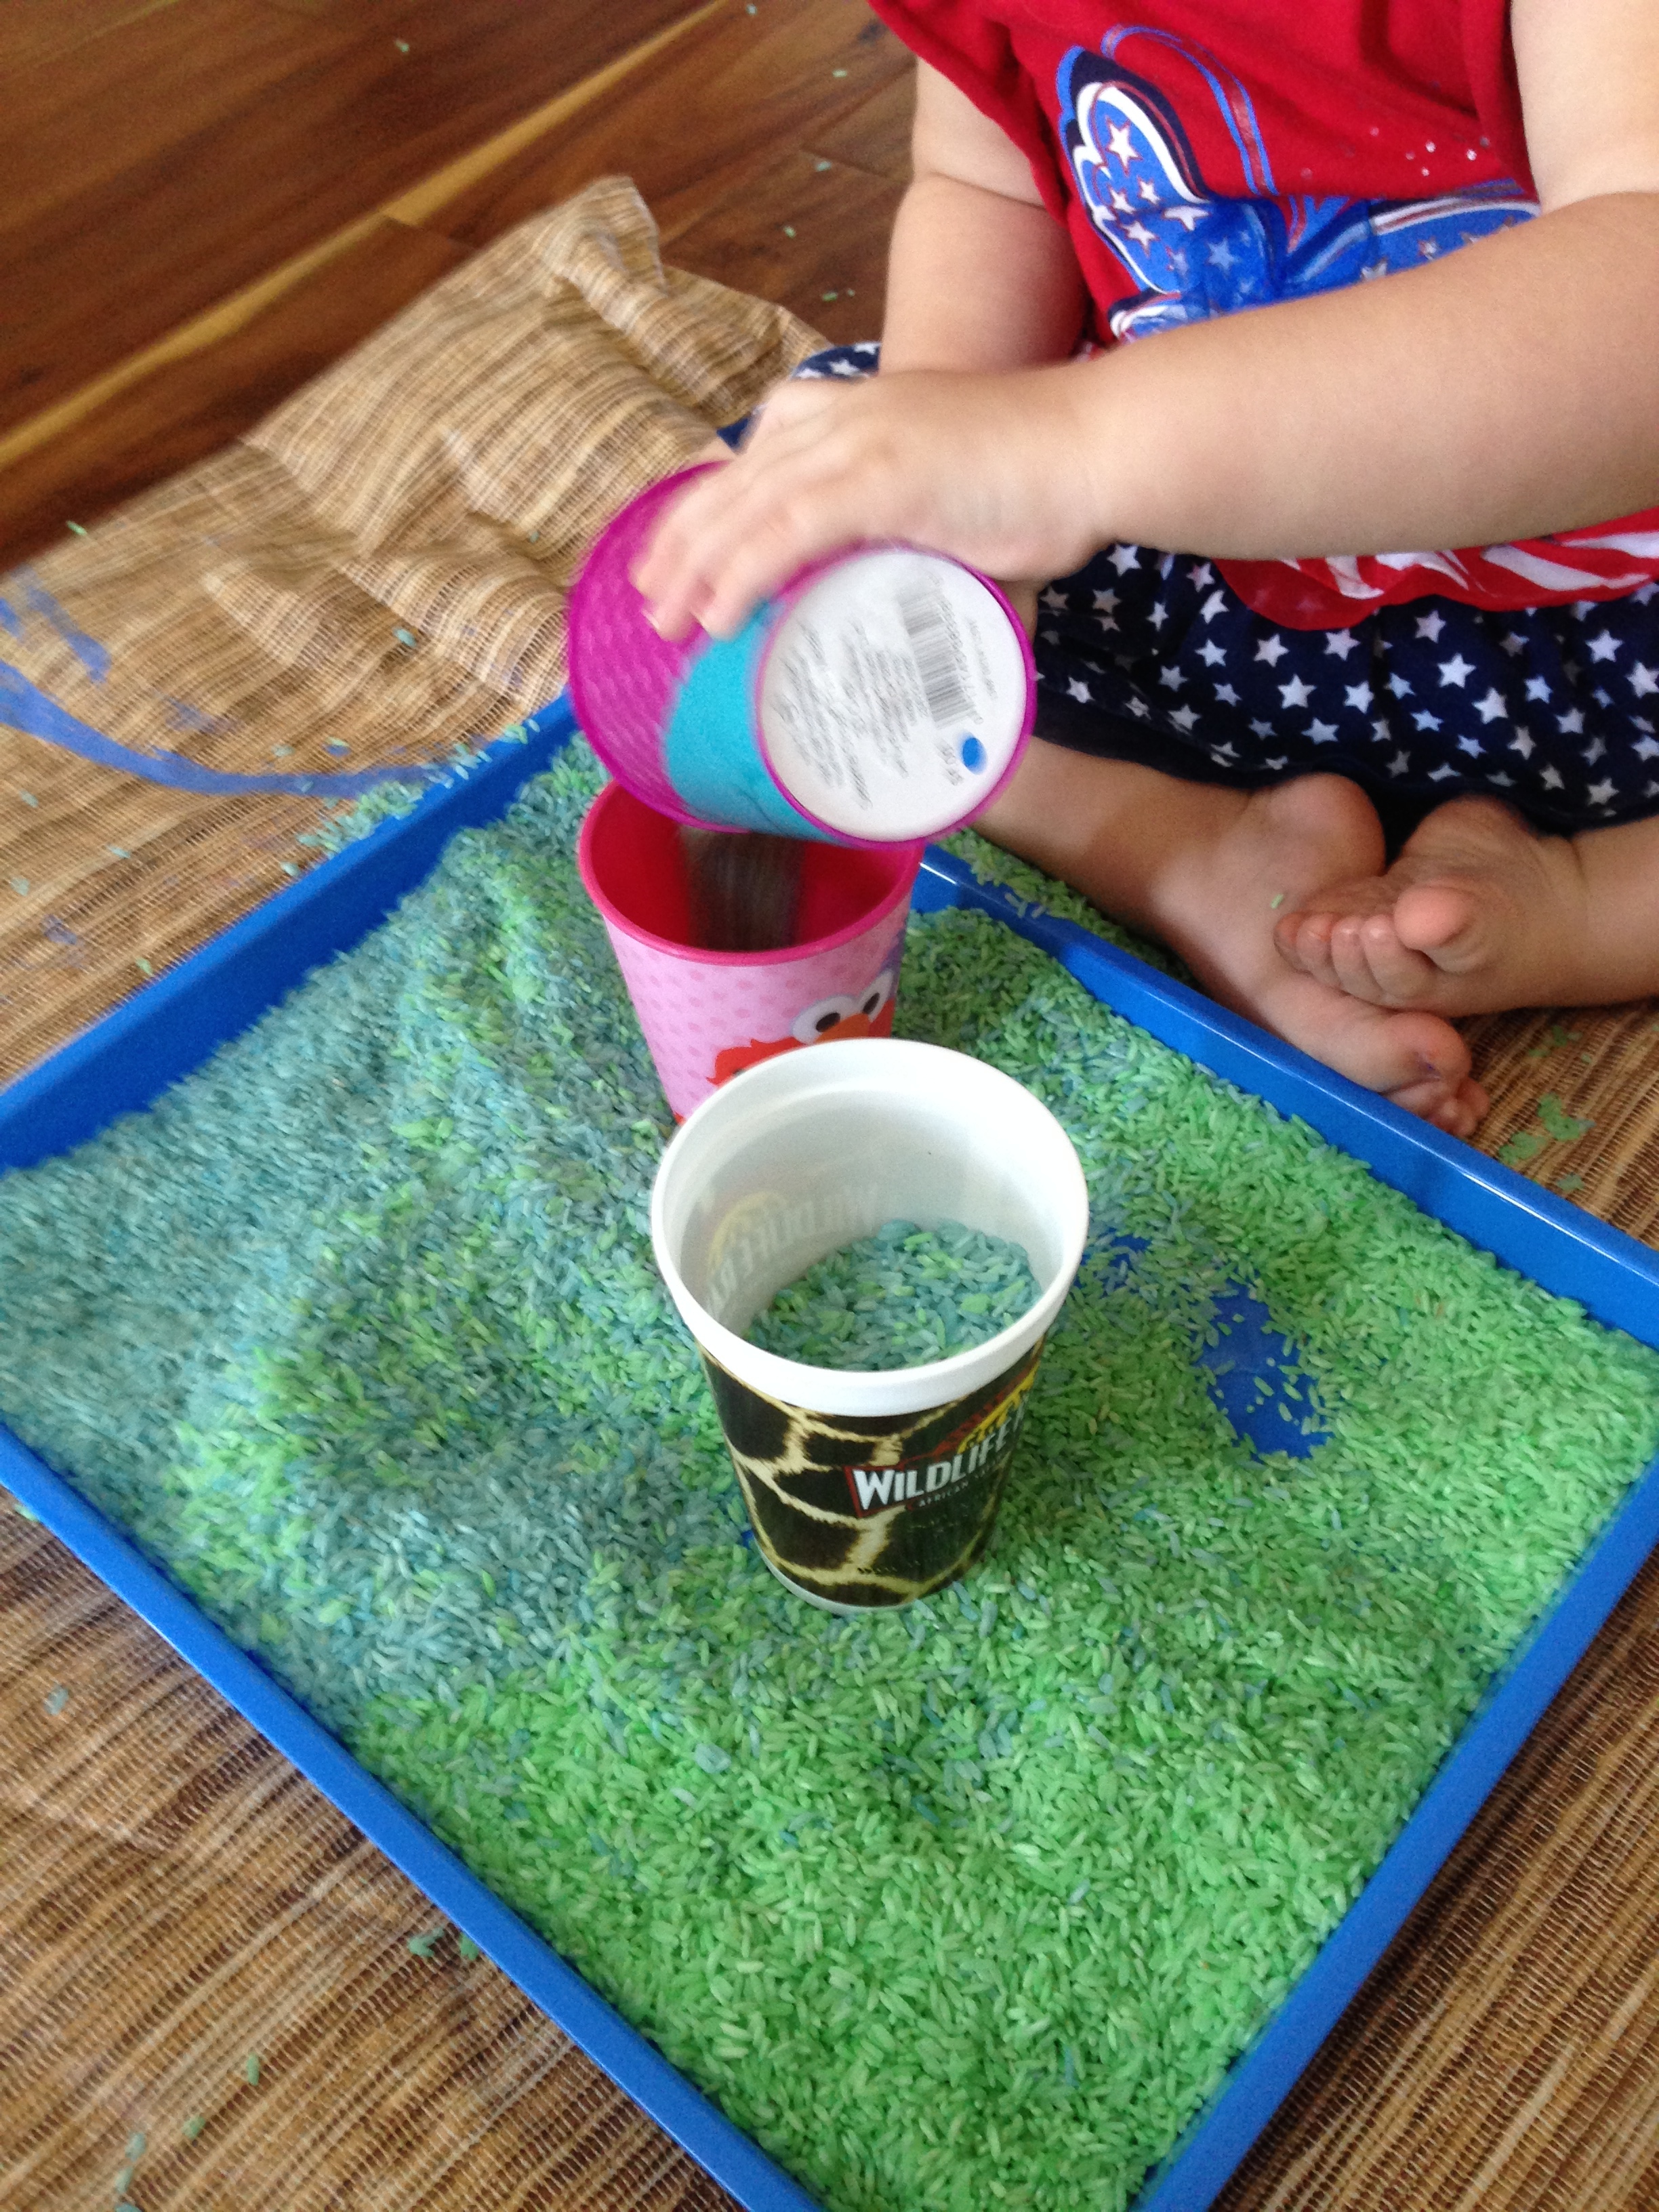
For one last fun activity before putting it away for a few days (I’ve learned that she enjoys things once and then for maximum potency, it needs to get put away for a while or she gets bored with it really quick!), I got out some cups and she loved pouring the rice back and forth!

IMG_8295


Total Prep Time for Mommy: This one takes some forethought – which is partly why it took me so long to do it even after I had bought the rice.  You’ll need to color the rice and then let it dry over night.  The coloring process to do a large bag of rice and four different colors and then to spread out to dry took me maybe about 15-20 mins.  Then in the morning, it was another 5-10 minutes to slide all the rice off of the wax paper into storage bags.  Then to gather the toys and set up the tray took about another 20 minutes.  So this isn’t a project that you’re going to just throw together in two minutes.  Also note that I spent probably about another 10-20 minutes running the vacuum afterward… and ended up doing most of the hard woods downstairs simply because I had already started…

Total Play Time for Becca: This one singular occasion, she played with the rice for about 30-40 minutes (well supervised), and then it went back into the storage bag and she can play with it many, many more times.

Our Love Affair With Learning Games

This blog post contains affiliate links.  I appreciate you purchasing items from this post!  Thank you in advance.

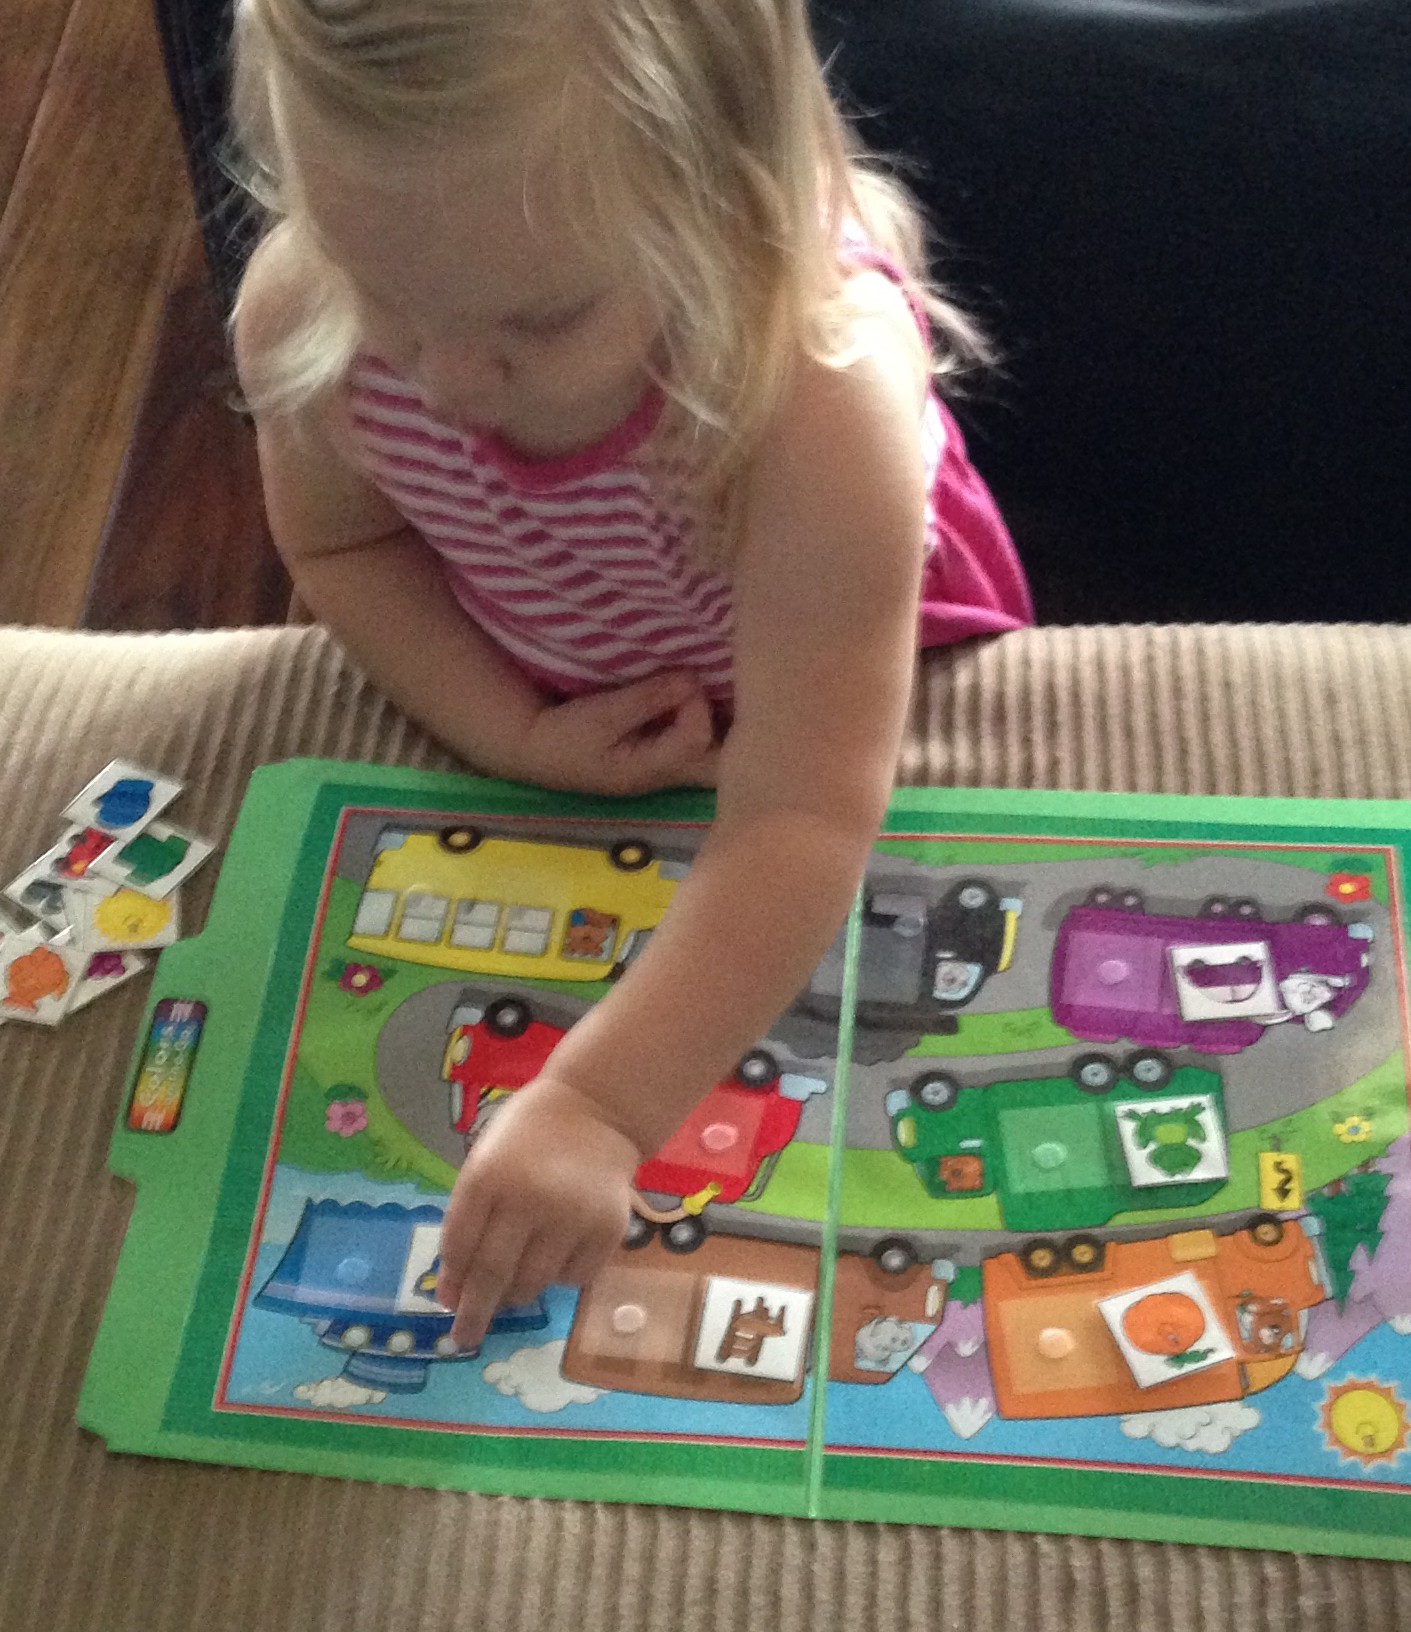
Becca LOVES to learn.  In fact, in the past week or two, Cody and I have begun having to encourage her to STOP playing learning games and go play with her imagination.  Which is awesome, but also overwhelming since she’s only just turned two back a couple months ago.  Because Mommy (and Boo sometimes too) gets tired of doing the same learning games over and over again, I found a book on Amazon and ordered it to be sent to my mom so she could make up some file folder games to add to our repertoire.  They arrived from Granny last night, and Becca has already dove in head first and done about 1/4 of them.  (Would have done more if I had let her!)  Here’s the book (affiliate link) so you can make your own for your preschooler!  One thing mom added (thanks again, mom!!!) was small clear velcro dots so that we don’t lose pieces to our games everywhere, or have to store them in a million little baggies.  Thank God for Velcro.  I swear, the inventor was a genius!  Here’s a couple of the games that can be found in that book:
IMG_8180 IMG_8179

Total Prep Time for Mommy: Well, I didn’t prep these, but I know my mom spent HOURS putting them together.  The benefit to file folder games is that they are easy to pull out, they cover important skills, and they can be used over and over again for years – Grayson will use these same file folder games, and then I’m sure I’ll probably pass them along to someone else!  So the prep HOURS are worth it!
Total Play Time for Becca: As mentioned above, there will be countless hours that these are played with.  In the moment, she played 5 or 6 of the folder games and spent about 30 minutes.. and wanted more.

Scented Shaving Cream

Well, I have been all over the blogs I follow and Facebook trying to find the awesome post that had the idea to make scented shaving cream by mixing shaving cream and kool-aid drink mix.  But to no avail.  So hopefully I can find the original source soon and give her credit here!  She did this activity with her daughter outside in their water table.  I decided to blend her idea with the one over on Laughing Kids Learn and do this as a bath-painting activity with the kool-aid version!  First, I squirted piles of shaving cream around the bath (totally unnecessary – I could have just made one pile and she would have still loved it and mixed it well).  Then, I sprinkled kool-aid mix (I had orange) on top, and put her in.  She mixed them all up thoroughly and had so much fun!!!  Note: we used a swim diaper for this activity simply because I didn’t want her sitting directly in the shaving cream – she has very sensitive skin.  She had a blast and was ready to do it again.  She also really enjoyed watching the river of shaving cream as I washed the tub out, too!

Processed with Moldiv


Total Prep Time for Mommy: 2 mins (squirting the Barbasol took a while, and then dumping the Kool-aid in)
Total Play Time for Becca: 10-15 mins (I wasn’t watching the clock, but it was a good little chunk of time.  I didn’t want her to sit in the Kool-Aid for too long, because she has very sensitive skin, so I started splashing water on her after she’d been in it for a while.  She would have played much longer.

Water Beads

This blog post contains affiliate links.  I appreciate you purchasing items from this post!  Thank you in advance.IMG_8222

“Ooo they’re cold and swippery!”  I knew she’d love water beads.  I’ve read about them LOTS of places, I’ve had friends recommend them, and she even played with them several months ago, but her hand coordination wasn’t good and they went everywhere and I just gave up and sort of forgot I even had any.  So, today during her nap I pulled them out, hydrated them, and when she woke up, it was time to discover!!  I had the water beads in a container with a good lid – for storage later – and pulled out my set of 11 circle cookie cutters for her to explore as well.  (This is the set I have…affiliate link) Here is how I presented the tray.  The only instruction I gave was to remind her that all items must always stay inside our tray – they don’t go on the table or the floor.
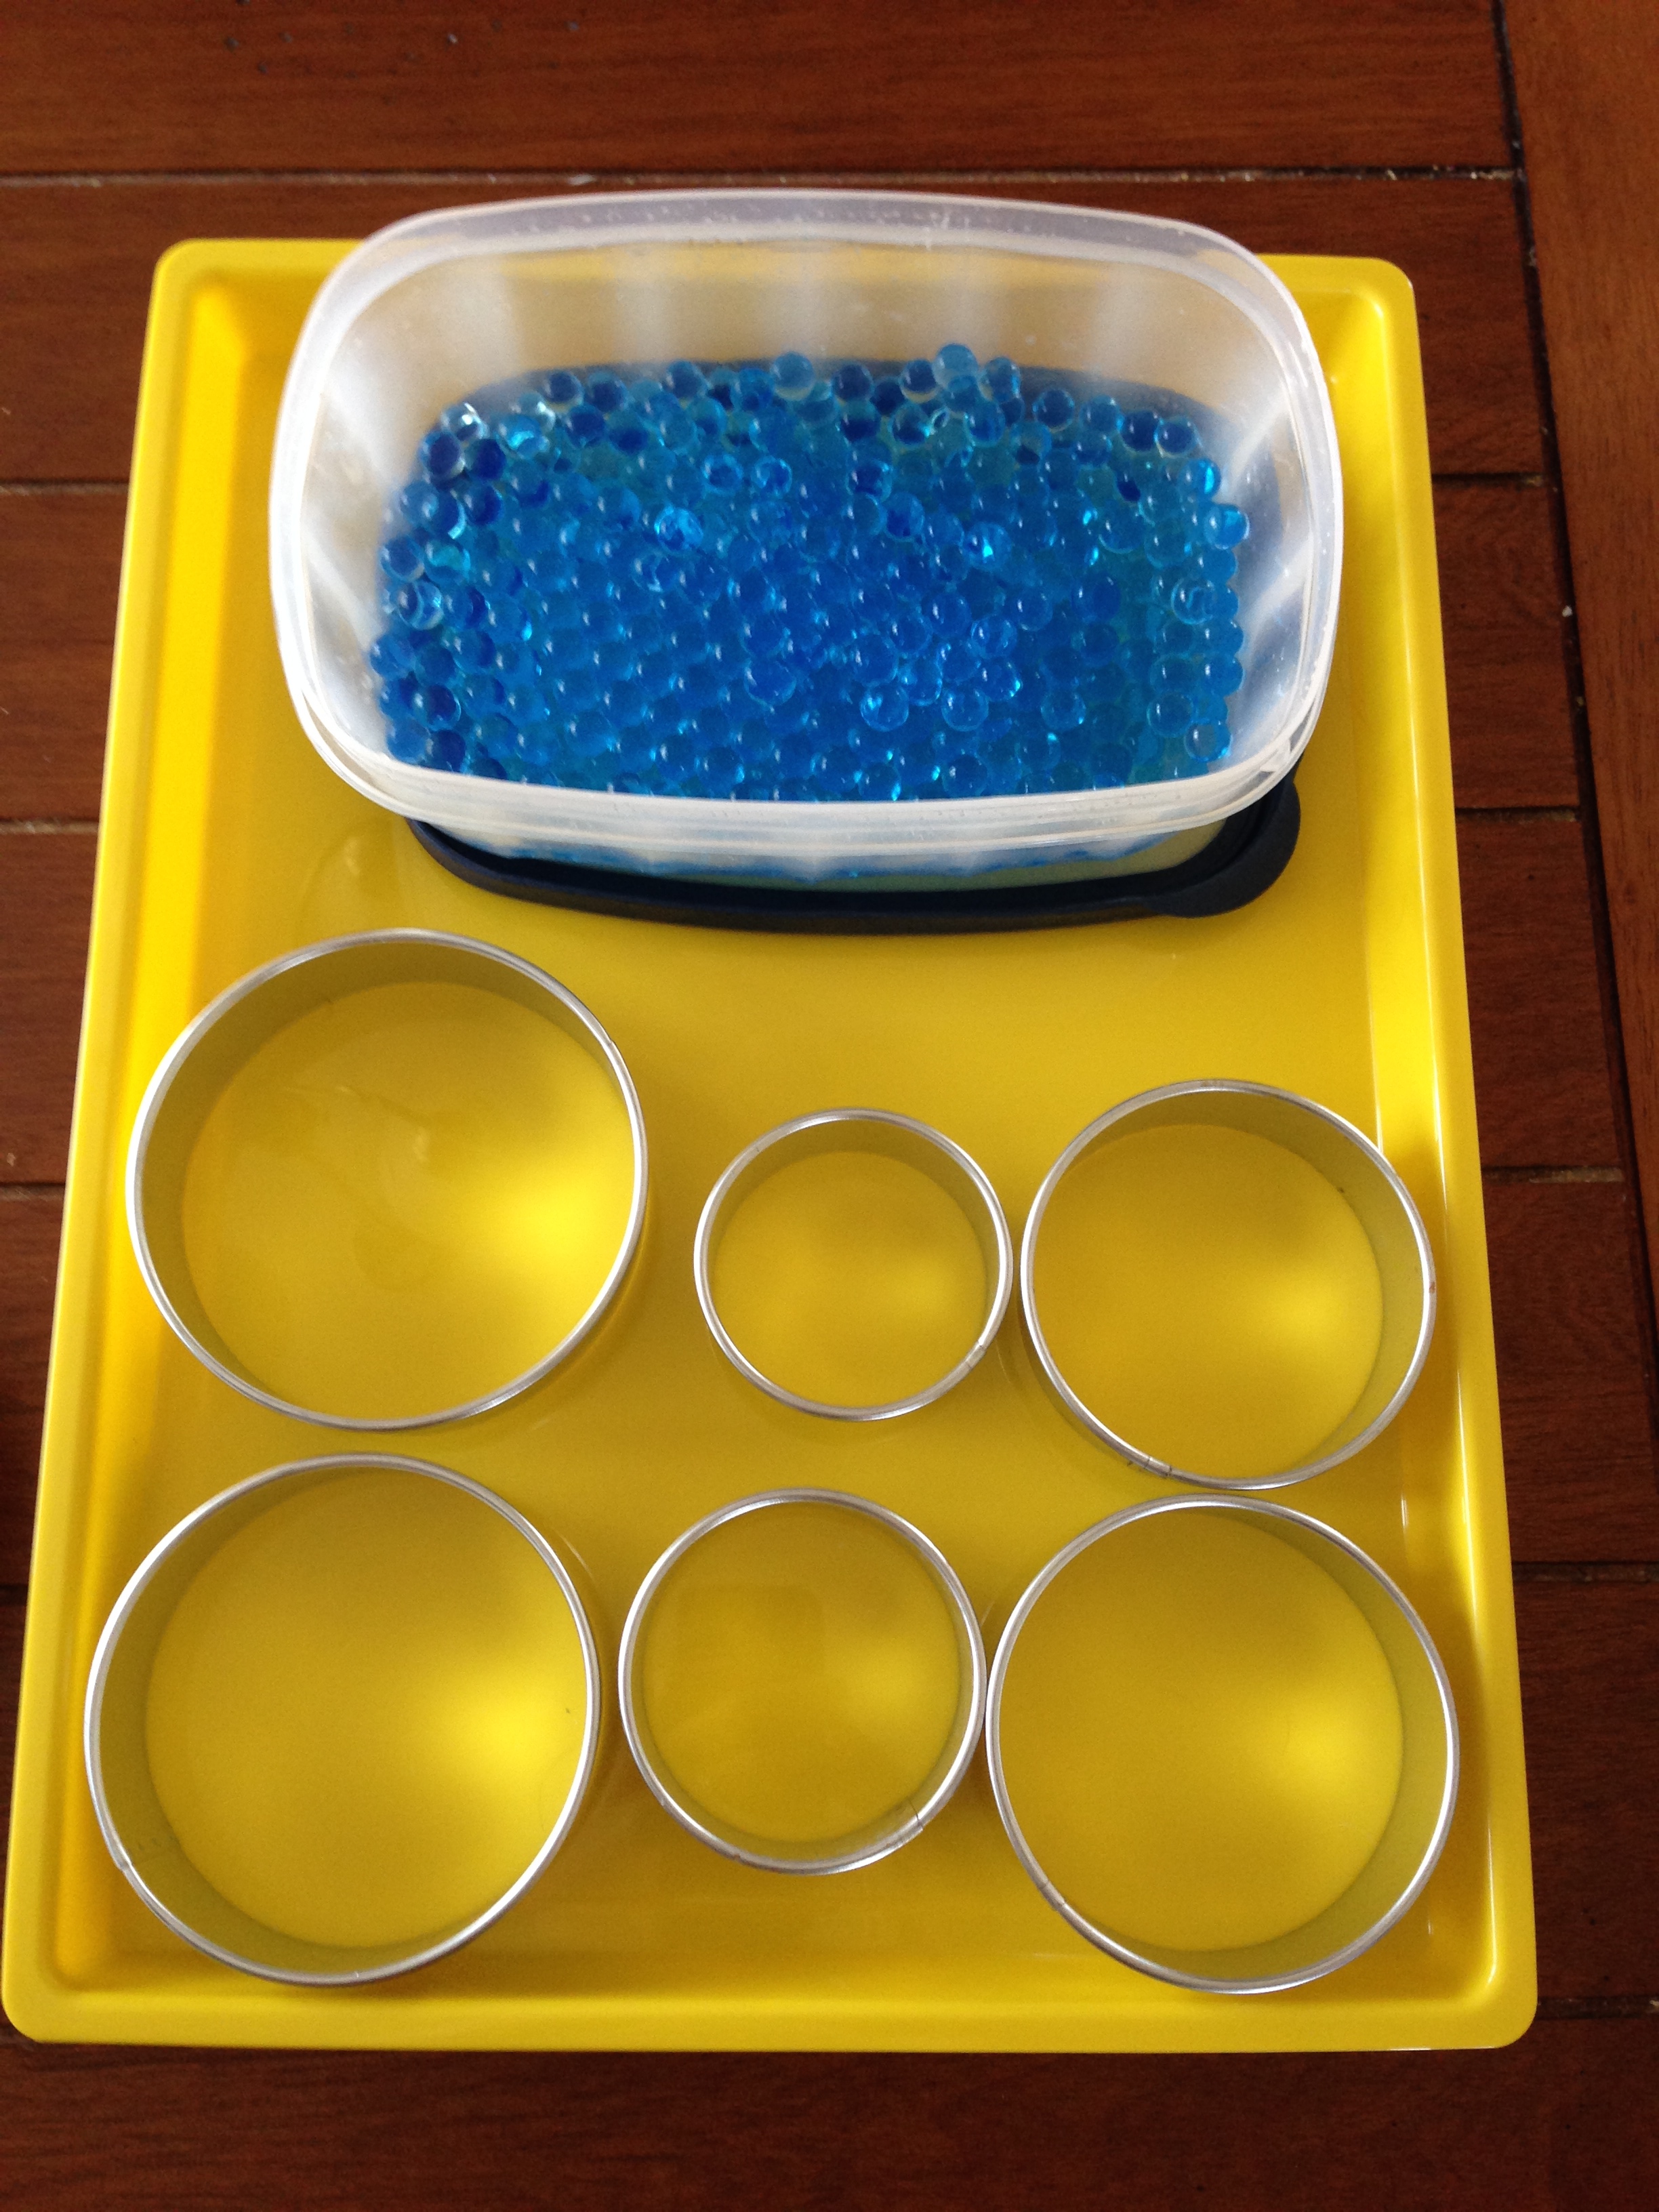
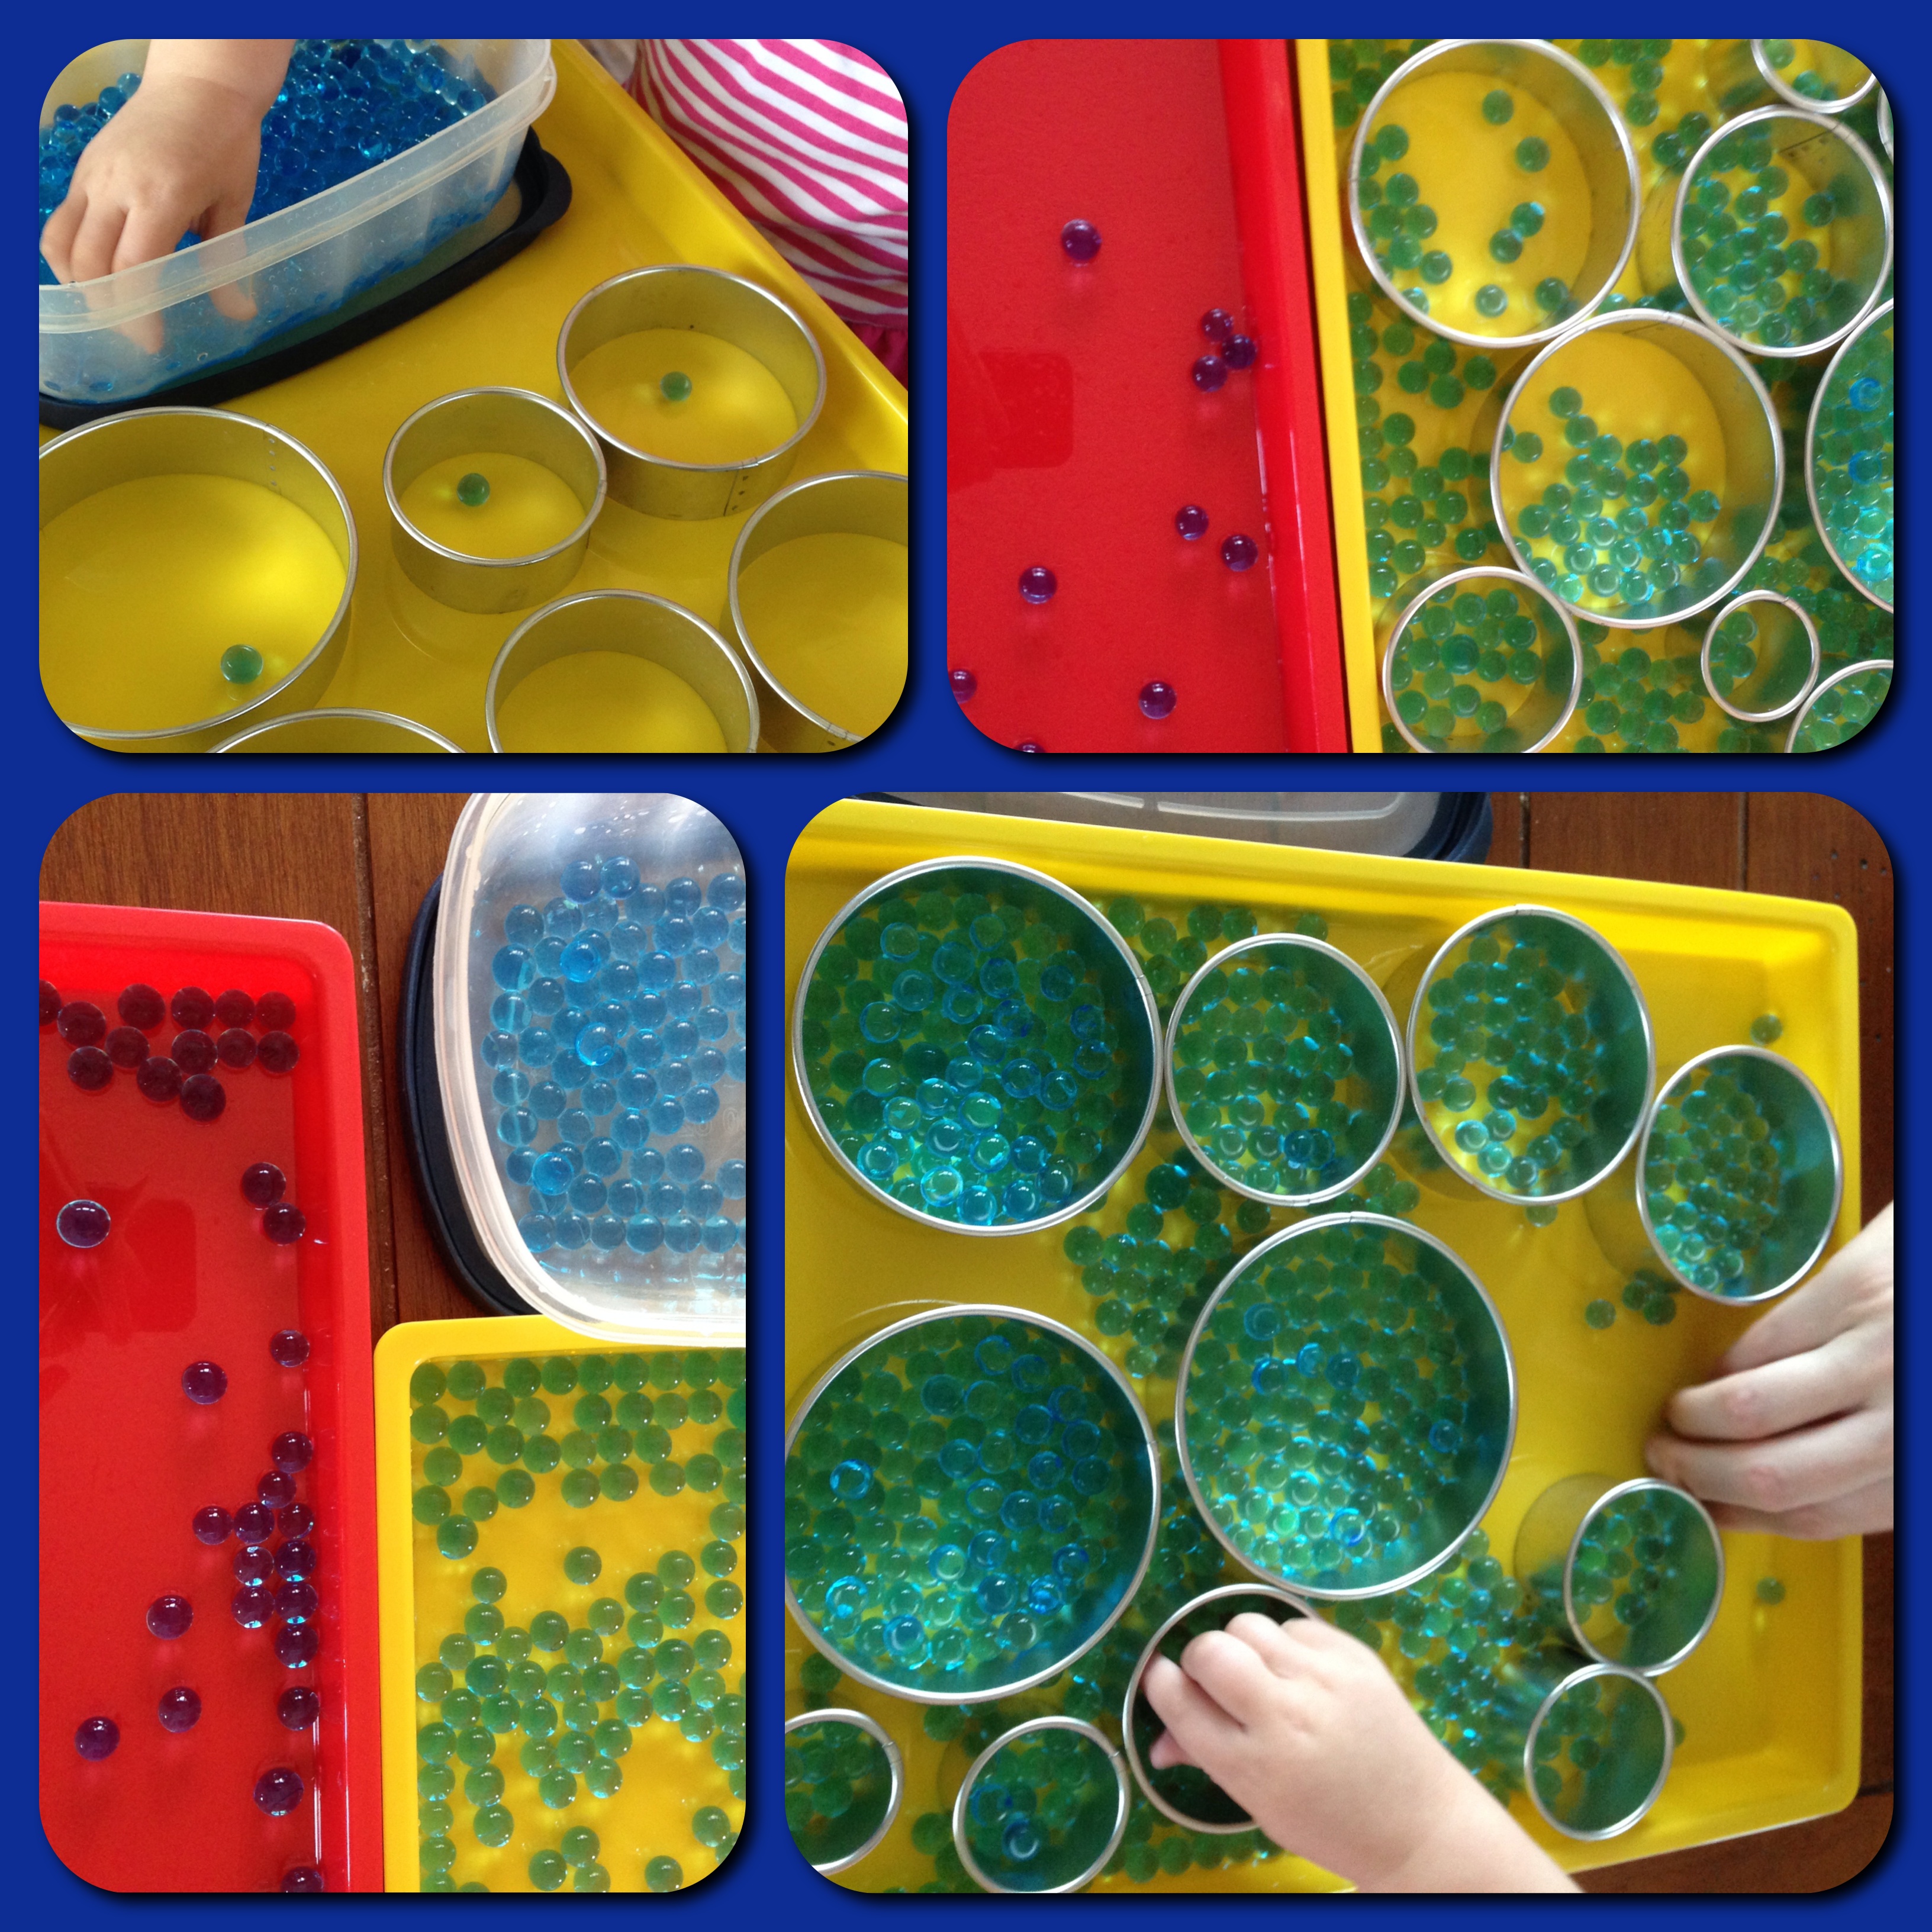
IMG_8188


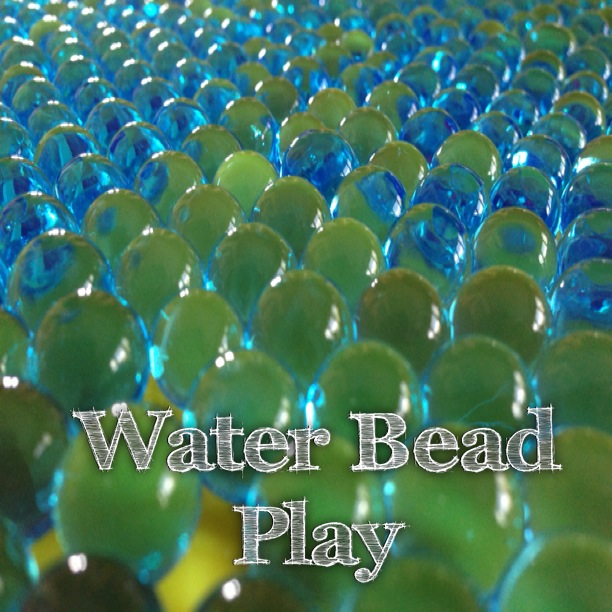
She had so much fun playing with them.  She started by putting one bead into each circle.  Then, she started experimenting with their abilities to bounce.  I had a ton of fun playing with her, and I actually bounced more out onto the floor than she did!  She had such fun, that I went and got Cody to join us… and then we all three had fun together playing with them.  (He’s to thank for the totally awesome photo at the top of this post).  The cool thing we discovered was that the blue beads looked green on the yellow tray… so I went and got the red tray, and all three of us sat in amazement as they suddenly became purple!  And then, they were blue again when we put them back in the storage container!

Processed with Moldiv


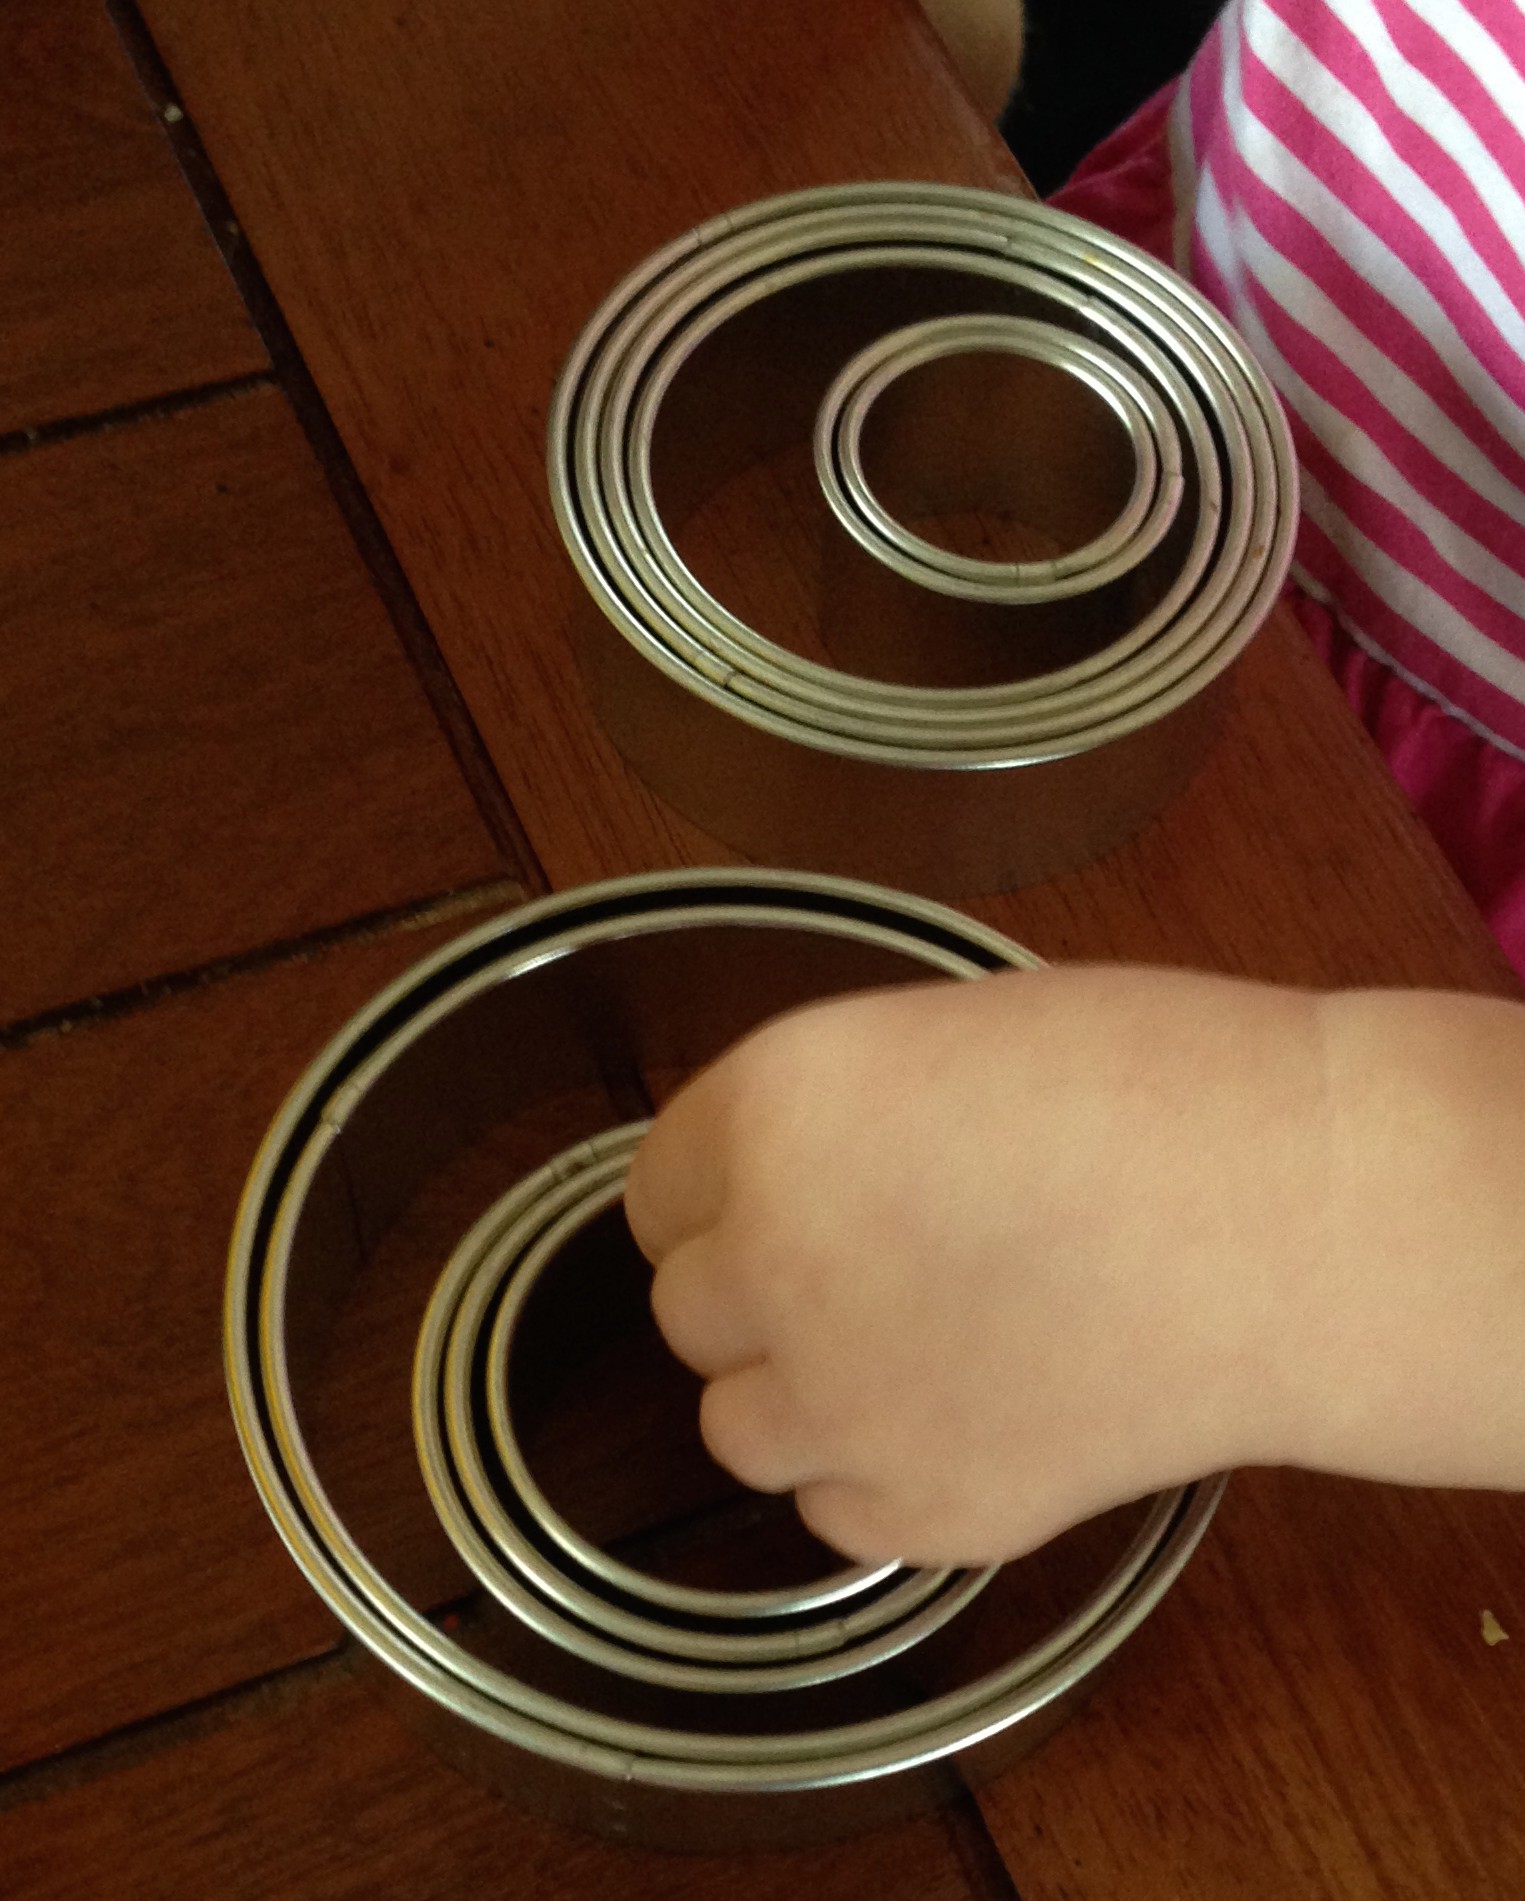
She also became fascinated with stacking the nesting cookie cutters, so we ended up having a short impromptu assessment of her “largest” and “smallest” skills.  She’s definitely got those concepts down solidly.  Always good to know where you stand on various skills!

IMG_8199


I’m looking forward to letting her play with the water beads again soon – and finding something new to do with them.  You can bet I’ll be reading up on my favorite blogs to get ideas, and of course, I’ll share what I finally come up with. 🙂

Total Prep Time for Mommy:  To hydrate the beads, I dumped them in a container and added water (total time there, about 20 seconds), then they sat for about 3-4 hours while I did other things.  To gather the cookie cutters, container, and tray, my total time was about 1 minute.
Total Play Time for Becca: We played for a good 45-50 minutes, and could have gone longer, but she decided to be disrespectful and we had to put them away.