Colored Sensory Tubs

baby bees header

Now that I do all kinds of interactive sensory bins for Becca, I had to really dig deep to remember how I started with her.  There’s a picture of 8 month old her floating around Pinterest playing with her very first sensory bin… and sadly, the link is broken because my old blog doesn’t exist anymore.  But, it’s a super cute picture, and hopefully the picture alone has given lots of moms ideas.  It brought me back to my “roots” of how to start for him.

It’s as simple as sorting your Baby Bees’ toys by color.  If you’re like us and have an older child, you probably have a MILLION baby toys that your Baby Bee has “adopted” from their older sibling(s).  And then there are the Christmas presents that just never seem to stop, that equip your Baby Bee with even more toys they probably don’t need.  So, take all those excess of toys and turn them into a learning experience!!!

Don’t have an older child and an over abundance of toys?  Just wait!  HA! No, seriously, what I did for Becca was to sort her toys, and then I added additional things that were ok to go in her mouth – like long strips of colored ribbons and fabric tied together into a large knot.  Think dog chew toy.  Seriously, ya’ll, it works for Baby Bees, too.

So, you’ve got all these toys to sort.  What to put them in?  Well, you probably know that I’m a huge fan of Dollar Tree.  Get some of their little colored buckets to help you organize.  Then the great thing is, the toys are organized, too… plus they are sensory bins!  Double bonus!!

IMG_2355

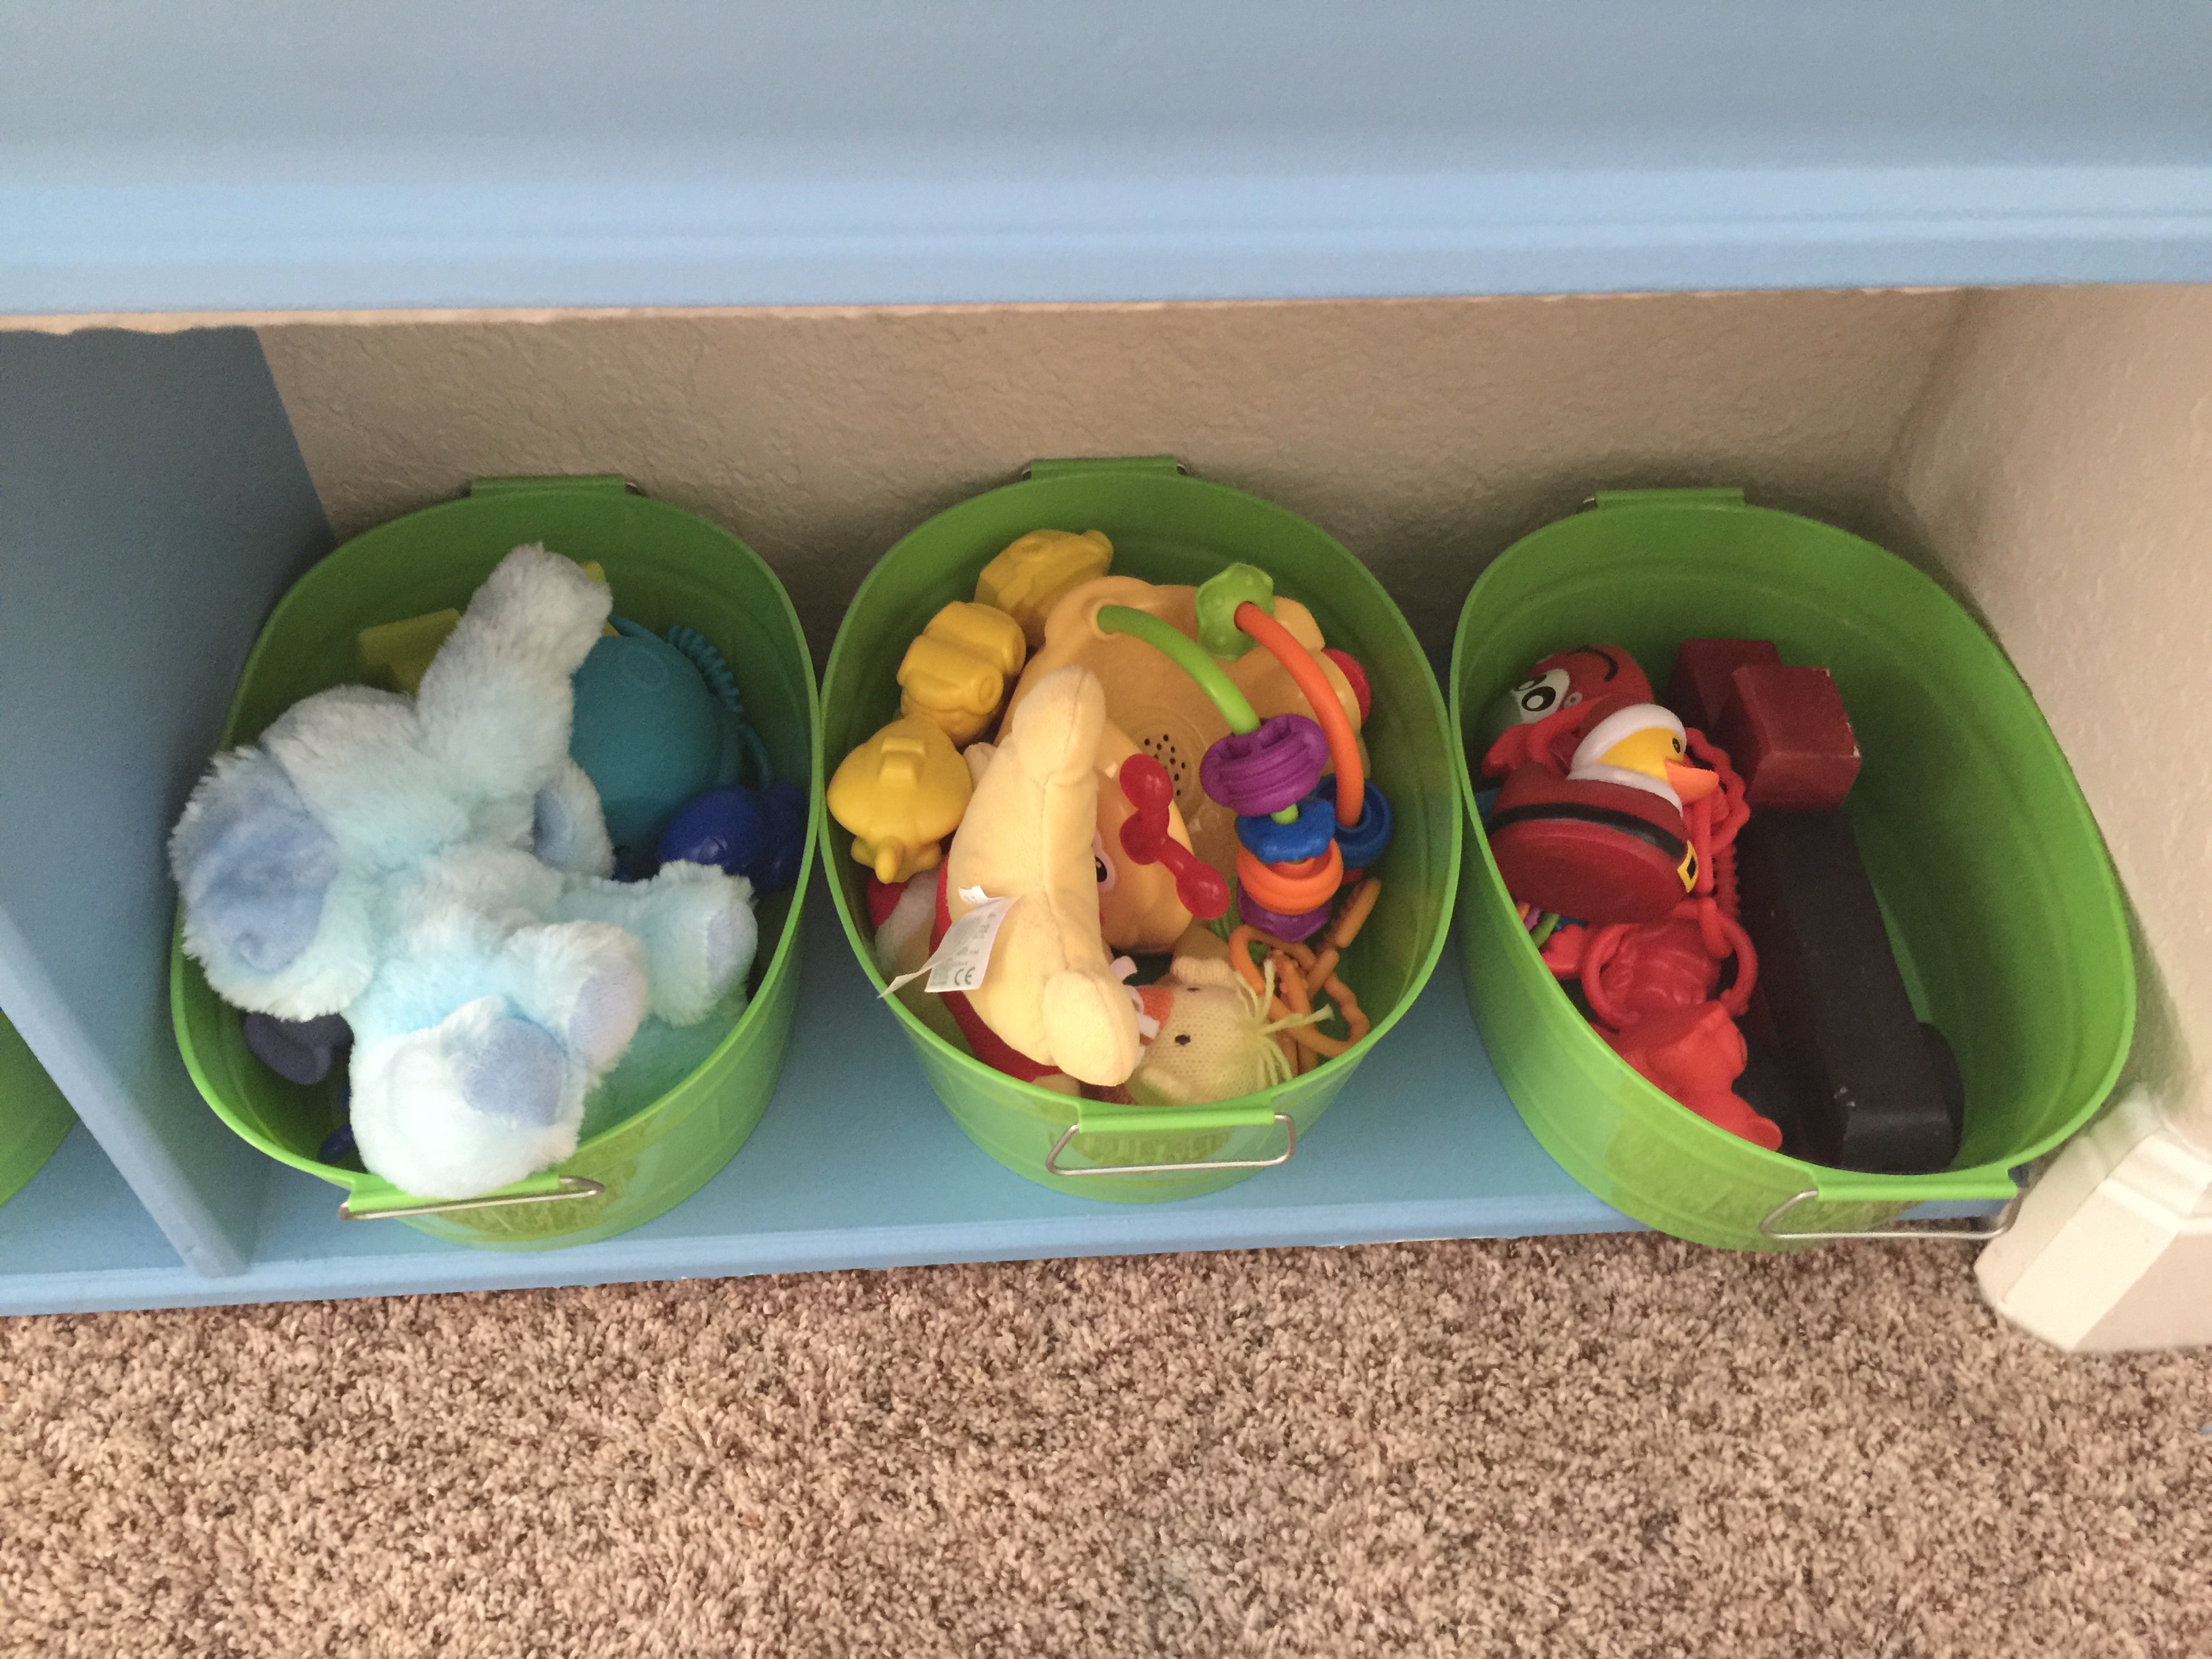
Right now, Grayson’s color sensory tubs are for blue, yellow, and red.

IMG_2356 IMG_2357

The rest of his toys are also organized in Dollar Tree bins – I especially love the big basket I found for all of his cloth books, which are never organized and needed something larger to just throw them in so they stay off the floor!

As an extension for play for an older sibling, have him or her help you sort the toys.  Let your Big Butterfly help you sort them by color, deciding which color is most prominent on that toy.  Your Big Butterfly can also select which color your Baby Bee will play with – and encourage Big Butterfly to talk to Baby Bee about the color, and point to that color if the toy has multiple colors on it.  If your Big Butterfly is anything like mine, they’ll love the challenge.  Becca is all about teaching Grayson things.  She’s quick to say, “Look, Brother, this is yellow.  And this is yellow.  But Pooh’s sweater is red.  And so is his hat.”  It’s also a great extension to the activity to have Big Butterfly help clean up – remembering to sort the items into the correct bucket.

After they’ve been sorted by color for a while, get creative – sort into soft and hard, or noisy and quiet… so many ideas for using those toys!!

And again, if you don’t have a million toys, first, praise God!  (Seriously, ya’ll, I think we have toys coming out of our ears!!)  Second, look for things around your house that would be safe that you could add to the toys you do have. Do you have colored washrags?  Do you have colored plastic bowls or plates that perhaps your Baby Bee isn’t ready to eat off of just yet?  Look for items at Dollar Tree that could be considered “toys” now, and could grow with your child – like colored plastic cups that for now can be a toy and later they can drink out of.  Or those little plastic measuring cups that right now they can just chew on, but later they can use in a sensory bin and then later use to learn about measuring.  If you feel your Baby Bee is lacking in soft stuffed animals, Dollar Tree also has a million of those… or we could donate a few to your cause. 😉  Remember, however, that with your Baby Bee, less is more.  You don’t need a box of 30 red items.  5 is plenty.  Ideally, they’ll have different textures, weights, etc, but even if you have five identical items, it’s all good.  The focus is to introduce colors.

As your Baby Bee gets a tad older, you can begin providing two tubs to play with, and see if your Baby Bee gravitates toward one color or the other, and see if Baby Bee can put the items back in the bucket.  (At 7-9 months Baby Bee should be really awesome at pulling everything out of the bucket, and may begin to start setting things back inside closer to the beginning of the 10th month.  Don’t expect color sorting til Baby Bee is much older – for some Baby Bees, color sorting between two colors won’t happen until well after Baby Bee’s first birthday.  Remember always – every Baby Bee is unique and different!)

IMG_2350 IMG_2346

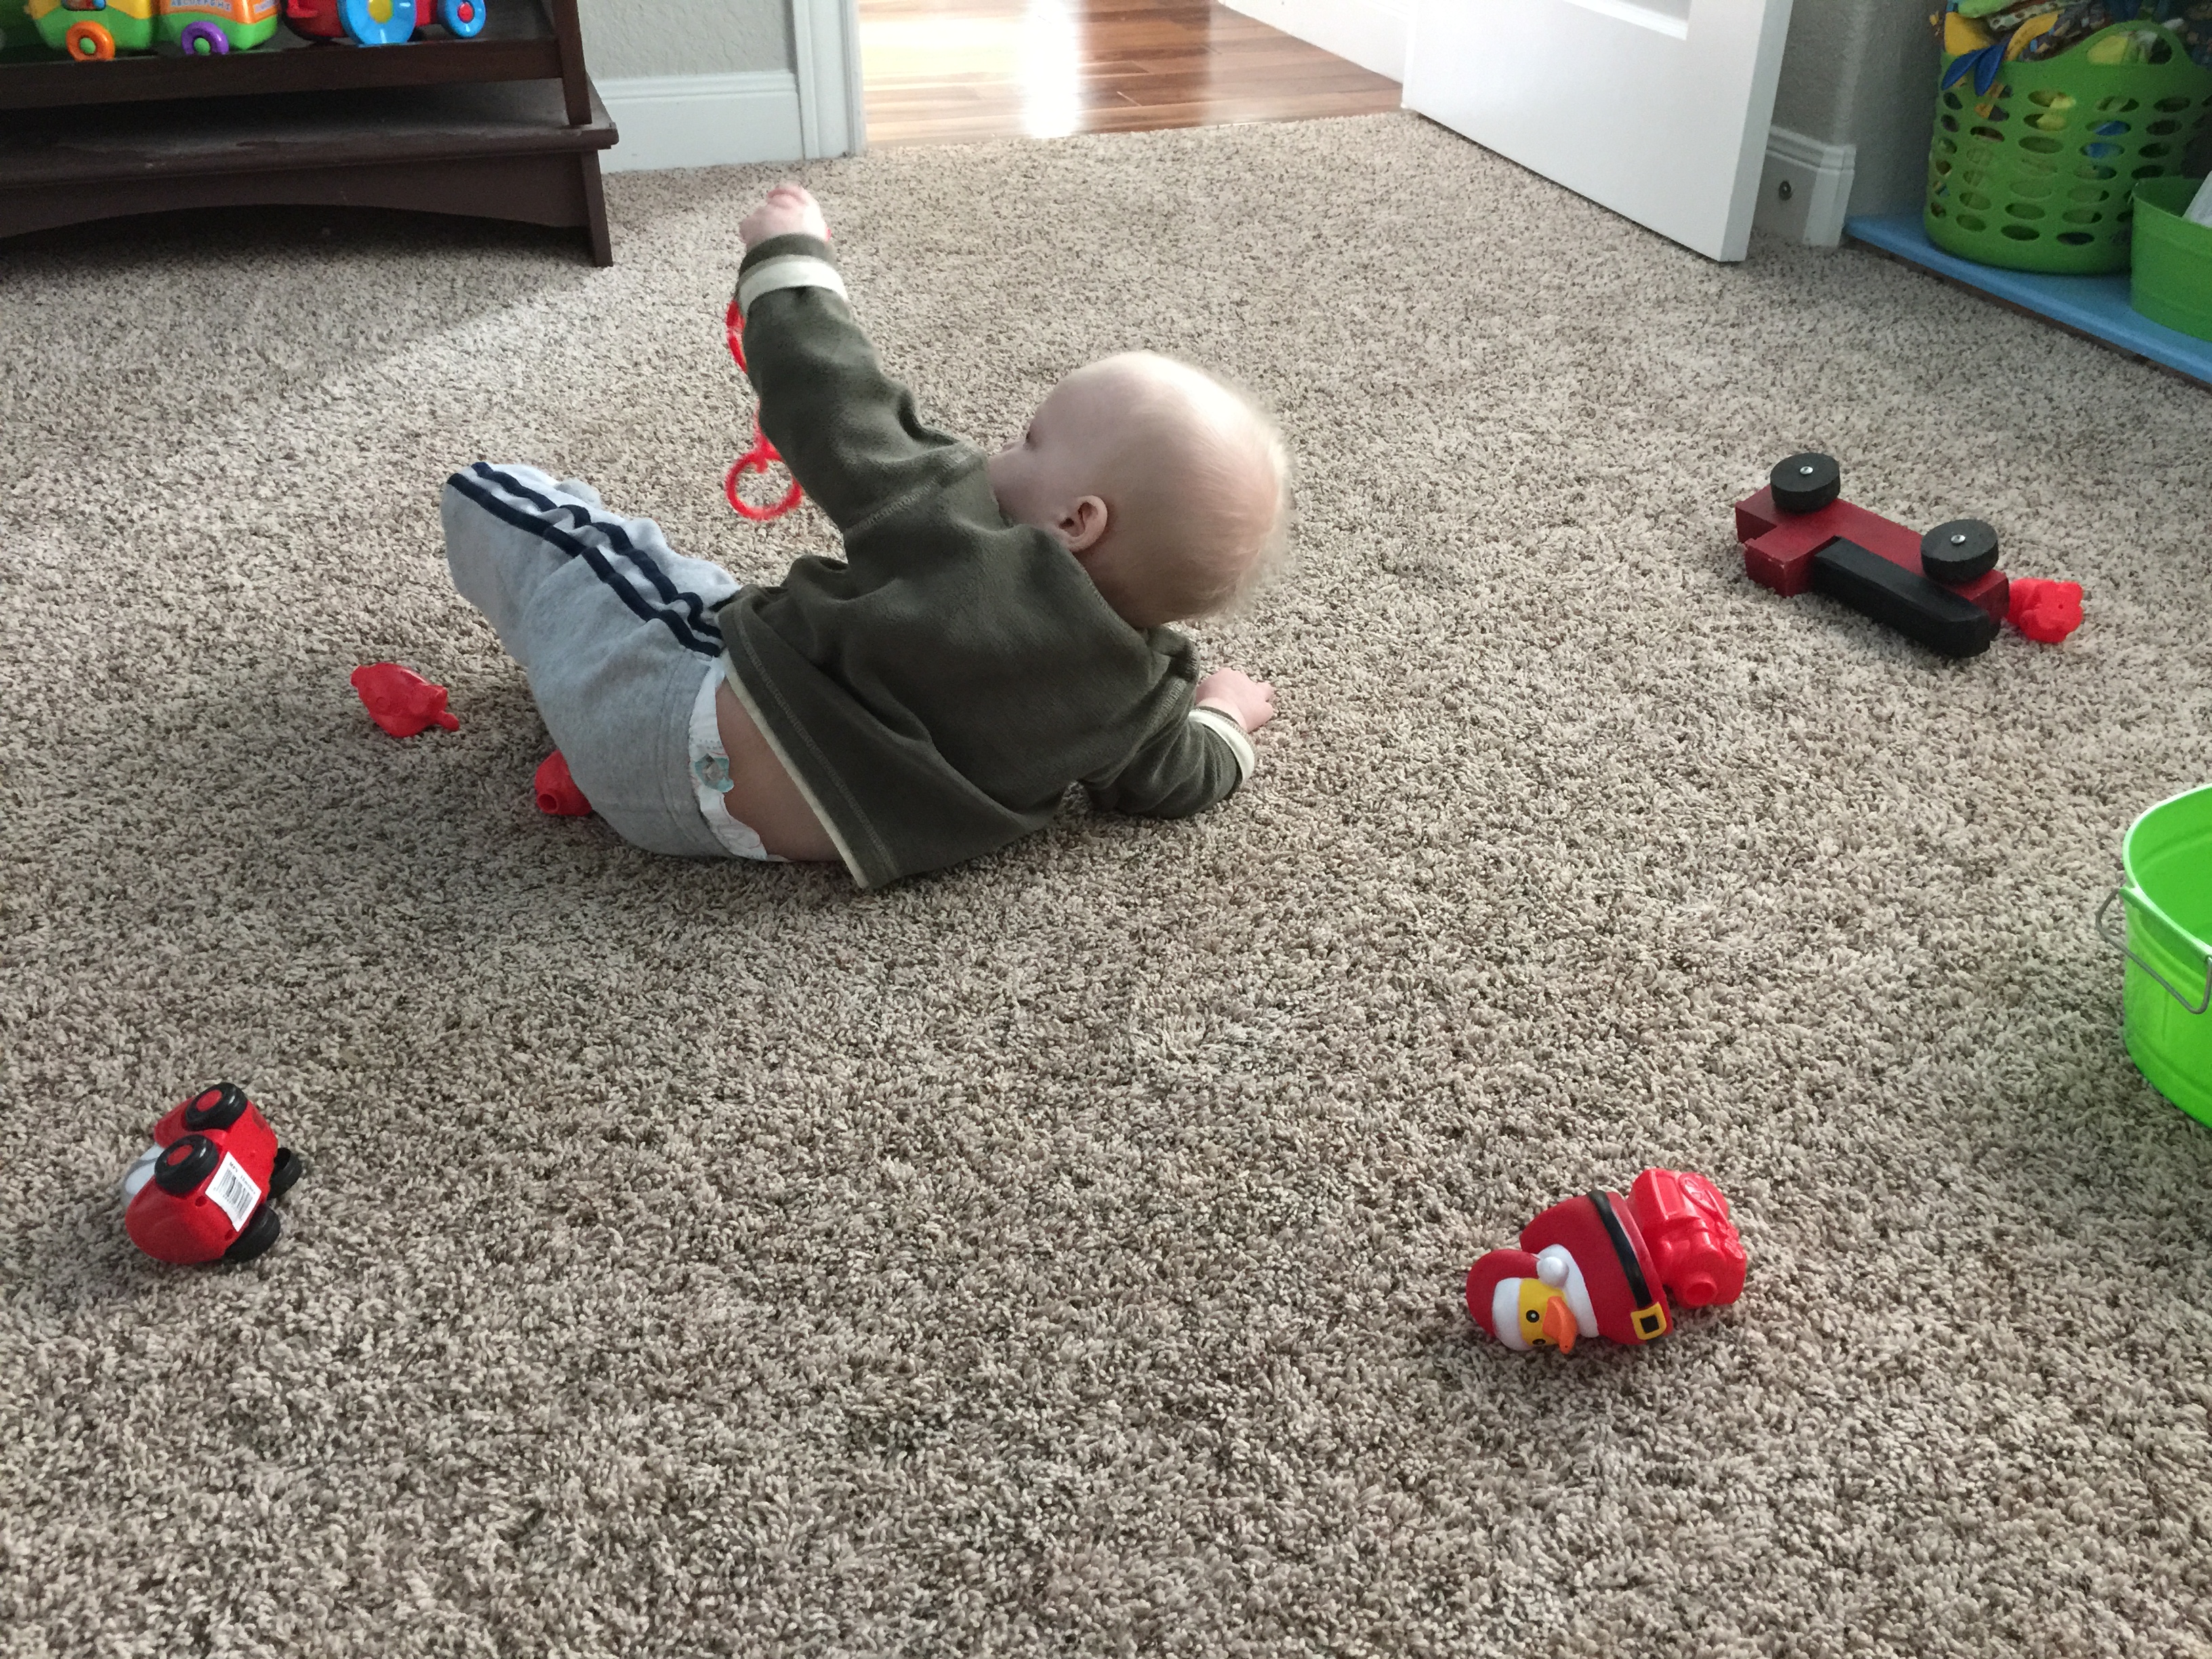
Colored sensory tubs are a great way to keep your Baby Bee happy during tummy time, and encourage Baby Bee to keep reaching for toys, trying to crawl, and practicing rolling!

Supporting Your Lefty

supporting your lefty

A conversation recently came up over on my Facebook page about how to support a left-handed child – especially when that child might be the only one in the family who is a lefty.

I myself am right-handed.  But Cody is a lefty, and so is Becca.  Time will tell which hand Grayson will prefer.  There’s a lot of research out there on the topic, and it seems from what I’ve read, that noone really agrees on when a child has actually made the final decision about which hand they will use.  Some of those “experts” would say that you can’t possibly know until a child is 5, 6, or 7… while others say you usually know by 18 months, and others say even before that.  But anyway, how do you help that left-handed child in a world made for right-handed folks?  (All research agrees that only 10% of the population are left-handed.)

It can be a challenge.  MOST “touchy-feely” books only have the feeling spots on the right side.  Desks for school children are made to support a right arm.  Most spiral notebooks are bound on the left side.  Scissors are often hand specific.

But take heart!!!  Mirrors are a fabulous thing.  It’s also great to sit across from your child to model something for them – so they are looking at your mirror image.  And, I have noticed that Becca tends to use her right hand for some things simply because that’s what she’s seen me do over and over, and it’s easier to mimic.  Cody says that he uses his right hand a lot for things, too – including his computer mouse at work – simply because that’s the way the world works.  I think left-handed folks end up having to be more ambidextrous than those of us who are right-hand reliant.  I can do a lot with my left hand, but I don’t hardly ever lead anything with my left hand.  Becca can use both hands fairly well.IMG_0422

When teaching her to eat with a spoon, and also to pour water, we talked about with hand is her strong hand, and which hand is her helper hand.  Her strong hand holds the spoon or the pitcher handle, and her helper hand holds the bowl/pitcher to keep it steady.  By using “strong hand” and “helper hand” I didn’t ever slip and say left and right and end up mixing them up.  She has a very good grasp of left vs right, and has for a long time, so it’s been very important to me to explain to her that everyone has a “strong hand” and a “helper hand,” but for some people one is the left and the other the right, or visa versa.  She has the example of Mommy and Daddy having different “strong hands” to look at.  If you don’t have another lefty in the family, it’s a great way to talk about the concept of how everyone has strengths and weaknesses in their physical abilities, and that we use our bodies sometimes in different ways.  (Also note – a left handed writer isn’t always a left-footed kicker!  Becca is definitely right footed.)

So, that’s my two cents.  The rest of this post is a compilation of websites that I’ve found that have information about having a left-handed child.  Some of them are from researchers, some are just from ordinary folks like me and you.  So, be sure to view the information at the top of the page when you visit the link so that you know how much stock you want to put in what that particular source is sharing.  I am also listing at the bottom several helpful products from Amazon that you might want to purchase to help your left-handed child.  Those products are all affiliate links, and I appreciate your purchases! 🙂

Not sure which side is dominate?  Check out these simple tests from http://www.childcarequarterly.com/spring07_story3.html
“Eric Chudler, University of Washington, has a Web site called “Neuroscience for Kids.” It includes games, quizzes, and links to brain development and function. The following activities are adapted from his work. Each activity offers school-agers opportunities for charting and graphing, surveying, and evaluating evidence. Have plenty of chart paper and markers on hand. Encourage children to make notes of their observations. If your classroom has Internet access, children can upload their data and exploration results.

Left hand or right hand? 
Rather than ask children which hand they use, set up observation experiments that rely on more than self-reporting. Prepare observation charts with three columns: Left Hand, Right Hand, Either Hand. Have observers chart peers in tasks such as using a fork, painting at an easel, turning a door knob, and throwing a ball. 

Left foot or right foot? 
Set up the same observation system as in the previous activity. Have observers chart their peers in tasks such as kicking a ball, walking up stairs (Which foot steps first?), time spent balanced on each foot, and stepping on a picture of a cockroach.

Left eye or right eye? 
Check for eyedness. Chart these tasks: looking through a paper tube, looking through a magnifying glass, and winking (Which eye winks more easily?). 
You can chart eye dominance too. Cut a coin-sized hole in a sheet of construction paper. Ask the subject to hold the paper and look through the hole at a distant object using both eyes. Ask the subject to bring the paper closer and closer to the face while still looking at the object. As the paper comes close to the face, only one eye will be looking through the hole. Which one?

Left eat or right ear? 
Chart which ear is preferred in different tests. Which ear does the subject cup to help make a whisper louder? Which ear does the subject hold against a small box when trying to determine what’s inside? Which ear does the subject hold against a door to hear what’s going on outside?”

Lefty Links:
http://www.childrenshealthnetwork.org/CRS/CRS/pa_lefthand_pep.htm

http://www.lefthandedchildren.org

http://www.parents.com/kids/development/physical/raising-a-left-handed-child/

http://www.education.com/magazine/article/Left_Left_Left_right_Left_Tips/

Lefty Products From Amazon:

Fiskars 5 Inch Left-handed Pointed-tip Kids Scissors, Color Received May Vary

Kona K2LTSB Left-Handed Acoustic Electric Dreadnought Cutaway Guitar in Tobacco Sunburst Finish

Razer Naga Left Handed MMO Gaming Mouse

Le Creuset Revolution Silicone Left Handed Saute Spoon, Marseille

Westcott School Kumfy Grip Left Handed Kids Scissors, 5-Inch, Blunt, Colors Vary (13594)

Roaring Spring “Lefty” Notebook, One Subject with 1 Double Pocket, 11 x 9 Inches, 100 sheets, College Ruled, Assorted Color Covers

EasieEaters Curved Utensils – Left-handed Utensils without Shield

I’m Left-Handed What is Your Super Power? Lightning Bolt Navy T-Shirt

TOPS Lefty Kraft Cover Notebook, 9 x 11 Inch, College Rule, 80 Sheets, Assorted Colors (65128)

Plus check out this book – I think I’m gonna have to get it!
Your Left-Handed Child: Making things easy for left-handers in a right-handed world


UPDATE 3-30-15 – CHECK OUT THIS FABULOUS SET OF TIPS!!!  http://www.schoolsparks.com/blog/teaching-a-left-handed-child

The Christmas Gift They’ll Be Talking About All Year

We all want to be the one that gifts THAT gift – the one that is truly enjoyed ALL year long.  The one that doesn’t get lost in the shuffle.  And, if you’re a mom like me, you want it to be something that your kids had a hand in making.  When I finished making our 2015 calendar in November (the day before Thanksgiving, literally… I was down to the wire, ya’ll…), I told my mom and my bff… “friends don’t let friends make a calendar like this EVER again.”  And “don’t EVER let me think I can do this kind of project again.  I might go crazy.”  So why am I sharing this EPIC project here, and already saying I’m doing one again this year?

Because it’s January.  And by starting NOW on this project, I have the whole year to get it done!!  (Thanks, Mom and Rena for the encouragement to do this again!!!)  And so do you.  And the best part for you – I’ll be giving you various art ideas all year as we do them, so you’ll be able to follow along right behind us and make your own amazing, EPIC calendar for 2016!

Inspired by artist/author Eric Carle, we did a wide variety of art – painting, chalks, markers, etc on sheets of textured card stock, and then I cut the papers to make a collage for each month.  Becca helped glue the pieces down, and selected Washi tape for each picture.  (She’s a little Washi obsessed… just like Mommy.)  Then, I scanned each picture into my computer, and printed the pictures out on our color printer.  By scanning, I was able to make an awesome cover, which has a preview of each month.  Then I printed out calendar blanks and typed up a sheet that explains what type of art is included on each collage.  I used photo splits to attach the sheets to each other (fronts to backs), then laminated and comb bound each calendar.

Here are some close-up photos to give you some ideas for your 2016 calendar!  Plus, later this year, I’ll share a FREE printable set of 2016 calendar blanks, so you don’t even have to worry about creating those – just start working on your art, and I’ll help walk you through creating this calendar for the important folks in your kids’ lives!

Plus, throughout the year, as we do our art, I’ll give you ideas for how to modify this activity to involve more than one child – so don’t think you have to worry about making a calendar from each child!  There are ways to make some months be a collage of art from each child, and then also making certain months especially just from one specific child in your family (perfect if they don’t share the same birthday month – let them be the star of their own month!)  And yes, baby Grayson will be taking part in making the art for 2016.  (Again, I may be slightly off my rocker… but I think it’ll be worth it in the end!!)

SO – check back next Friday for your first art project… we’re ready to make our February collage, and so are you!  (Yes, we may not do our collages in order… we’re full force excited about Valentine’s Day around here… so we’ve got February done already!)

Please note – due to the fact that the family members who will receive our calendar read my blog, we’ll give you art ideas and show photos of our sheets of painted paper, but will not be posting photos of the finished collages.  Gotta keep something a surprise for Christmas! (And I want you guys to be original in your collage ideas…)  Next January, I’ll be asking for photos of your finished calendars… and feel free to share your photos of completed activities you’ve done inspired by my blog ANYTIME by sending me an email: butterbeesandbumbleflies@gmail.com Please be sure to put on your email if I can share your photos on my Facebook page.


IMG_0593IMG_0595

IMG_0589 IMG_0591   IMG_0590 IMG_0582IMG_0583 IMG_0586IMG_0588 IMG_0585IMG_0581 IMG_0587IMG_0584 IMG_0580

Vinegar Science

steam activities header

What better way to start off our STEAM Thursday series than with some good ole vinegar science?  Vinegar science posts are a dime a dozen, but hopefully some of what we did will inspire new ideas of how you can take your basic activity to extend it further.

A couple of basic supplies that we’ll be using in many of our STEAM activities are a set of plastic beakers, and plastic pipettes.  I ordered them off of Amazon – here are your affiliate links to help you set up your science supply shelf!

Plastic Beaker Set – 5 Sizes – 50, 100, 250, 500 and 1000ml

Plastic Transfer Pipettes 3ml, Gradulated, Pack of 100

Some other items I recommend you picking up are some plastic trays (they are fabulous for any craft activities) – I got these cute heart shaped ones we’re using for this activity over at Dollar Tree.  We also have some fabulous activity trays that I got from Lakeshore, and I’ve heard that some Walmart stores carry similar trays.  If you’re looking for a quick order off of Amazon, here’s a great set.

ECR4Kids Flat Activity Trays Set of 5 (Non-Slip)

For this activity, you’ll also need vinegar, baking soda, and food coloring.  We also used paper towels.  The lab coat is of course optional – I used to sell Pampered Chef cooking products, so my chef’s coat is now her lab coat / painter’s smock. 🙂

IMG_2279 IMG_2281

You can make this as basic or as complex as you want.  Here she’s doing the first steps – I put vinegar in two beakers, and she decided she wanted to make green, so we did blue and yellow.  She stirred the coloring in with her pipette, and then squeezed some of each color over into the smaller one to make green.  Talk about good hand-eye coordination and fine motor skill work!  It took a bit of practice to get the colored vinegar to move, but she go the hang of it fairly quickly!

IMG_2282

Then we took our tray, and made three baking soda mountains.  She enjoyed squeezing the colored vinegar onto the baking soda and seeing the colored bubbles!

IMG_2284 IMG_2285

So that was where my intentions for the project ended.  The rest is all Becca.  And that’s the beautiful thing about having an open science experiment time with your kiddos.  LET THEM LEAD.  They’ll take you amazing places.

IMG_2292

First, she decided that she wanted to dump ALL the vinegar into the tray.  Talk about big bubbles and lots of giggles!!!  The whole heart turned green, and she was super excited.  Then, she drew in the remaining baking soda with a pipette.  So suddenly we were doing art in our science experiment.

IMG_2294

Then, she discovered that the pipettes float!  But, if you fill them up and then put them in, they sink.  And, when I used a paper towel to clean up a spill, she thought it was awesome that part of the paper towel was yellow, part was blue, and then where they touched, they were green.  And then, the paper towel fell into the tray.  And thus began the TRUE experiment portion of our science time.  She loved watching the water soak into the towel, so we folded paper towels with different amounts of folds to see which would take the longest to soak up the water.  And then we stood up a paper towel in the water and she learned the words “capillary action” in regards to how trees take water in through their roots and the water spreads upward through the tree like the water spread upward through the paper towel.  I never expected my 2 1/2 year old to be able to repeat “capillary action” to her Daddy and explain it’s “like the trees getting water from the ground”… but ya know, I never expected lots of things when it comes to Becca.  She’s definitely my little science expert.  I’m so curious to see what career path she will choose some day.  Whatever she does, she’s gonna be amazing.

IMG_2297 IMG_2302

I hope that this, the first of many STEAM activities for the year, will inspire you to get into the kitchen (or dining room as the case may be) and start experimenting with your kiddos.  And don’t be afraid to let them lead you to a place you didn’t plan to go.  Because they might just be ready to learn about capillary action, too.  Or not.  Let them lead… and be prepared to follow.  (But don’t worry, if they lead you to a place where you don’t know all the answers… that’s what the internet is for!)  🙂

Wacky Wednesday

  • “Mommy, can I be a science girl forever?”  Oh yes.  Yes, you certainly can.
  • So, since birth Becca has struggled with having eczema behind both ears.  It typically flairs up in the winter months when her skin is the driest.  We try to remember to keep her lotioned up, but it’s easy to forget.  When I do put her lotion on, though, I often say “We have to keep your lotion on you so that your eczema doesn’t come back.”  So, the other day, she woke up and put her hands behind her ears and said “My eggs are back.”  It was all I could do to keep from ROTFL!   
  • “I love you so much Baby Grayson.”  Melt my heart all over the floor!
  • While watching Sesame Street, one of the special words was “float”… and the example showing “float” was an astronaut showing things floating in space.  “He’s on the ISS!  I’m gonna go there some day, Mommy.”
  • “Bye, Mommy.  I’m off to Mars.”  “How are you gonna get there?”  Sometimes since receiving her train set for Christmas, she has said that she’s taking the train to various places – the grocery store, church, etc.  So I half expected her to say “the train.”  “Orion.”  Of course.
  • “I’m a dancing rabbit butterfly queen!”  Wasn’t sure how to respond to that one.  But I certainly did smile a lot as she danced around the room wearing her butterfly shirt and her purple tutu.  Love this girl.  She never fails to amaze.
  • “I’m your shopper buddy!” She certainly is.  Somehow we suddenly crossed the line of dreading to take her with me anywhere, and now really enjoying getting to take her shopping.  Love my big girl so much!