I have come to realize that despite the fact that Becca dearly loves her brother and does a fabulous job of being a big sister and sharing Mommy’s time, she does NOT like it when I feed him. So suddenly my sweet, helpful, loving child becomes this raving lunatic who needs Mommy NOW… And will do ANYTHING – including creating a hugely stinky diaper and then saying she wants to sit on the potty- to get Mommy to PUT. DOWN. THE. BOTTLE. (and the baby.) So it was time to find a solution.
I’ve heard about “busy bags,” I’ve fallen in love with the idea of felt “quiet books,” and I’ve had the desire to be this amazing teacher/mom who does everything according to Pinterest. But, let’s face it… That’s just not how life works when you work from home and have two kids. You never know when, for example, a hurricane is going to hit Hawaii and you’re going to spend HOURS on hold trying to help out your poor sweet couple who is stranded on Maui for their honeymoon and have to cancel a huge portion of their trip due to weather. I’ve come to realize that most of the stuff on Pinterest is for moms that have one child, a live-in maid, and don’t do anything but make awesome stuff for their child all day long. (And let me insert here that I’m now on day FOUR of working on this post… nothing happens quickly around here, folks!)
But, back to the problem at hand. SOMETHING has got to tame the savage beast twice a day for about 30 minutes so her brother can eat in relative peace… Without relying on the tv every time. Enter the activity boxes. It truly took me ten minutes to put these together. (Because remember- I don’t have time during naptime to create fun stuff… I’m on the phone or the computer working.) Here’s what’s in them…

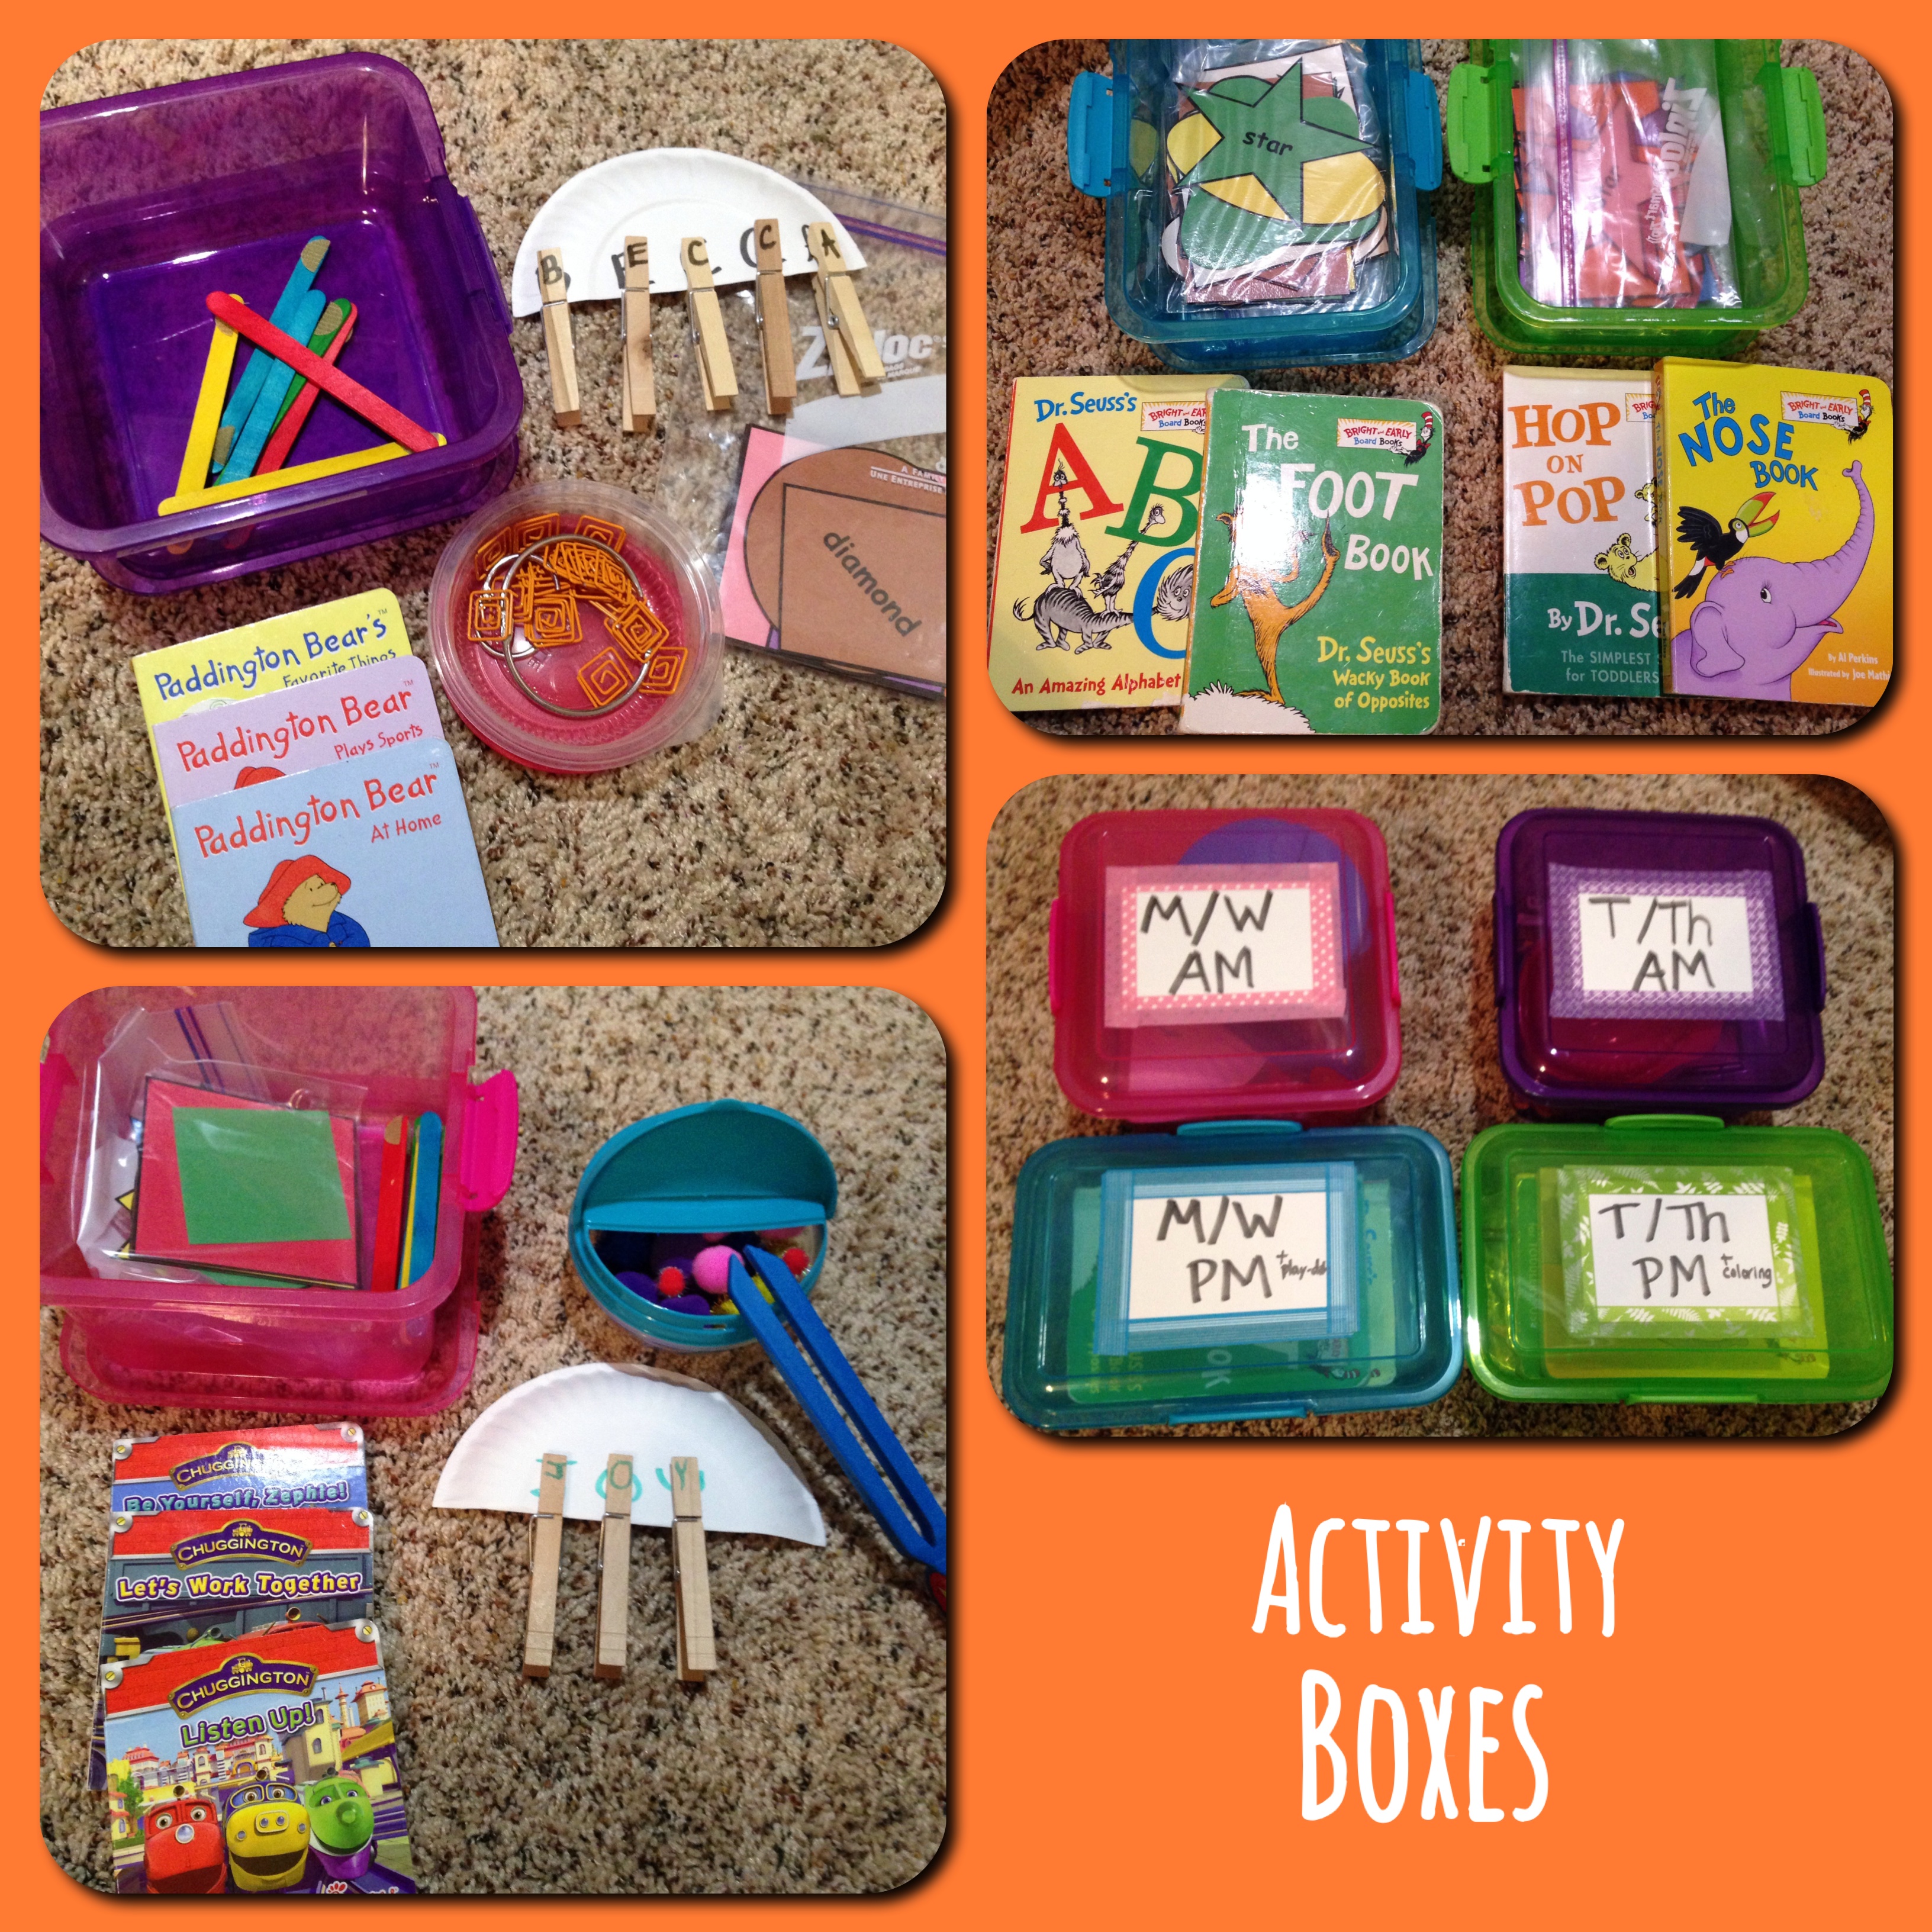
I have a M/W am box, a T/Th am box, and then pm boxes as well. I got the boxes at Dollar Tree. Total of $4. Yay! I decided that knowing my girl (and let’s face it… My patience level) like I do, the AM box could be more fine-motor related and detailed. (These are boxes she will have at the table, strapped into her booster seat, while I sit next to her, so I CAN offer assistance/supervision.) The PM box is way simpler bc Mommy is tired and doesn’t want to offer much assistance/supervision.
Each of the four boxes has a shape sorting activity, so here’s how the shape sorting works. I have the Shapes and Colors set from Carol’s Cutting Edge (order yours here – affiliate link) and I divided them up into four sets so that in each box there are shapes/colors that she can match up. She’s so used to sorting by color, that I wanted her to sort by shape, too. So for example, M/W pm has all the stars, ovals, crescents, rectangles and hearts that are green, yellow, brown, and white. Then T/Th pm has all the stars, ovals, crescents, rectangles and hearts that are the other colors in the set. M/W am has diamonds, squares, circles, and triangles that are red, green, blue, and yellow, and T/Th am has diamonds, squares, circles and triangles that are the other colors in the set.
Since the PM boxes are less complicated, I’ll start by describing them.
M/Wpm has shape sorting, two books, and then she can also do playdoh with cookie cutters and/or playdoh mats I’ve printed out and laminated.
T/Thpm has shape sorting with different shapes/colors, two different books, and she can color- either with crayons or with her Color Wonder markers/paper.

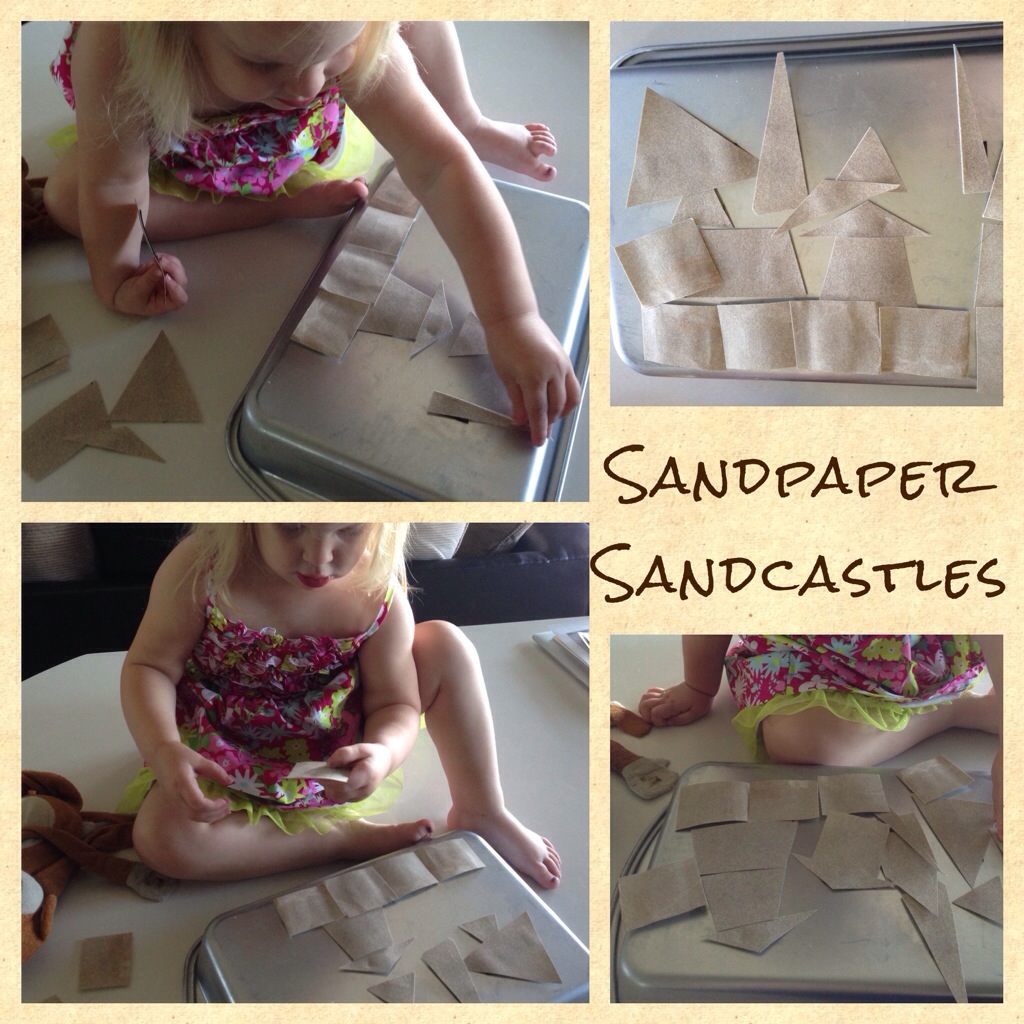
M/Wam has shape building sticks that I made simply by adding velcro to popsicle sticks (thank you, Pinterest). It also has shape sorting, three small books, and two different sizes of binder rings with paper clips to thread onto the rings. Then the super cool thing I did that took all of two seconds, was cut a mini paper plate in half, wrote her first name, and then put the letters on clothespins. So she can practice spelling her name as well as her pincer grip! 🙂 (I saw the idea somewhere- I’m sure probably on Pinterest.)
T/Tham has more shape building sticks, shape sorting (again with different shapes/colors from the other boxes- you can get the full set already cut out and laminated for super cheap here), three different small books, and then a cool “feed me” game I made up- with a container that came in a set of two from Dollar Tree. I just stuck pompoms in, she can dump them out, and use the giant tweezers (buy them here- and split the pack w friends – affiliate link) to feed the monster. At some point when I have time, I hope to add google eyes and draw a mouth onto the container so it truly looks like a monster. Then it’ll be a Pinterest-worthy craft, right? Ha! Then this one has a paper plate/clothespin activity with her middle name. If I find that it’s too short and not keeping her occupied, I’ll do one with our last name instead. I just thought it might be overwhelming at first… All those Ns!
UPDATE – Ok, so when I typed this up the first time, I’m not really sure where my brain was… probably distracted by something. But what’s new, right? HA! So, the M/W am description is ACTUALLY what’s in the T/Th am box… and visa versa. Oh well. You get the idea. But that’s why the pictures don’t match and are posted here instead of with each description. 🙂


So it truly took me ten minutes to put all this crap together, and you can tell- they aren’t super original ideas, but they are easy routines that hopefully will provide enough different options to entertain her for 30 mins… We shall see over time how they fair.
Why not Friday? You might wonder… Well, hubby is home every other Friday, the other Fridays are super busy and our routine is never the same as the rest of the week. So no Friday. She can just watch tv. And drive me nuts. But that’s ok. Because it’s Friday… And the weekend is coming!!! Who knows… I might do weekend boxes at some point, or if she really loves these boxes, I can always pull one out on a different day or a at a different time!
UPDATE after using the M/W am box!
I was amazed at how challenging the clothespins were for her… but then, they are another one of those things like the water pouring that I have to teach her because it’s not just built in to know how to do that! She really liked that it has her middle name, though, and it was the perfect length for beginning clothespin work! Her favorite of the activities was pouring out the pom poms and putting them back in. She wasn’t willing to try the tweezers – she said they are too big. Sigh. But, the experience I have with them is with Kindergarteners, so I’m willing to wait it out and give her time. She liked the shape sorting, but she only wanted to sort them by color – she didn’t seem to understand sorting them by shape. Thus, this is a good activity! Gotta stretch that little brain that’s so easily stuck in a rut! She also loved making shapes, letters, and lines with the popsicle sticks! I think these are gonna be a hit. 🙂