We’re entering the dog days of summer. God has turned up the heater in South Texas, and it’s still three weeks til school. The kids are fried. I’m sick of hearing the word “bored.” So…
We turned some veggie containers and straws into a lot of fun in the pool this week!! Don’t have a pool? You could also do this in the bathtub!!
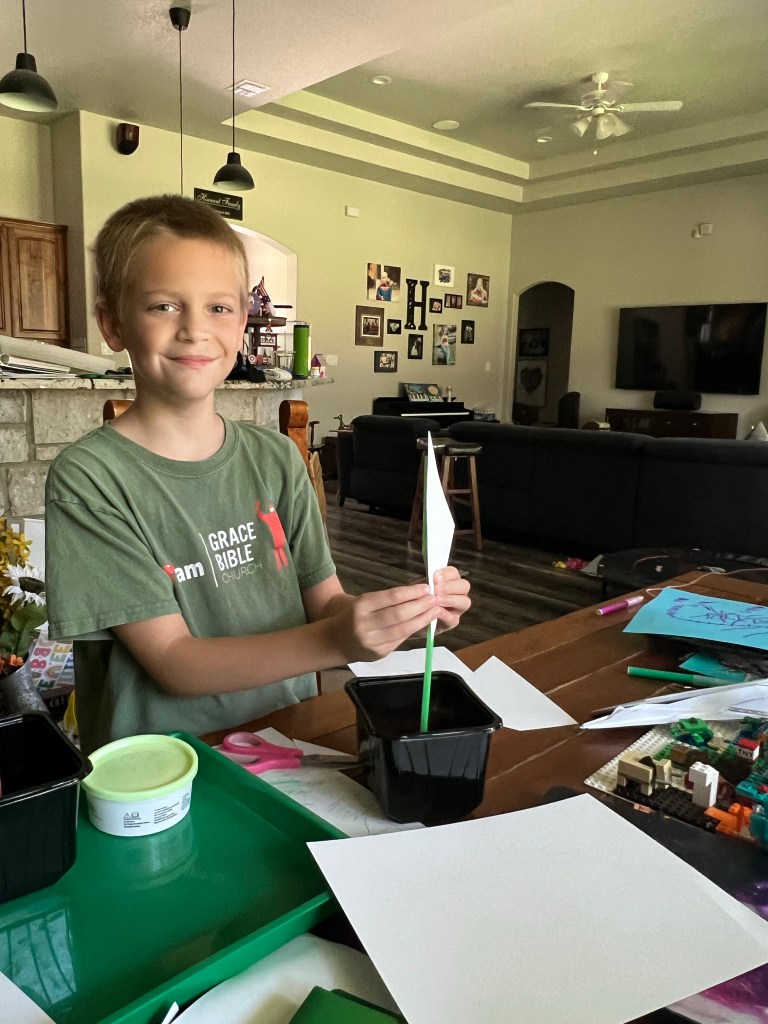
It’s simple- give them some containers, straws, tape, and some of that 100lb cardstock from Clear Path Paper that I mentioned in my last post, and let them make some boats! The super thick cardstock will survive getting wet a couple of times before you need a new sail, too! Let your little engineers have a blast! A boat race is sure to ensue!
The buildIt floats!!“Mine keeps falling over! How can I change it?”We can race them without sails, too!
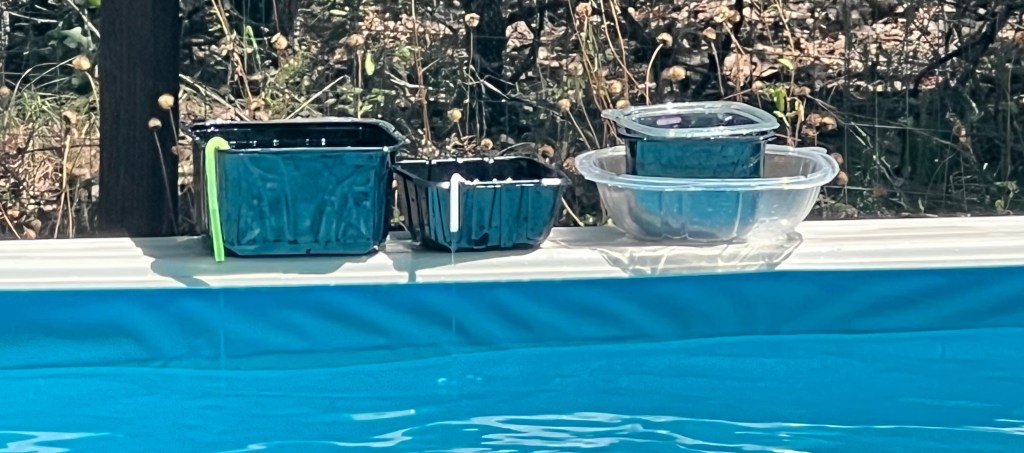
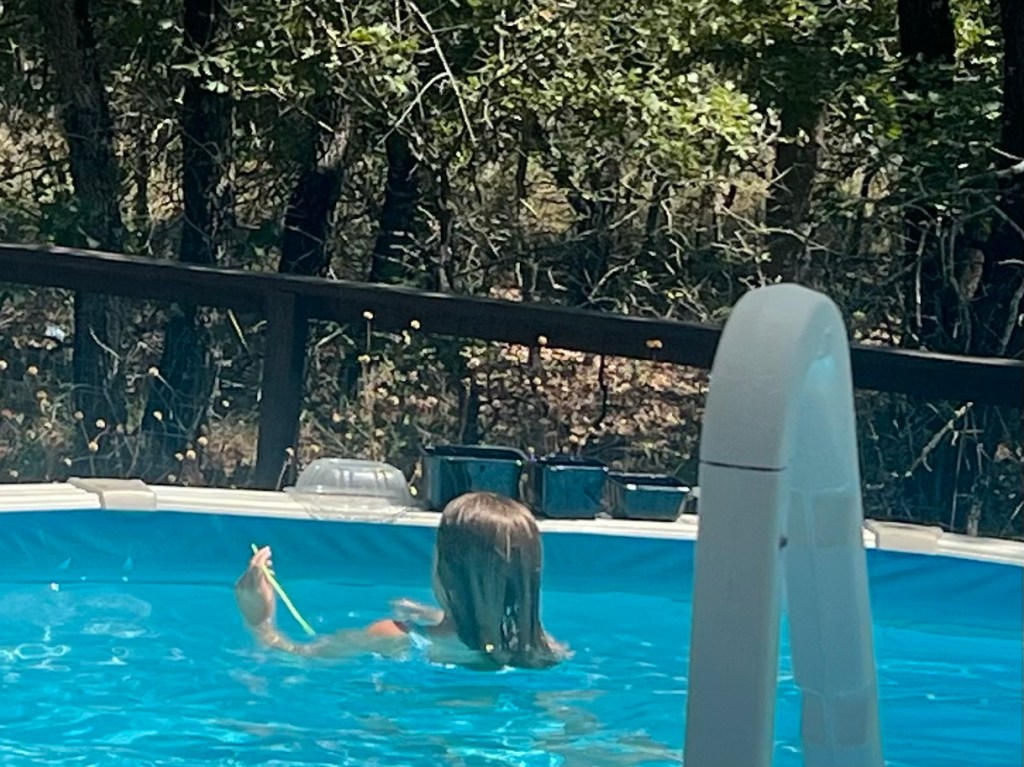
When you’re done, take the tape and paper off and they can learn a little about siphons using their containers and straws! Thanks to Pappy’s kiddie pool last summer, Grayson already knew how to set up a siphon, and he got to be the teacher of this lesson! He set it up on the edge of the pool and showed the girls how cool it was! We also discovered that the black mushroom containers get nice and warm, and the water coming back into the pool was really warm!
Basic siphoning 101!
The straws also make really fun snorkels… and work as a fabulous “spoon” for some pretend cooking play! Who needs to buy pool toys?? Try giving them a few containers to reuse and you’ll be amazed with all their imaginations will do! 🙂
If you’re afraid of the “summer slide,” it really is a real thing. Kids DO forget what they have learned over summer break. While it’s super important to be a kid and play outside, soak up some sun, and let’s face it- spend way too much time on technology… a little practice each morning can make a huge difference!
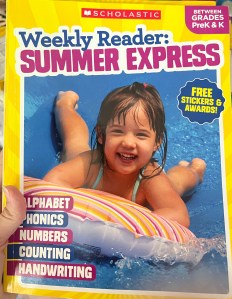
I am NOT an affiliate of Scholastic, just a mom and (now former) teacher who has used their products with great success over the years. If you have kiddos in Elementary school, they have some fabulous summer practice books for kids who have just finished Pre-K thru those who have just finished 4th grade. They are called the “Weekly Reader Summer Express.” Each book has a single sheet front and back for every week day of the summer, and includes stickers and reward certificates as long as instructions for parents who aren’t familiar with the skills their child may have been taught during the school year, which the book is reviewing. I HIGHLY recommend this series, and have purchased them previously for my kids. Here are the two we’re working in this summer- for Elle and Grayson.
I also purchased for Elle this Sight Words book, which will help her practice learning some new words. She is SOOOOO eager to learn and wants to read so badly… combine that with a love of workbooks, and she is in love with this book! It’s perfect for kids of a variety of ages depending on their skill level. Even if your child is older, if they struggle with basic sight words, this book is perfect for them. (This would also be great used as a teacher resource book to make copies from for a whole class!)
Again, I’m not an affiliate, just love their products!
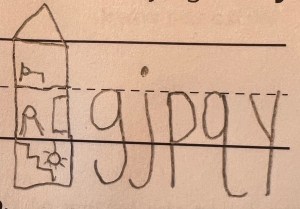
While working with her today, I was prompted by her “floating” y to tell her the story I have always loved telling my students. I first learned it years ago, when I was an aide in a first grade classroom to the most wonderful teacher, Pam Snodgrass. Pam would always tell her students about the alphabet house. All of the letters have access to the kitchen. The teenagers and adults can go upstairs to the bedroom, but only the very BRAVEST letters can go down into the basement where the spiders live! We MUST always give them credit for being brave! Most recently, one of my sweet boys would remind his classmates almost daily to “give the _ credit!”
Only these five letters are brave enough to go into the basement!! Gotta give them credit for their bravery- make sure their tails go below the line!
Hopefully these little tips are helpful to you as you begin your summer! We’ve already had Grayson’s 9th birthday, dentist appointments, trip to see grandparents, cut lip and resulting infection, lots of pool time, the kids’ first wedding to attend, VBS, a HUGE garage sale, and have played more card games than I can count! (Not all in that order!) Working on getting the house cleaned up from a crazy busy school year, and trying to wrap my brain around being “done” with teaching. Not sure what my next adventure will be, but for this month, anyway, I’m excited about being “just” a mom! 🙂
Lots of fun art will be coming your way this summer! Be sure to check back often!
Well, my intent was to post this yesterday, but life happened! Again! It has a way of doing that… 🤪
So we collected all those hundreds of crayons. And the first step is to sort them out. Over the years I have learned that Crayola brand crayons are next to impossible to peel. Something about the glue they use. So since we had a LOT of crayons to pick from, I opted to set those aside to give to our school’s art teacher. Because art teachers can ALWAYS use more crayons!!
Our art teacher will also be getting all the paper peelings from this project- because they are PERFECT for using to make new paper. They water down and mash into pulp really well because they are super thin and already torn into small pieces. So if you’re interested in recycling the wrappers as well, definitely look into how you can make your own paper! Last year we made some really awesome seed paper in her art class that would be amazing to make with your crayon peelings! This website has great directions on how to make your own seed paper!
Check out all these beautiful wrappers!
After you’ve peeled all your crayons, you’ll get out your pans. I HIGHLY recommend silicone molds over metal, unless you want to spend a good bit of time banging the pan to get the finished crayons to unmold. Any silicone molds you get will work- whether they’re fancy ones intended for chocolates that you get from the craft store, or they might be cheap ice cube molds from your local dollar store. Silicone just makes it easier to unmold them. The more basic the design, the better, as small points and details may break off when you remove the crayon from the mold.
Peeled unwanted crayons… just waiting to be made into something new and amazing!!
Pre-heat your oven to 250F and begin breaking your crayons into small pieces. Kids love lots of colors melted together, so feel free to melt brights like yellow and darks like black together. The colors will NOT melt into each other and all become one. They will maintain their own color integrity, making some really cool color swirls. I like to use warm colors together and cool colors together. Last year, I even used green, blue, and white together to make crayons that looked like Planet Earth. As you can see further down, this year I put yellows and oranges together with greens to make pineapples, which the kids thought were super fun. I also made some wacky pineapples mixing some weird neon crayons we were given alongside blacks and grays. The boys especially LOVED them!
I love doing mixed colors! Warms together and cools together is always a safe bet if you’re nervous about mixing them on your first go-round.
Once you feel like your colors are together like you want, and the bottom of each mold is covered, then stick them in the oven. Silicone molds need to go on top of a metal cookie sheet so that when you get them out, you’ll be steady and won’t accidentally spill the hot wax and burn yourself.
A metal sheet pan is your friend! And don’t try candy molds with spots for sticks. That just makes a mess. 🤦🏻♀️
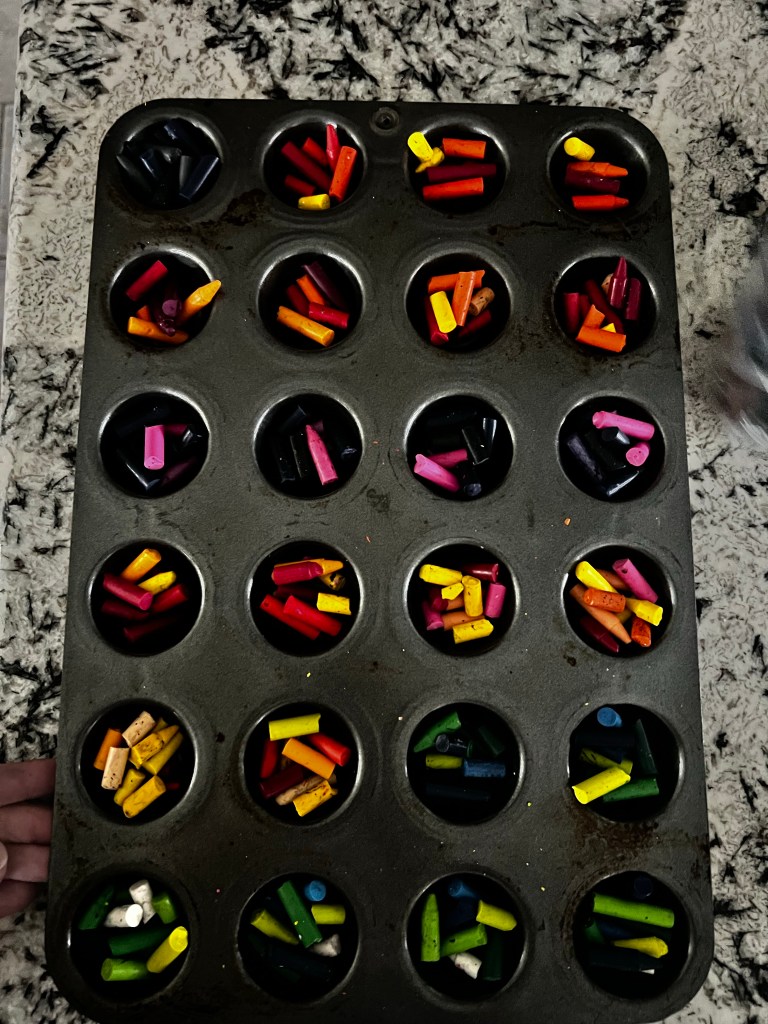
The time really varies on how long to bake them, depending on how deep you’ve layered your wax. Just check on them every ten minutes or so. The little round ones I made in my metal pan (never again on the metal, I swear!) are nice and smooth and thin for doing leaf rubbings, and they only took about 12 minutes to be all liquid. In contrast, the pineapples were deeper molds that I filled a lot more, and they took almost thirty minutes to be all liquid. This process will make your house or school smell like a crayon factory! Ha!
The colors maintain their integrity even as a liquid, they won’t mix together. Here, you can see green below yellow, which is beside orange.
I miss being able to use the oven at school to make these, where the kids could actually watch their crayons melt. If you have the opportunity to do that, it’s so so awesome for your students to experience. Either way, this is a fabulous video to share so they can see the similarities and differences of how crayons are originally made, vs how they are recycled in your own oven!
These were semi-cooled. See how some parts were still dark? They’ll be completely solid on top when they are cooled. Note- I really DO NOT recommend using a metal pan. Removal is h-e-double-hockey-sticks!
Once the wax is completely liquid, pull them out of the oven and let them cool COMPLETELY. (This could be another 30-45 mins.) Once cooled, you can remove them from their molds and start coloring! These are super fun for kids to experiment with and see how many different colored marks they can make from their one crayon! Mine loved how the tops of the pineapples can make multiple lines on the paper at once, and if you have a smooth bottom on the crayon, leaf or embossing sleeve rubbings are super simple and fun!
I am just in love with how these pineapples turned out!
This activity is great for kids of all ages, and even my 6th grader still gets excited every year about recycling crayons. It’s just a super fun project that any child can participate in. (And the peeling of the papers step is fabulous for working on fine motor skills as well as building stamina for a project that takes time and has multiple steps!)
Let me know if you try this with your own kids/students! Happy recycling! -Christy
Y’all! It’s been forever and a day. Or a year. Or more! How long since I last posted? Well that’s too long! Ha! Teaching truly has been all-consuming. It’s been real and it’s been fun and it’s been real fun… but I’m ready for summer!! How bout y’all?
Here we are on Earth day, and I’m doing a project I have come to LOVE! Every year, my students and I collect up crayons that are broken and/or unwanted, and we jazz them up and melt them into something new and amazing for Earth day… as a true, physical picture of how you can really reuse and renew something that seems old and broken and ready to throw away!
This year our project reached new heights thanks to my partnership with the folks at Clear Path Paper! They hooked us up with some BEYOND BEAUTIFUL paper to make posters to spread around the school! We hung them up, our counselor helped with announcements, and the crayons rolled in. Seriously, y’all… I’m gonna be making LOTS of new crayons. More than I can make in just one day!!
But back to the beginning- the thing that made us so successful was our posters. For our posters, my partners over at Clear Path Paper hooked us up with some GORGEOUS Earth and water toned paper. Check out what we got:
I was able to print heart shapes right onto the mirror blue with no problem on our copy machine (just be sure to use the bypass tray and select thick paper b/c the machine handles it differently than regular cardstock). I printed some on the mirror side just to see if it showed up, but I cut those myself b/c it was a little dark on the blue to see. The kids were easily able to cut the ones with the lines on the back (white) side of the mirror paper. One even commented that it was easier (compared to regular copy paper) to cut that paper because it’s easier to hang onto the thicker paper while cutting. They also LOVED how pretty the mirror paper is, and totally thought it looked like ocean water. ❤
Then they tried to cut the recycling signs (printed on Kiwi Green) to look like islands, which they glued onto the water. Each poster got two oceans with islands, and then each student colored a “Recycle Your Crayons” print-out (again, on Kiwi Green) to color with as many colors of their crayons as they could. They loved that even white crayon would show up since the paper was green!
We hung our signs proudly all over the school, and they were a great success! The kids were even heard telling GenEd kids at a bathroom break- “did you see our crayon signs? We need broken crayons if you have any!”
Come back Monday for part two of this post- the “how to/recipe” for melting your own crayons! 🙂 -Christy
Where do I begin? Yall, I LOVE teaching. I always have. It was my dream from 8th grade on. I’ve worked hard for first a bachelor’s and then a master’s, and now three certifications. And I have soaked up knowledge from countless professional development sessions. I have read countless books (despite hating non-fiction) to help me perfect my craft. I seriously love teaching. I love watching light bulbs flicker and then stay on as a child learns to read or count or add or tell time. I love watching kids observe nature with excitement. I simply love what I do.
But this? This school at home thing is about to break me to my very core. In a way different than I have ever been broken. Because Grayson was not made for homeschooling. He doesn’t WANT me to be his teacher. He wants me to be his snuggly mama bear who reads TO him and snuggles him and only makes him do chores, which he can put up with because there are snuggles on either side. He does NOT want to read to me. He does NOT want to do any school work. He has informed me that I am NOT his teacher and I can’t begin to count how many times he has asked if he HAS to do … xyz thing.
I’m over it.
He is normally sweet and helpful and kind and a super loving big brother to Elle. Now he is disrespectful and laughs about it and looks to see what I’m gonna do. Picks physical fights with her and then gets MAD because she fights back! (Good for her!!) He whines and complains about every. Single. Dang. Thing. He is asked to do!
He has given up on riding his bike because it’s not easy. So he plays on a scooter that is Elle’s size and half the time fights me on wearing his helmet. My kid who used to be the one grabbing everybody’s helmets and making SURE they were all on. I can still hear him saying, “safety first!” My kid who was riding a bike so well last summer we could have taken the training wheels off then!
What has happened to my child?!?
Stress. Change. Sorrow.
Despite the fact that we have a schedule that we’re sticking to at home that is very predictable and gives him the structure he needs, it’s not HIS schedule. He desperately misses his teacher and friends. Despite being a shy kid who takes a bit to open up (nothing like the social butterflies his sisters are!), it’s April! His classmates are his world. And they were suddenly snatched away from him. He loves his teacher fiercely. And she’s gone. Might as well be on another planet.
And he’s sad. He cries every day multiple times a day. Ask him why, and he doesn’t know. But he’s just tired all the time, and he doesn’t know why. I know his tired. It’s depression. It’s anxiety weighing down his shoulders. I carry that tired on me. But I’m an adult. It saddens me to see him carrying that weight. No, it doesn’t just sadden me. It breaks my heart.
The girls are thriving. And their bond is even stronger than ever before. And then there’s him. He’s stuck somewhere in the middle- in limbo. An outcast. And his own behaviors keep it that way. I try to make him see what he’s doing, but it’s impossible.
Lord, you know all of these things. You see his tiny confused heart and you know it well. You loved him first- before I even knew he was in my womb, you knit him together. You knew these days would drive him crazy and drive me to the end of my rope. Lord, give him peace. Give him comfort. Help him to feel your love. Give me to words to say and the calm of spirit to handle his outbursts. You know my tired. Carry my burdens. You know I have so much experience, but none with this. Teach me your ways. Give me your wisdom for how to handle his heart gently, but his behavior firmly. I need help. Nothing has prepared me for this. I want, no I NEED my sweet boy to come home. I miss him desperately. I see him when he sleeps. Can he come back to stay? Please?