
- “Mommy, can I be a science girl forever?” Oh yes. Yes, you certainly can.
- So, since birth Becca has struggled with having eczema behind both ears. It typically flairs up in the winter months when her skin is the driest. We try to remember to keep her lotioned up, but it’s easy to forget. When I do put her lotion on, though, I often say “We have to keep your lotion on you so that your eczema doesn’t come back.” So, the other day, she woke up and put her hands behind her ears and said “My eggs are back.” It was all I could do to keep from ROTFL!
- “I love you so much Baby Grayson.” Melt my heart all over the floor!
- While watching Sesame Street, one of the special words was “float”… and the example showing “float” was an astronaut showing things floating in space. “He’s on the ISS! I’m gonna go there some day, Mommy.”
- “Bye, Mommy. I’m off to Mars.” “How are you gonna get there?” Sometimes since receiving her train set for Christmas, she has said that she’s taking the train to various places – the grocery store, church, etc. So I half expected her to say “the train.” “Orion.” Of course.
- “I’m a dancing rabbit butterfly queen!” Wasn’t sure how to respond to that one. But I certainly did smile a lot as she danced around the room wearing her butterfly shirt and her purple tutu. Love this girl. She never fails to amaze.
- “I’m your shopper buddy!” She certainly is. Somehow we suddenly crossed the line of dreading to take her with me anywhere, and now really enjoying getting to take her shopping. Love my big girl so much!
Learning Ideas for your Baby Bees

Up until this point, my blog has mainly focused on Becca (my butterfly), and preschool learning activities – because that’s what I’ve been in the “thick of” around here. But, that’s beginning to change as Grayson gets older! I started sensory bins and learning activities with Becca at 8 months, and Grayson will be 8 months later this month. Physically, however, he’s much more ready for some of the activities than she was. So, we’ll be starting slow, but you can look forward to some Baby Bees posts every other Monday for the next few months.
The goal behind these posts is to give moms of babies UNDER 18 months some ideas of what you can do at home other than stare at the four walls! We’ll also take a look at a couple various learning methods (Montessori and Reggio specifically) and how you can apply these learning methods in your home with your Baby Bee.
I’d also love to get some feedback from you – what ideas do you need? Are there certain times of the day that are harder to fill than others? Are you nervous about getting your baby out in nature? When is the right time to start outdoor play, etc? Or maybe you want ideas about getting older siblings involved in activities with your Baby Bee? So many directions I can take this series – and I’d love for you to guide my posts! Shoot me an email any time at butterbeesandbumbleflies@gmail.com!
The first post will go live next Monday the 19th! Be sure to check back here then! (If you’re not already following via email, you can set that up easily by clicking on the link to the right – and be sure to click “like” to follow my Facebook page as well!)

Farm Habitat
In our continuing series on various habitat sensory boxes (visit the Arctic/Antarctic here / visit my dino habitat here), this week I’m sharing our Farm Habitat with you!
We love the Safari Ltd Toob animals – and have a great little set called the “Petting Zoo” which includes two kids dressed in overalls (one holding a bottle) and several animals – most of which are farm animals. So, I pulled out the farm animals and I’m using them for this habitat. Then, I dumped the stuffing mix (from my sensory cooking post last year) into the box as their farm yard and added the animals and kids! Easy peasy, and super fun!! She loves making the animals “eat” the “hay” as she calls it. 🙂

Looking for additional farm fun for your kids? We love this little set of Melissa & Doug puzzles, as well as our farm train set that Santa brought to our two this Christmas!
Melissa & Doug Deluxe Farm in a Box Jigsaw Puzzles
KidKraft Farm Train Set


Valentine Tshirt Painting
There are a bazillion (literally) different ideas out there for decorating t-shirts. Lately I’ve had very little time (and very little patience) to search for the best idea of what would work for my child and my patience level… So when I came up with this idea it was after being inspired by a really awesome elaborate idea from The Artful Parent (if you’ve been following me long, you know I have Jean somewhere on a pedestal in my mind, and someday, I’d love to be that artful of a parent)…
But I think this one, while super simple, is one that even Jean would be proud of! Here’s my idea that turned into Becca’s beautiful shirt.
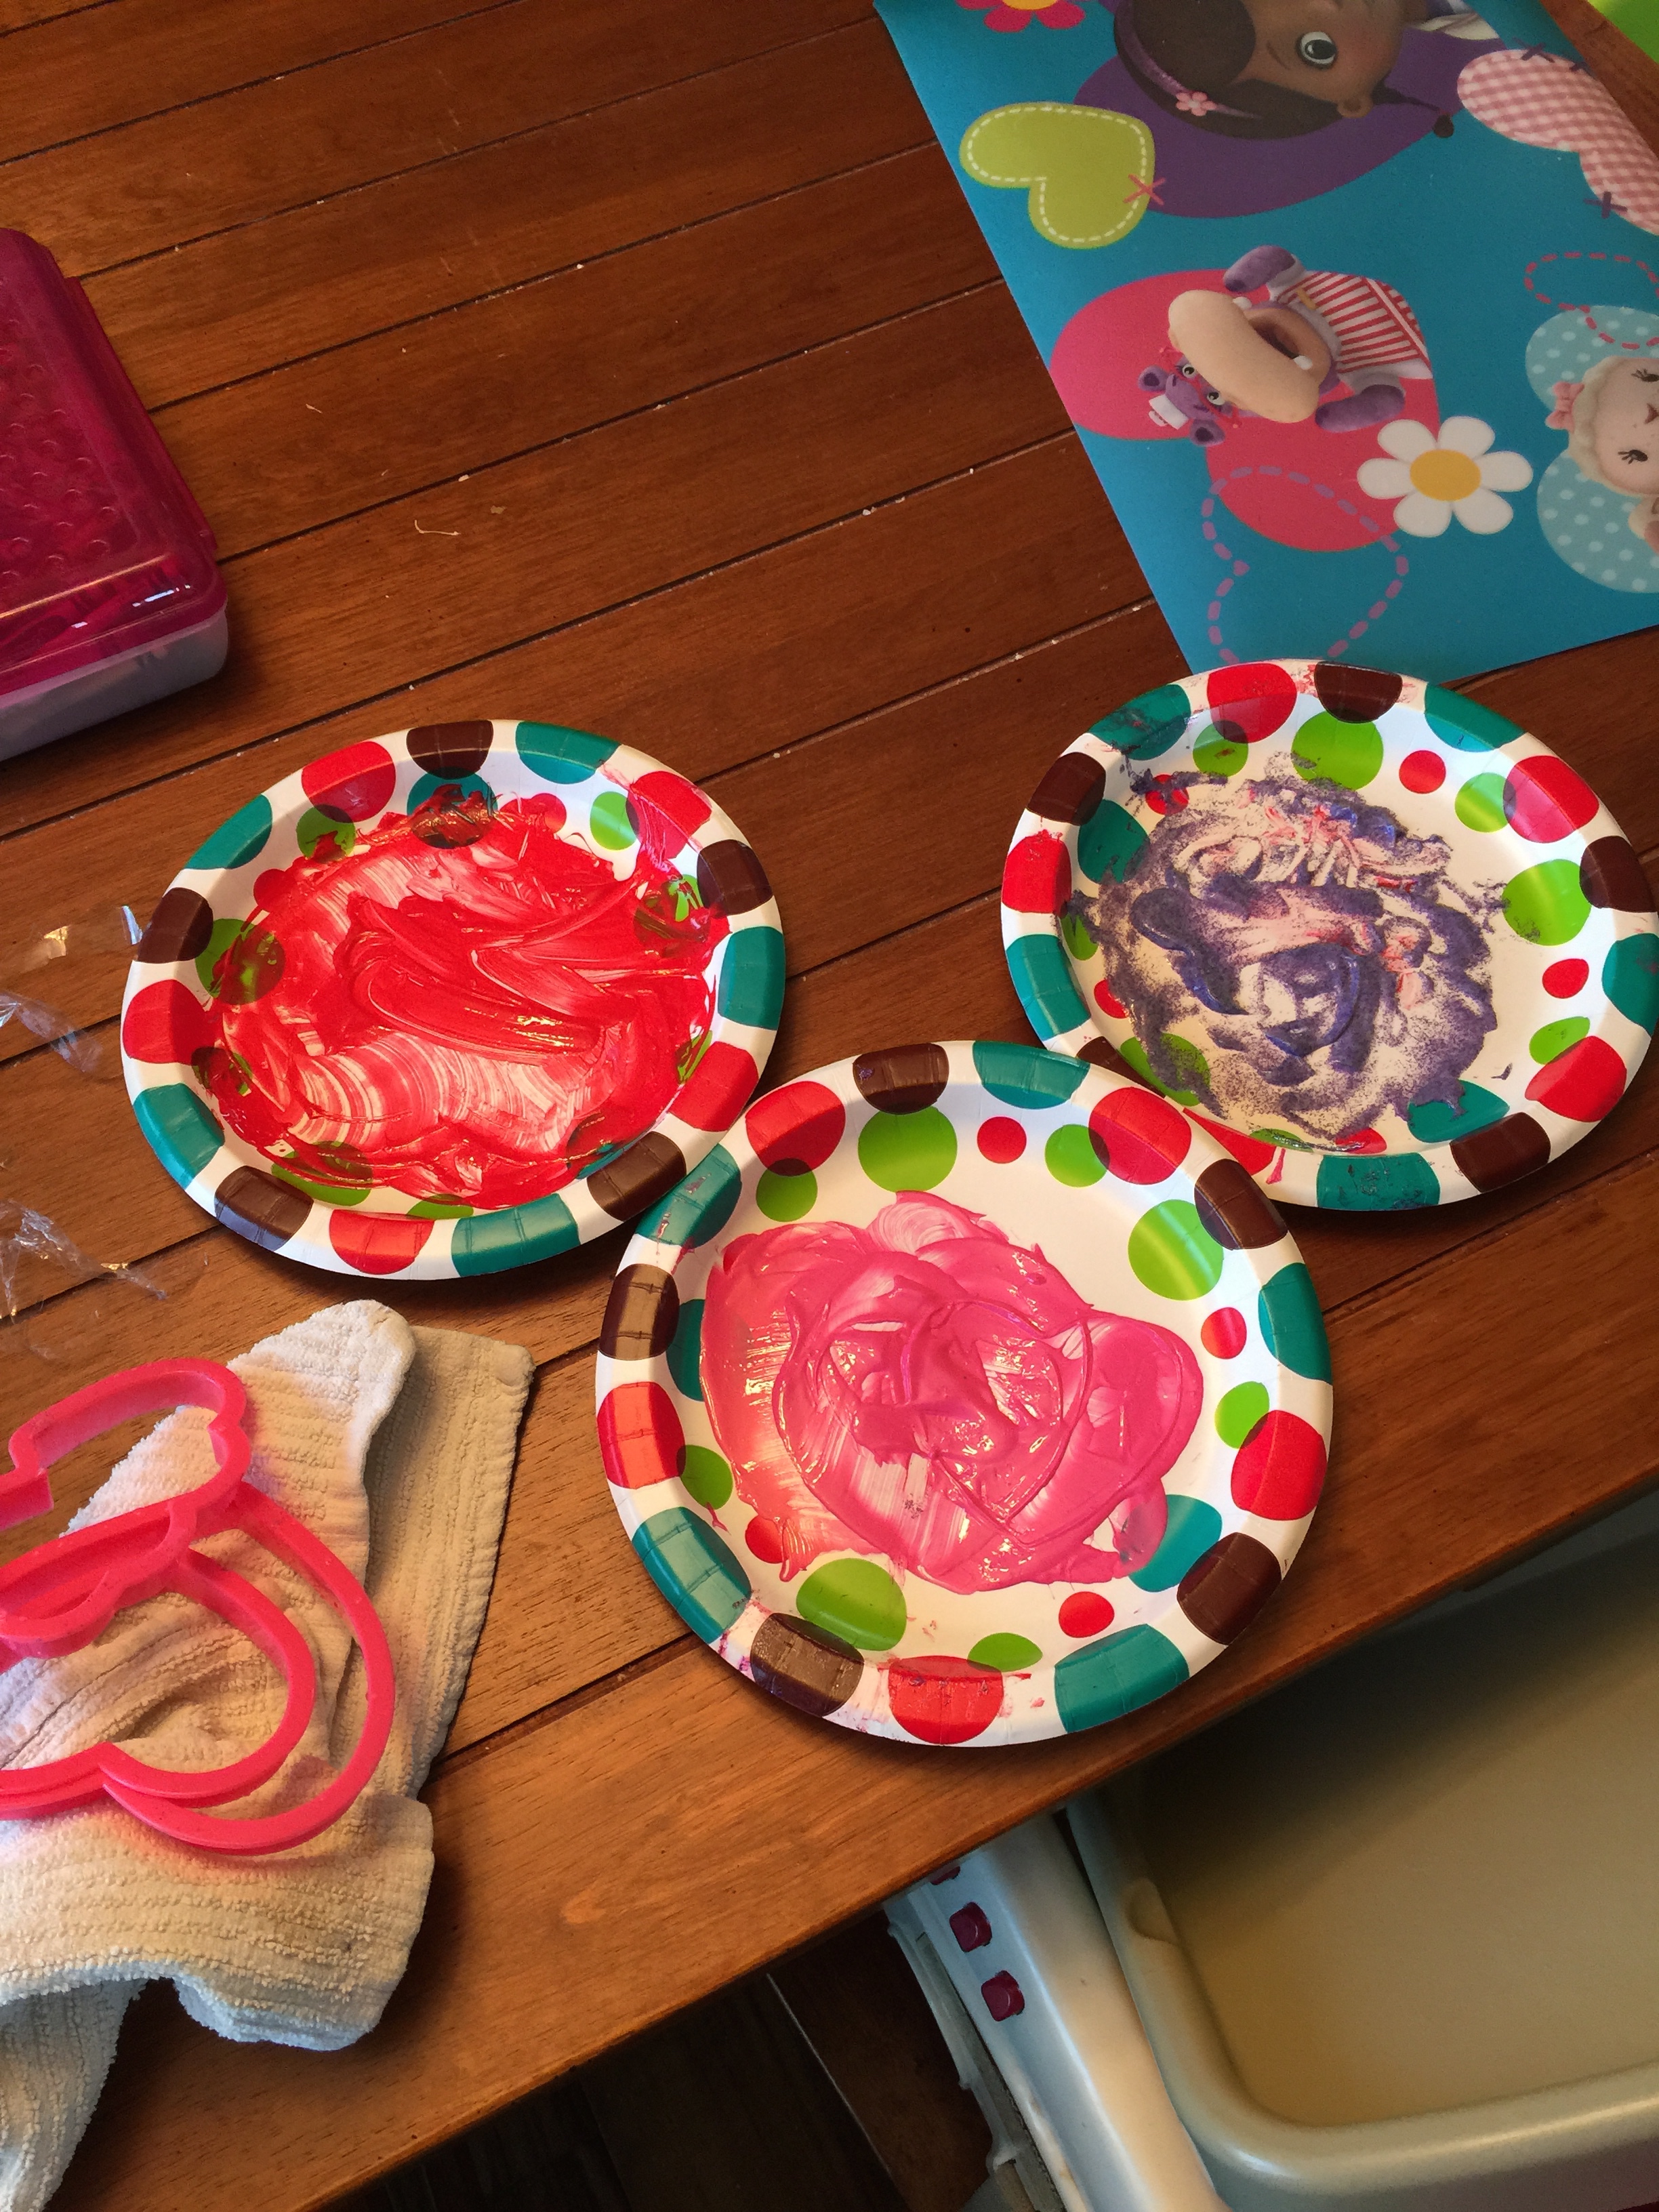
It’s simple – just pre-wash your shirt. Squirt some fabric paint onto some paper plates. Find your favorite cookie cutters. Yes, cookie cutters. Rub them around in the paint. Stamp them on the shirt. So easy a 2 1/2 year old can do it! Literally. 🙂

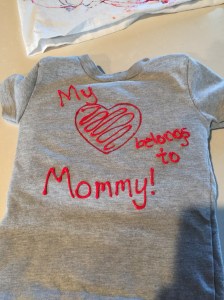
And didn’t it turn out adorable?!?! So proud of my little painter!
Here’s the one I made for lil Brother:
Venison Mushroom Rice Bowl
I’m really going to attempt this year to take some of our favorite recipes and modify them to make them healthier, and then share with you here. We love mushrooms (by far Becca’s favorite veggie) in our house, and in the past we have consumed a lot of cream of mushroom soup in addition to our mushrooms. For one thing, Becca doesn’t do well with dairy (at all – she’s lactose intolerant), and for another thing – there is so much crap added to those cans, it’s not even funny. SO, our former go-to meal was beef mushroom pasta – I’d cook ground beef, add chopped mushrooms, onion, and then 2 cans of cream of mushroom soup, and a bunch of noodles. It was SO good. And so easy. But there’s gotta be a way to make it healthier, right? YOU BET!
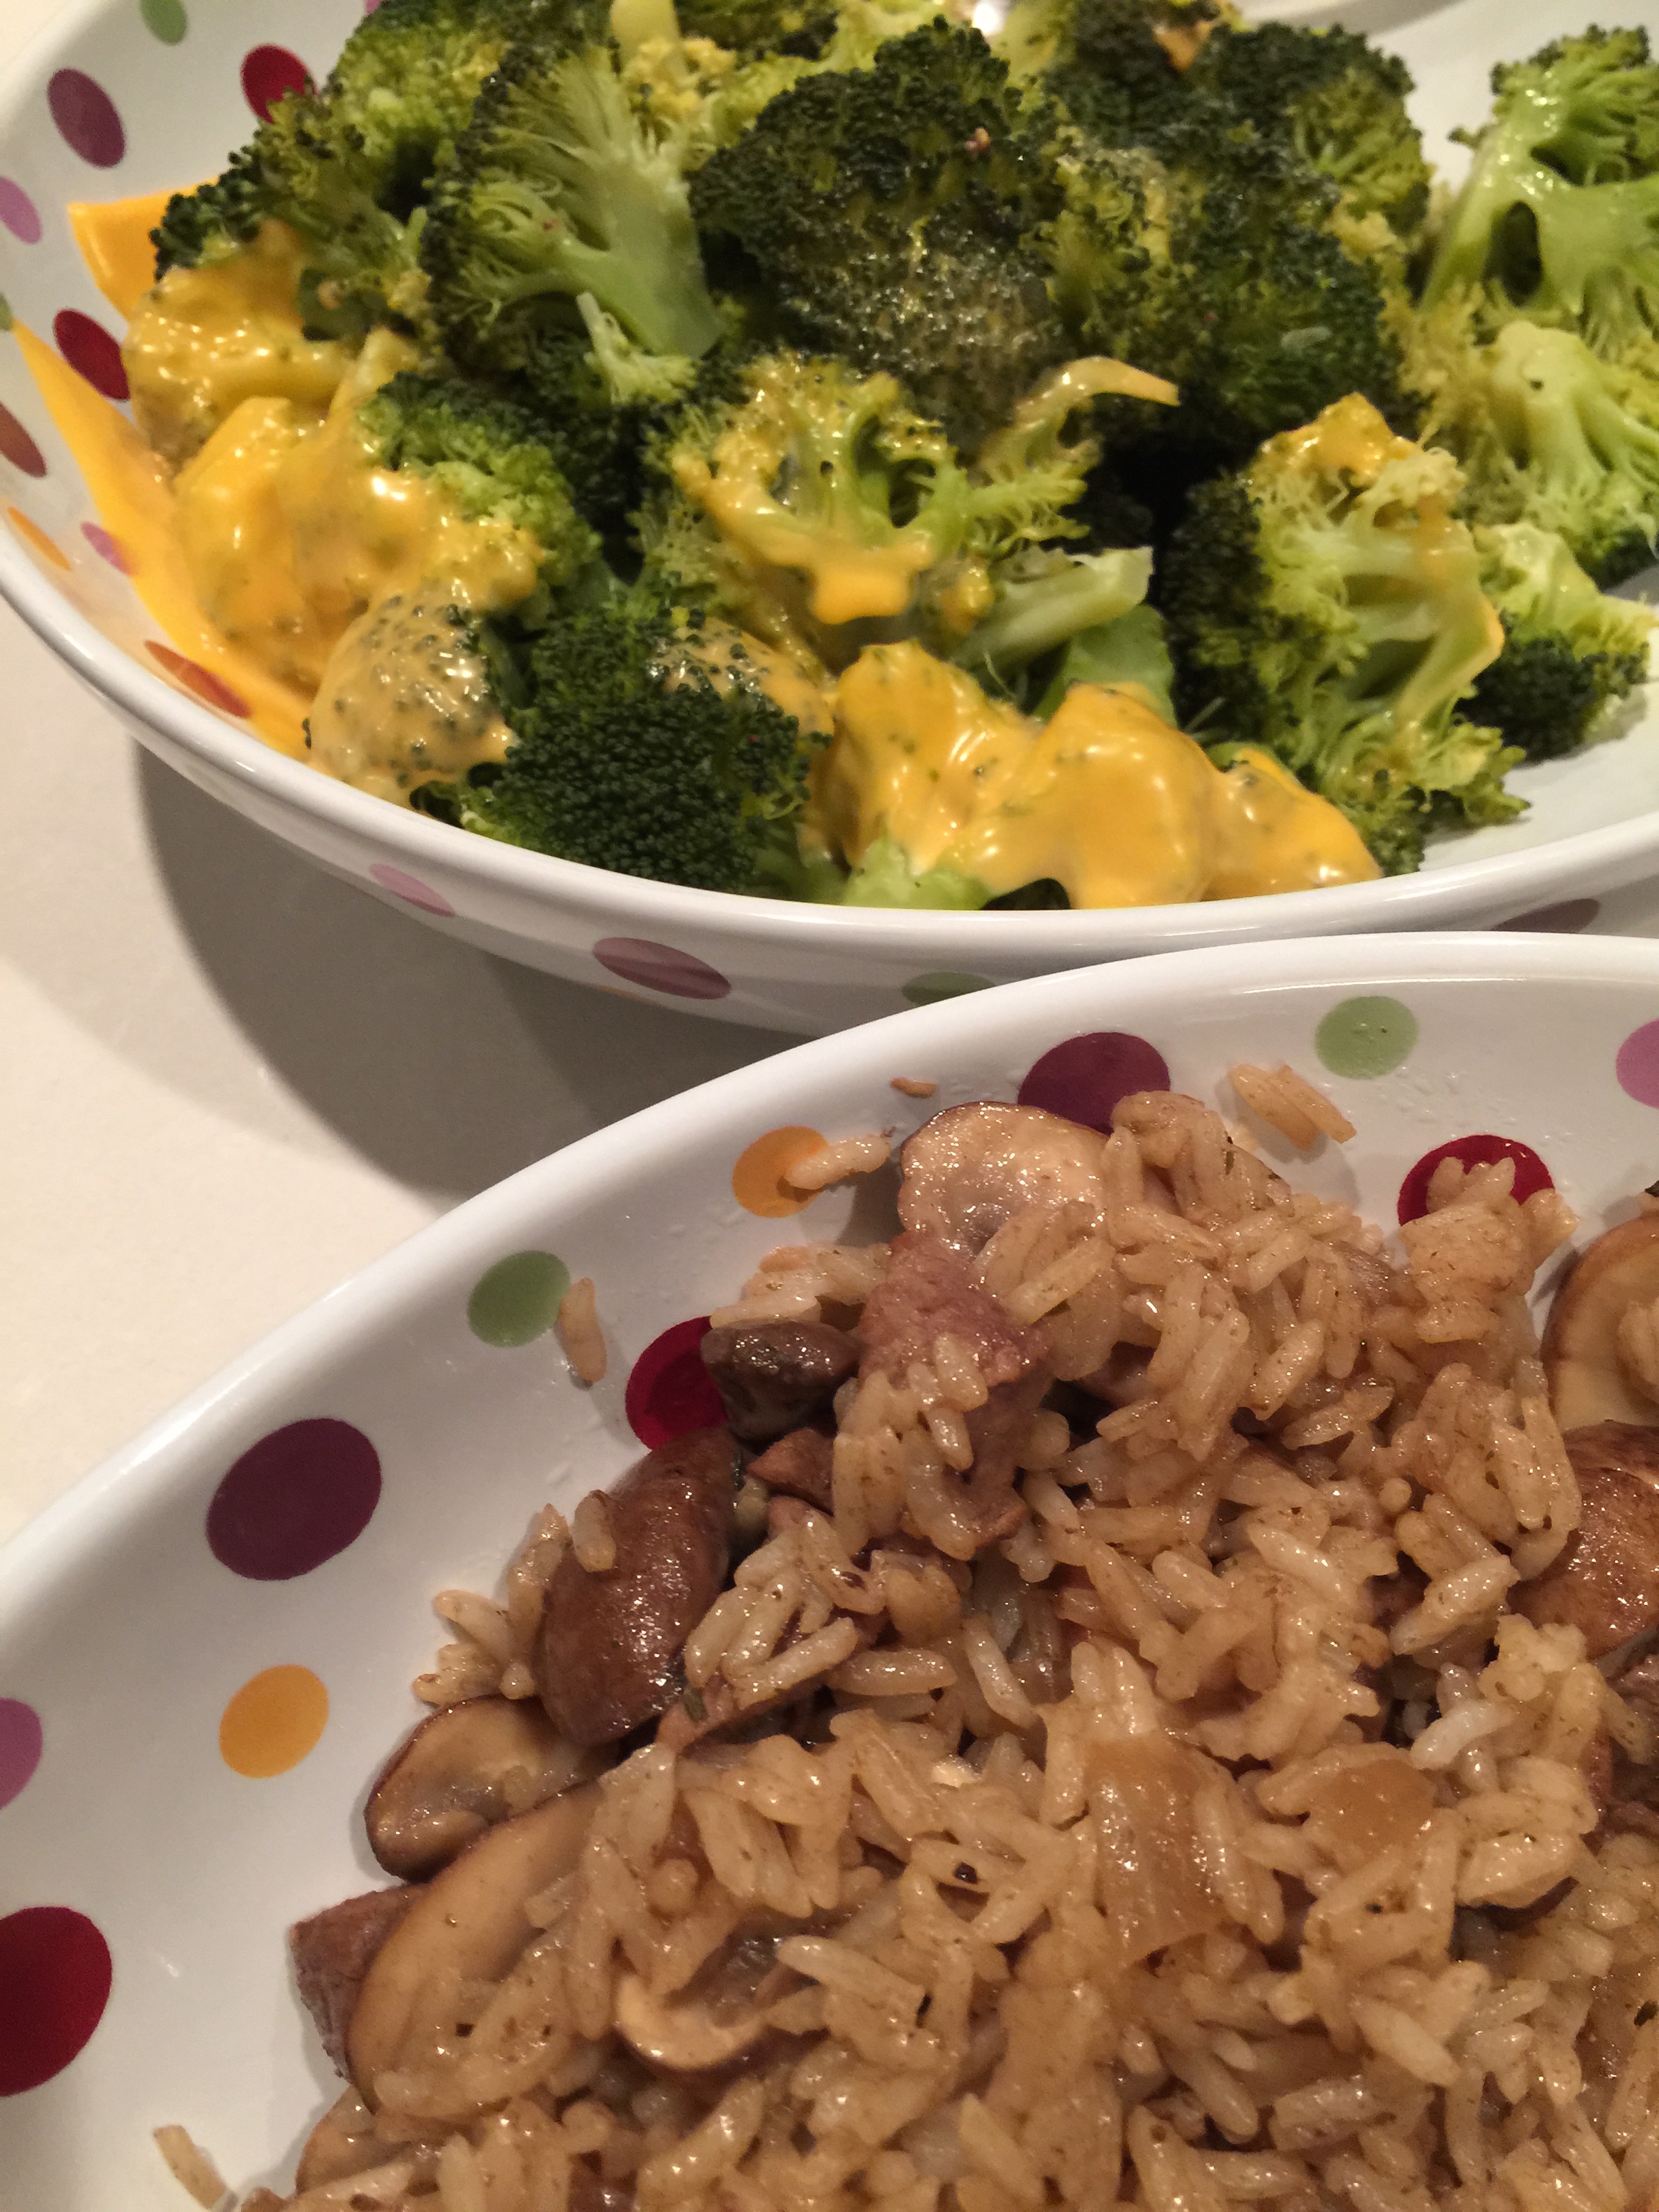
We are blessed to have a large quantity of venison in our freezer, which has practically zero fat. So, I chopped that up into small chunks (instead of using the ground – because it had to be different enough that Becca wouldn’t think something went wrong with the normal dish) while sautéing 16 oz of beautiful baby Bella mushrooms that I had sliced. I cooked them with a tad of olive oil, a tiny bit of chopped onion, and a very small clove of crushed garlic, salt, pepper, and rosemary. Then I deglazed the pan with lemon juice. Added the venison, and turned it all the way down to super low. Added a good bit of Worcestershire sauce, and put the lid on. Meanwhile I had also been cooking rice in the microwave (I love my microwave rice cooker from Pampered Chef – perfect rice every time!), and broccoli in my steamer. Once the rice was done, I put it in the pan with the venison and mushrooms to soak up the juices. Stirred it all up really well, and when we were ready, served! It was SO yummy. Becca of course kept asking for more mushrooms, and actually tried some of the rice as well. She had several of the tiny chunks of venison, too. I’m really starting to get impressed with her desire to TRY new foods. She even choked down one teensy piece of broccoli so she could have some fresh strawberries for dessert. 🙂
SO, here’s the recipe (though there aren’t many measurements because I didn’t measure as I went.. this is art, not science. 😉
Venison Mushroom Rice Bowl
1 cup uncooked rice
EVOO
16 oz baby Bella mushrooms, sliced
1/4 of a small onion, chopped finely
1 small clove garlic, pressed
salt, pepper, and rosemary to taste
lemon juice
1 lb venison tenderloin, chopped into small pieces (could sub beef tenderloin, just make sure there’s very little fat or you decrease the healthiness of the dish)
Worcestershire sauce
Put your rice on to cook. Sauté your mushrooms in a small amount of EVOO, add onion, garlic, and seasonings. When the pan becomes dry, add lemon juice to deglaze the pan (works in a stainless steel pan), about 1-2 Tbsp. Then turn the heat way down and add your venison. (Remember that the venison is chopped really small, so it’s going to cook super quickly and will become tough if you cook too long. The acid of the lemon juice will help make it stay tender, but you don’t want to cook it on very much heat at all.) Then, douse the whole pan with Worcestershire sauce – about 2-3 Tbsp, maybe more. Let simmer on super low with the lid on. When the rice is done, add it to the pan and stir well. Cover and serve when ready. (It’s best if you let it simmer with the rice in to collect the flavors for at least a couple mins.)
I served mine with steamed broccoli covered in melted cheese. 🙂
 Butterbees and Bumbleflies