This post contains affiliate links. Thank you for your participation!
I’m all about quick, easy ideas that I can throw together in just a few minutes. This center was not one of those ideas. So if you are just starting with sensory activities for your kiddos, this is not the place to start. BUT – any one of these ideas on their own IS a fabulous start. You just might not be ready to put them all together on one day to create a center.
If you’ve read my blog much, you know that Becca is typically satisfied for quite a little bit the first time I intro an activity, and then beyond that, it usually only gets about 5-10 mins of play in a day, every now and again. The great thing about this center is that she has really been glued to it for quite a while, and will go and select a different activity different times… which makes me happy since I did take about an hour to put it all together. (As an aside – I’ve started this week going around and putting away old activities – storing them in labeled Ziploc bags – so that in a couple months I can pull them back out and they will be new again. Sneaky Mommy! 😉 )
The first thing you’ll need for your center is a place to put everything. Maybe you have an adorable little bookshelf that everything goes on fabulously. Or maybe you have a water table like ours (aff link) that is just waiting to be filled…
Here are the activities in my Apple Theme Center:
Word Building/Reading
Apple Sorting/Tossing
Rock Dumping/Shaking
Ten Apples Up On Top Reading/Building

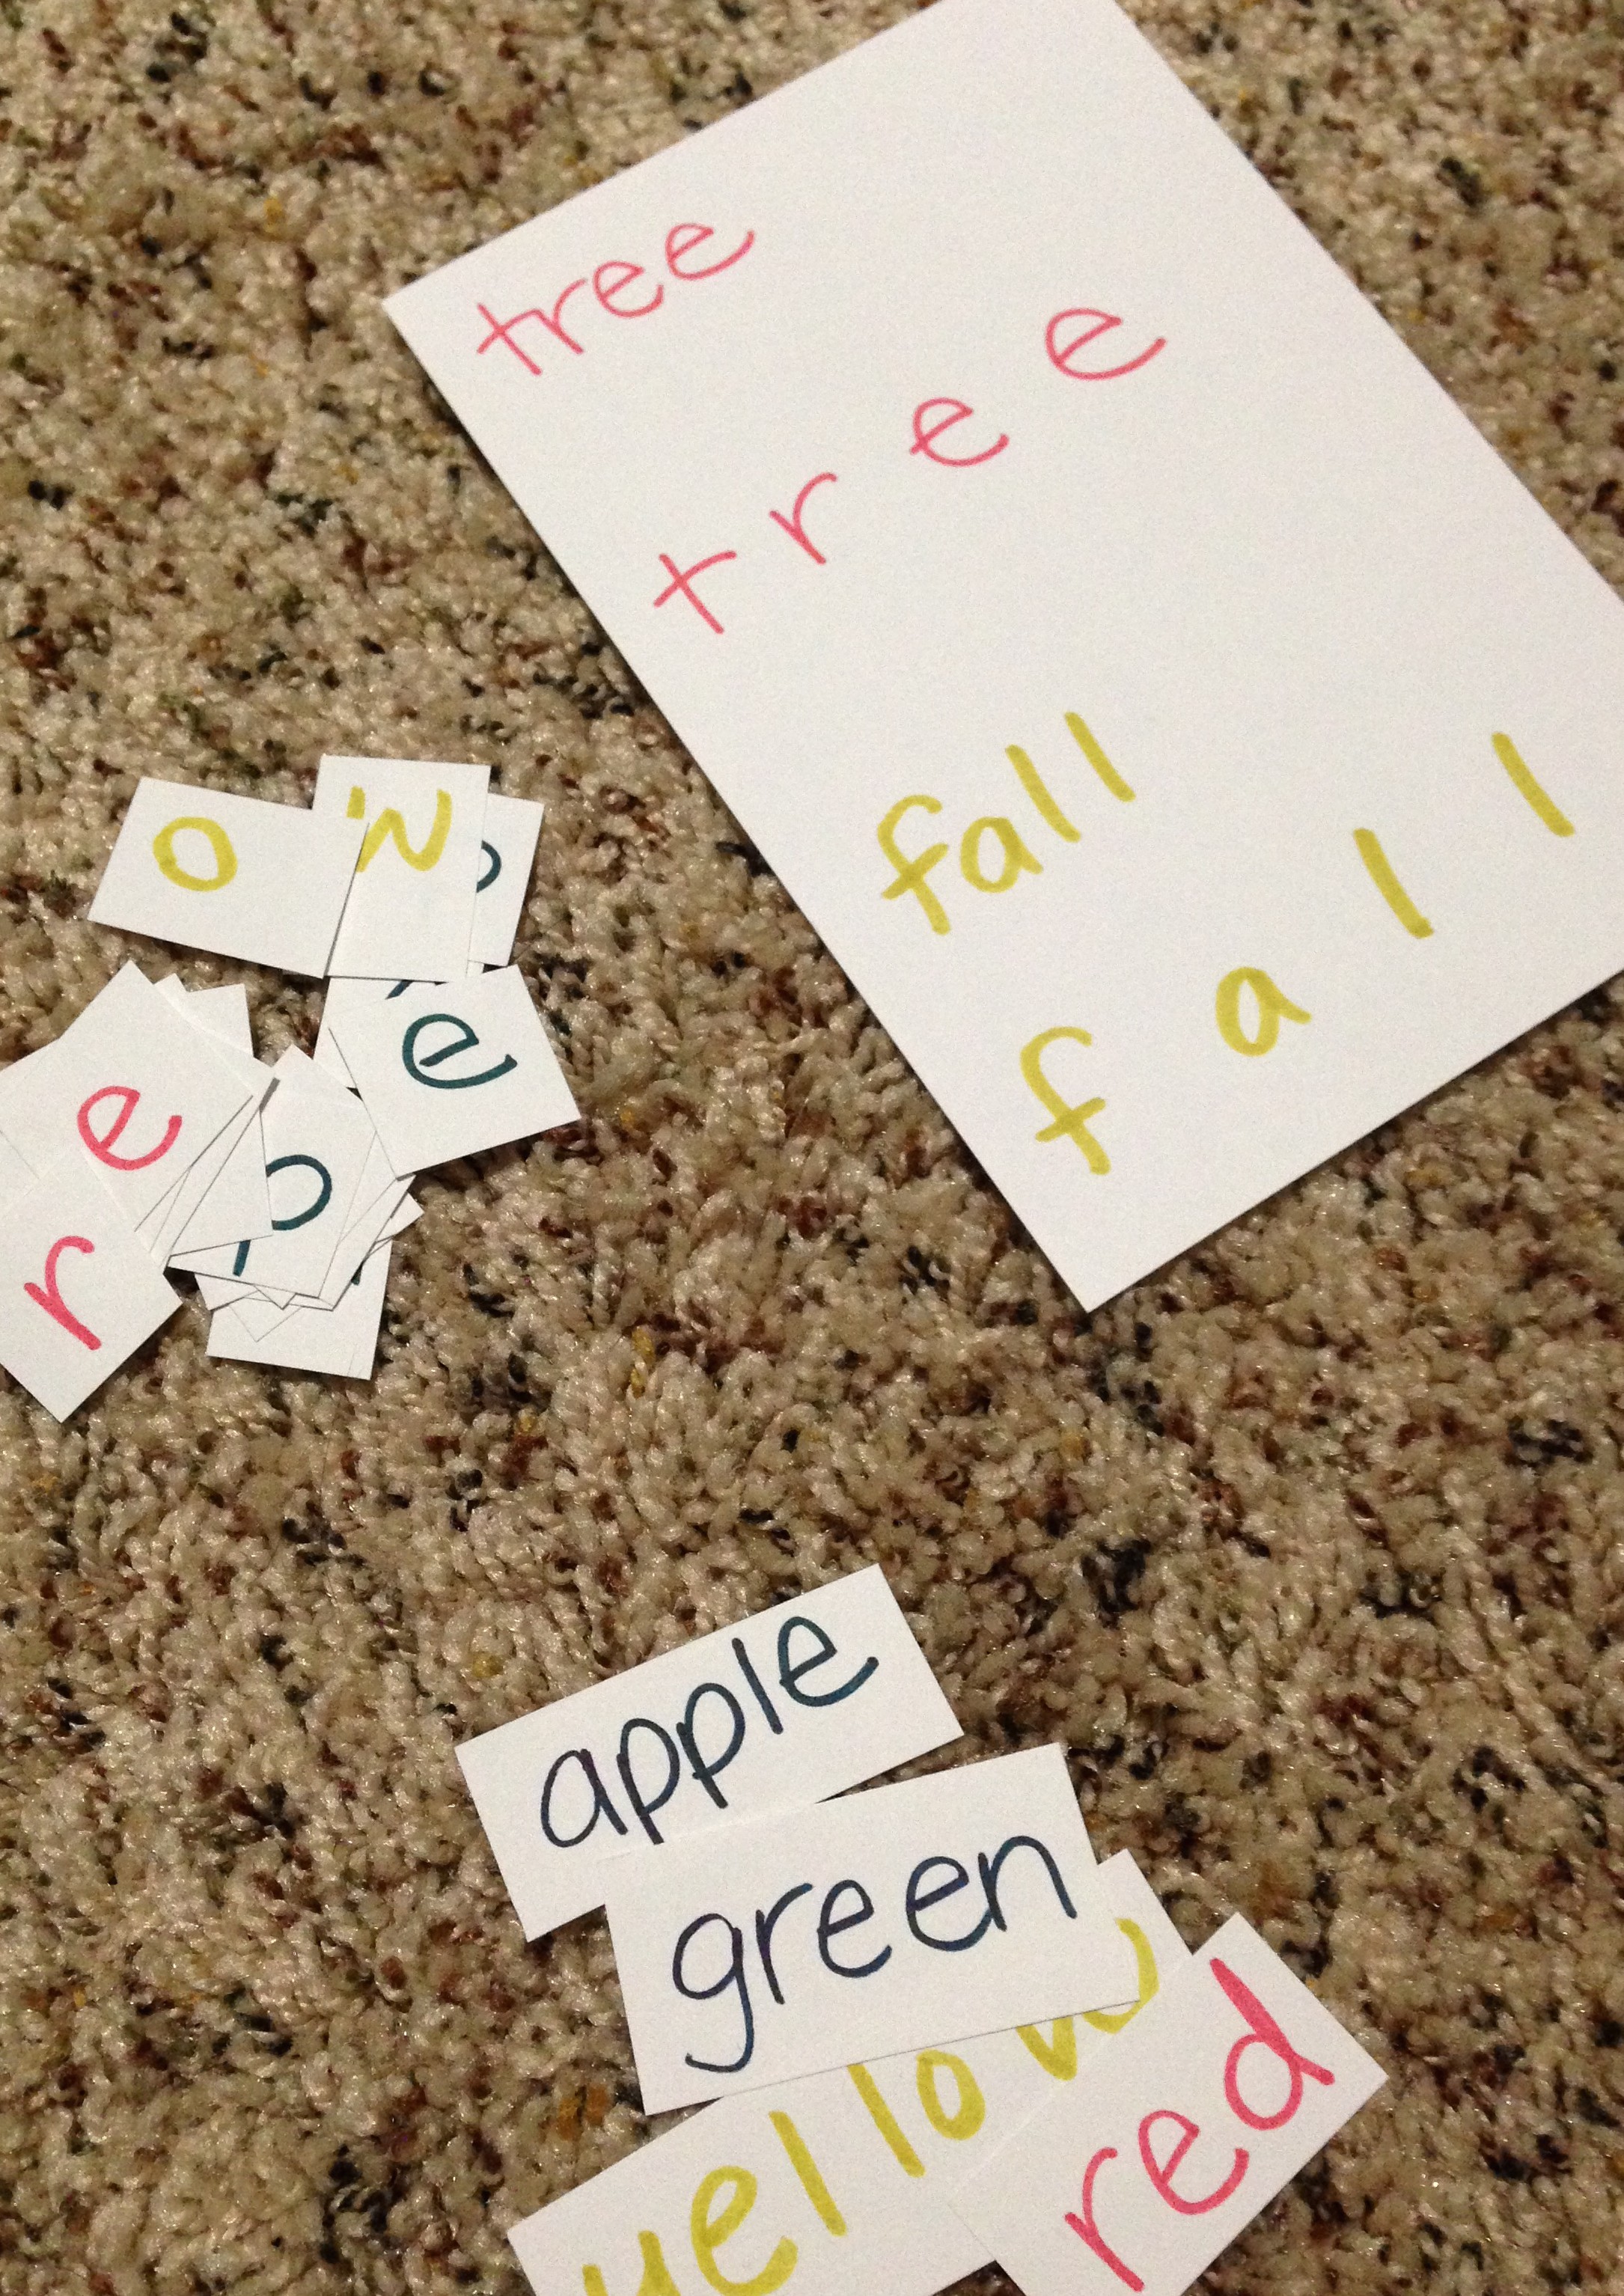
Word Building/Reading
This activity has been in my brain for a while, but I hesitated to do it with her because I actually don’t have a set of magnetic letters. And then it hit me – I DO have magnet tape! So, I wrote the words I wanted on index cards, and cut out the letters. Then I stuck tiny pieces of magnet tape on the back! This little sheet tray I got at Dollar Tree in the cooking section. It’s also the perfect size for her little hands to haul out of the center and over the automan or couch for more intense play just focused on this activity. She has begun to try to read the words as sight words, and is doing really well.


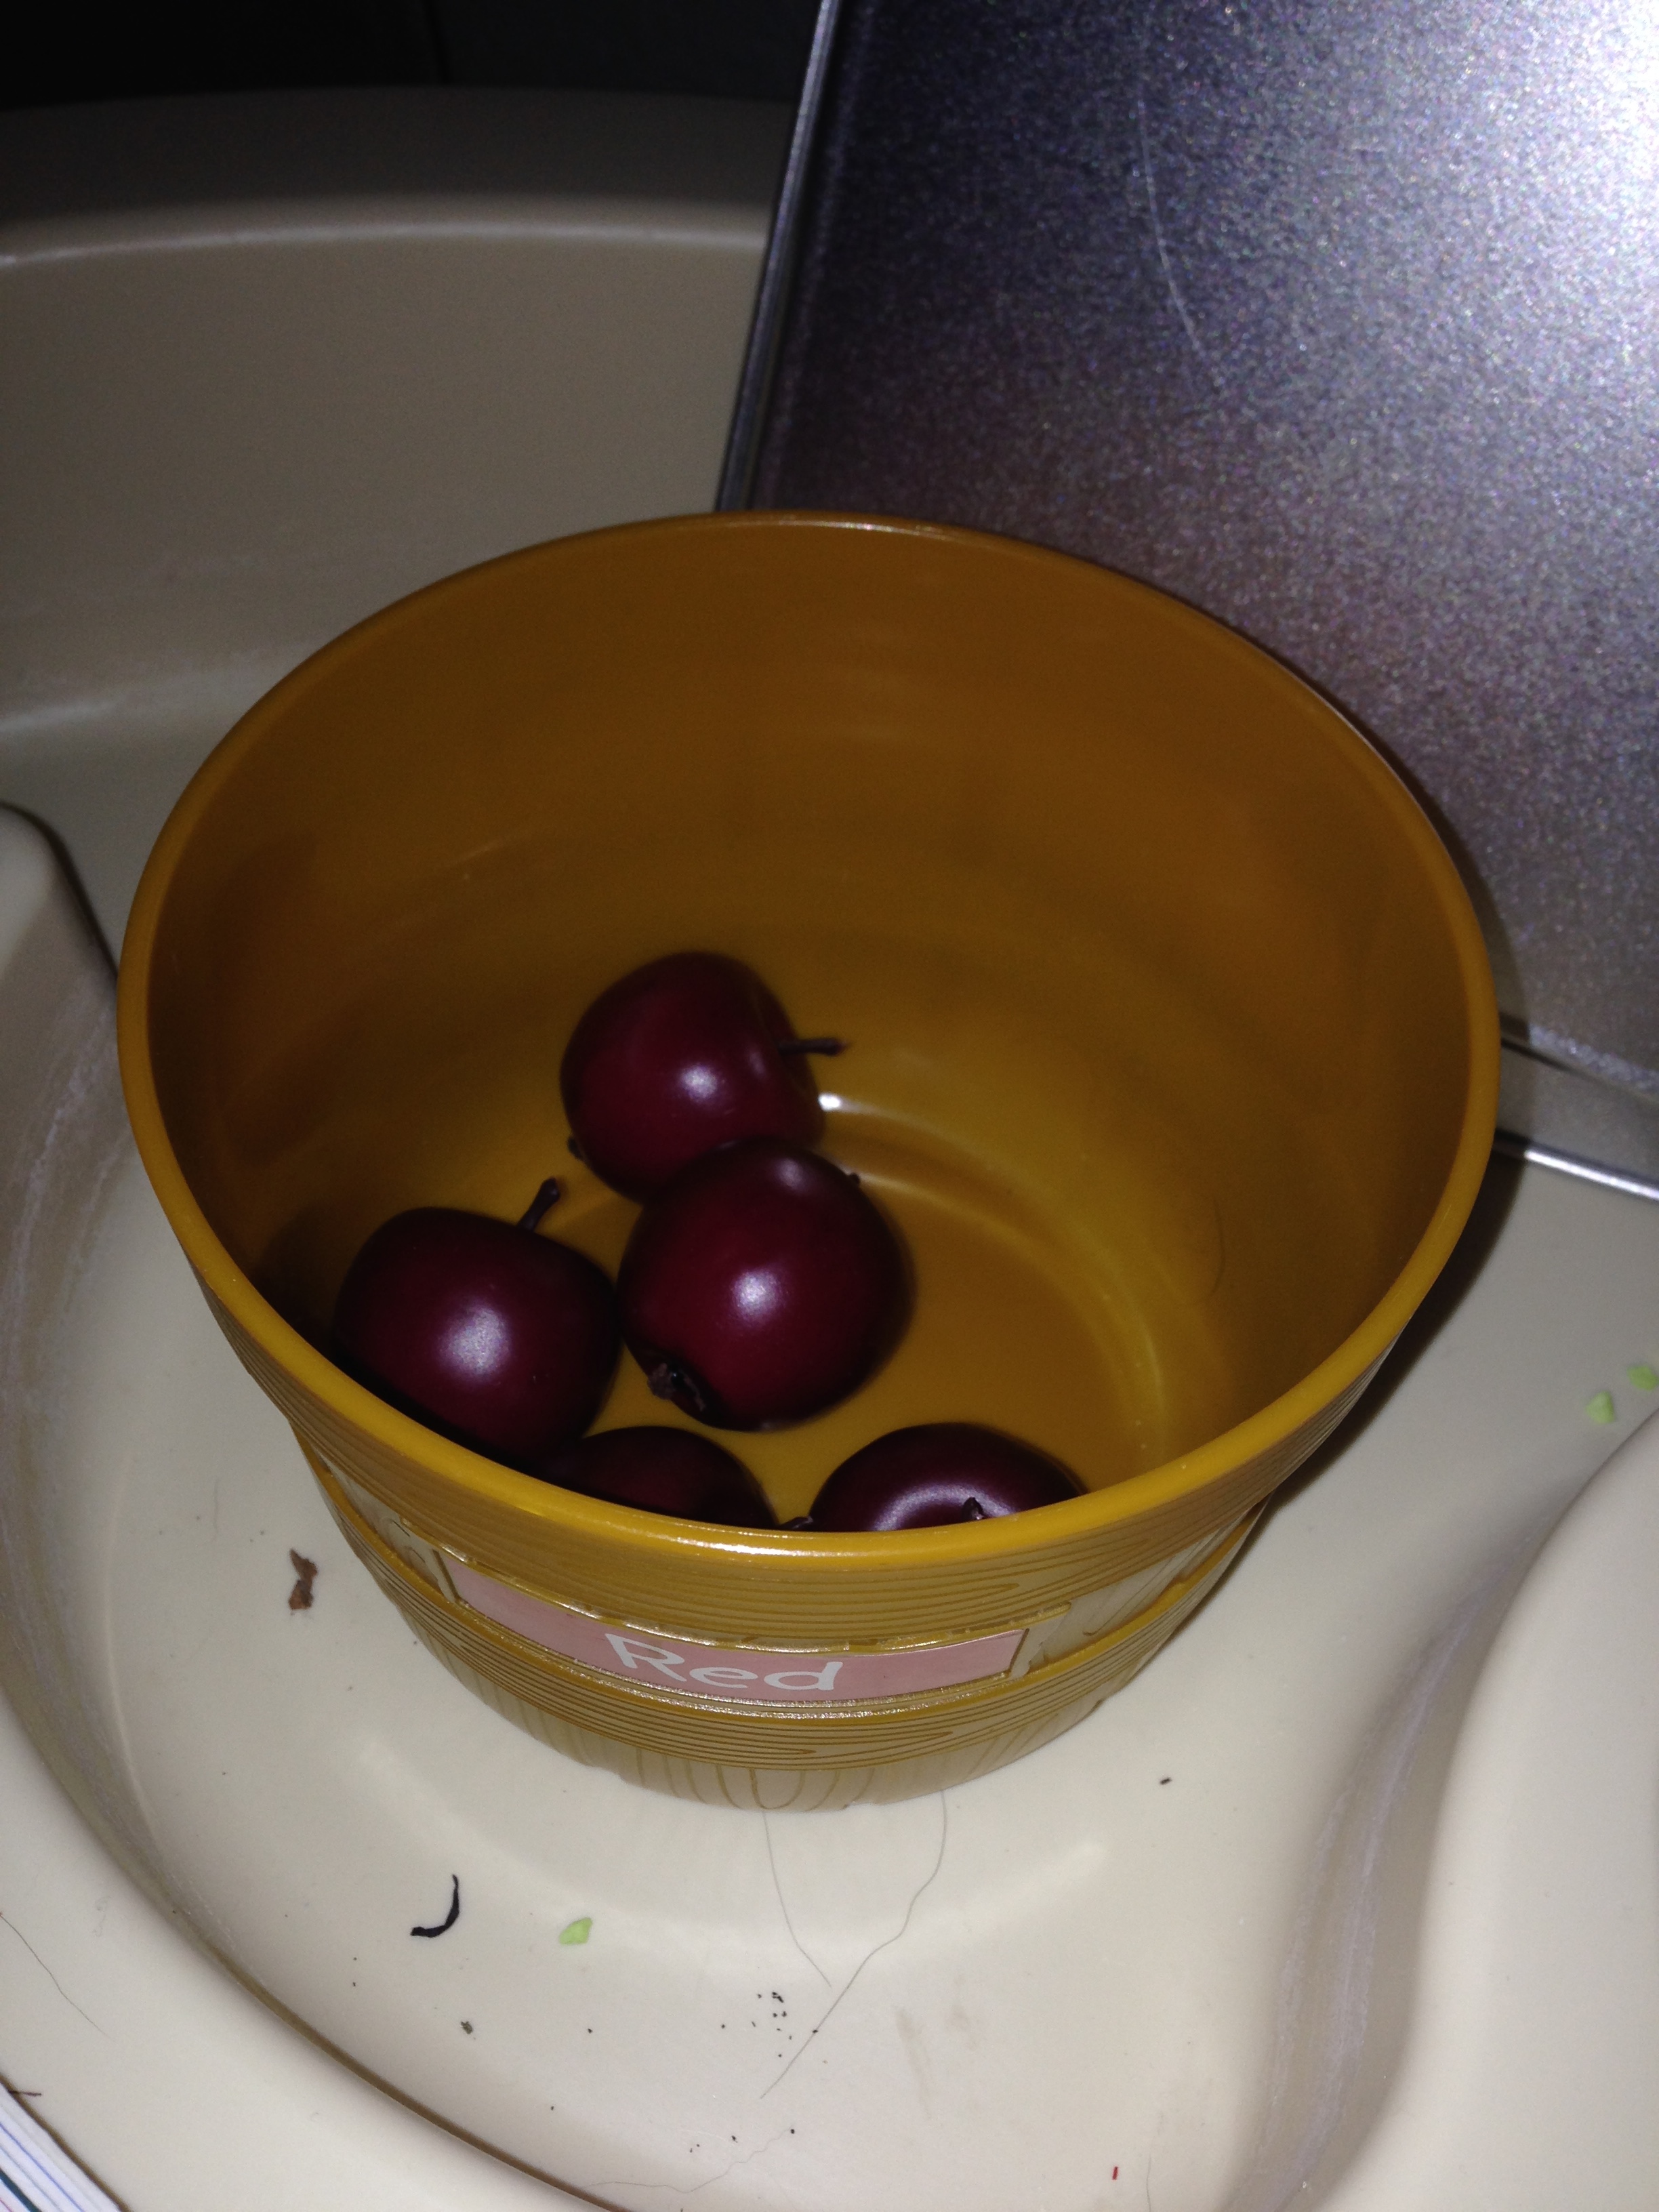
Apple Sorting/Tossing
Again with Dollar Tree – I found these little green and red apples in the home decor section, and then I pulled the red and green buckets from her Farmer’s Market Set (Get Yours Here – Aff Link ) and she can sort them. She has also enjoyed setting the bucket on the ground and stepping back to toss the apples into the correct bucket – making it a great gross motor activity, as well.


Rock Dumping/Shaking
I read somewhere that you could make rocks or other hard materials scented by adding tea leaves to them (I honestly don’t remember where), so I got these green rocks, again, at Dollar Tree in the home decor section – literally right next to the apples – and I added Apple Crumble Black Tea to it – so they smell like apples! I had thoroughly cleaned and dried out a coffee creamer bottle, which is absolutely perfect for this activity. She loves to use the funnel and scoop to put the rocks into the bottle, then close the lid, shake it, and then open the lid and shake the rocks back into the bowl. It’s turned into a super fun activity that covers several of the senses. (SO IF YOU’RE JUST SELECTING ONE OF THESE ACTIVITIES TO START WITH, THIS IS A GREAT ONE!)

Ten Apples Up On Top Reading/Building
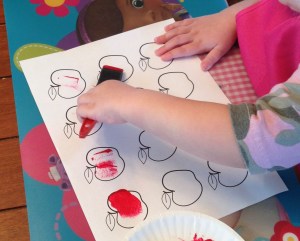
We LOVE the book Ten Apples Up On Top. So when I saw this idea from Ellen over at Cutting Tiny Bites, I just new we HAD to do it. Here’s how we extended her activity a tad. I printed up this sheet (FREE PRINTABLE HERE!) of ten apples, and let Becca paint them. (I had planned to do red, green, and yellow, and then discovered we were out of paint. So that might be an extension you’d want to add.. so that as you build, you can build a pattern!) After they had dried, I cut them out and taped them onto ten blocks. We only had nine that matched, so the tenth one is the “roof,” as Becca calls it. So here’s how you do it – as you read the book, you stack an apple block on top each time that the animals in the book add an apple. It’s super fun. Although if you pick a heavy top block like we did, you’ll end up with all ten apples up… and then dropping. But, that just adds to the fun!
Looking for the Ten Apples Up On Top Board Book? Here you go! (aff link)
Looking for wooden blocks? Try this set! (aff link)

Fyi – your Apple Theme Center will not stay looking like my top picture for very long. After lots of love, it might look something like this… 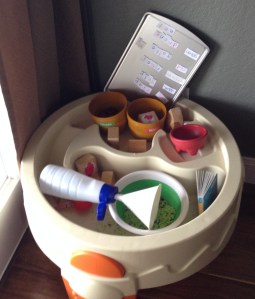 but just know that this means its being well loved, and your child is getting lots of benefit from it… and if your magnet board looks like ours, you’ll know your hubby has been playing as well. 😉

Total Mommy Prep Time: All told, it probably took about an hour to put it all together – maybe a little longer?
Total Becca Play Time: She spent about 45 minutes here the first day, and has easily spent 15 minutes every day since then on these activities. VERY beneficial and well worth my time to put it together!






 (aff link – thank you!) I found some that were different colors, so mine is purple, not white like this one. But the important features are the lid, the clips to hold it closed, and the handle.
 Butterbees and Bumbleflies