Math Clips Addition Matching Game

steam activities header

Our STEAM Subject today is MATH!

There are SO MANY times that I get frustrated.  It’s really hard to be the mother of a gifted child who is VERY asynchronous in her development.  I see all these adorable activities on Pinterest that are age appropriate for her, but they are color matching.  Or they are shape sorting.  And while those activities might be fun and totally appropriate for 98% of her peers, they aren’t appropriate for Becca.  She doesn’t like to do things that are too easy.  The girl wants to be challenged.  A lot.  And that’s fabulous.  But, it does create quite a frustration on my part.  She is super into math.  She wants to add and subtract food from her plate (which we do frequently).  She wants to add and subtract shoes from the shelf (which we also do frequently).  But addition and subtraction activities without manipulatives usually equal a worksheet, which she HATES doing.  And I don’t blame her.  Worksheets remind her that she can’t write yet.  And then she gets frustrated.

So, I’ve been wracking my brain to come up with some ideas for games that are similar to those color matching / shape sorting type activities, that cover the skills she’s ready for.  Enter my

math clips

I had a bunch of little ocean stickers, so mine are ocean themed.  You could do conversation hearts for Valentines day, or stars, or dinosaurs – whatever you have of the little tiny incentive chart stickers.  Note: your child may not need the stickers to count.  Becca doesn’t use them some of the time.  But they make it more age appropriate and fun!  Plus, it’s always good to have that visual reminder of what 8 starfish look like, what 7 turtles look like, etc.  I also put a sticker on the end of the clothespin so that the answers for each card can easily be matched to the correct card if they are all stuck in a large Ziploc bag together.  I did +2 and +3  with answers 5 and above.  But if you have more stickers and use a larger sheet (I just cut one piece of card stock in half lengthwise), you could easily do larger numbers.  Or, you could do much smaller numbers if your child isn’t quite ready for the big answers, and/or is still needing to sit and count each sticker to get to the total.  I love how easily this activity can be modified to fit the needs of the child.  And honestly, wouldn’t this be a fabulously fun activity for 1st graders learning addition as well?

IMG_2395 IMG_2396

Note: clothespins can be very challenging for a child who struggles in the fine motor department.  Becca has had lots of practice and still has trouble – especially since these are on the right side of the paper and she is left-handed.  If your child is struggling with the clips, it helps if you hold the card for them so that all they have to worry about is putting the clip on.  They may also need you to hold their hand to help them squeeze if their pincer grip isn’t very strong.

Kids in the Kitchen – Banana Bread

kids in the kitchen

I love making banana bread.  But I love eating it even more.  Everybody makes theirs a little different, but this time I made mine very different… didn’t change a single ingredient… I just changed the physical part of HOW it was made.  Because I had help!  Becca loved getting to mash the bananas, loved dumping the ingredients into the bowls and stirring, and she loved watching the mixer beater go around and around and around!  This time we also added in some additional math – because we doubled the recipe.  So we mashed our bananas, measured them, and then saw that we had enough bananas for a double recipe.  So I had Becca help me add the whole numbers together to figure out how many scoops of each item we would need.  Baking is always such a fun and easy way to sneak a math lesson in!

IMG_0038IMG_0040Here’s our recipe:

Banana Bread
2 1/4 cups flour
2 1/4 tsp baking powder
3/4 tsp Kosher salt
3/4 cup shortening
1 1/2 cups brown sugar, packed
2 eggs
3/4 tsp vanilla
dash or two of cinnamon
1 1/2 cups mashed bananas (the riper, the better – ours were black)

Stir together in a medium bowl – flour, baking powder, and salt.  Set aside.
Combine shortening, sugar, vanilla, cinnamon, eggs, and bananas in large mixer bowl, and beat until thoroughly blended.
Add flour mixture, a little at a time, until all is completely mixed.
Place in two greased loaf pans (or I use the 4 mini muffin stoneware pan from Pampered Chef) at 350F for 30-35 mins or until a toothpick comes out clear when placed in the center of the loaf.
Cool and store in an airtight container.

Note – if you’d like to add nuts, pecans or walnuts work great with this recipe.  I just poke them down into the top of the loaves that I chose to add nuts to so that anyone can easily tell that the loaf has nuts and can avoid if they have allergies.

Duplo Math

After watching a Leap Frog video where the twins had to fill up the space ship’s fuel tanks with cubes to equal ten, I decided we could do that, too!  So, we made towers of ten by adding.   I put a couple blocks together, and we figured out how many more we would need to complete our ten.  We also made our towers into patterns.  She really had fun with it.  Then we turned our towers into a building. 🙂

IMG_9777 IMG_9778


Here are some more Lego/Duplo Math ideas from other sources:

Graphing Idea from The Measured Mom

Measuring Ideas from No Time for Flashcards

Counting/Writing/Painting Ideas from Crayon Freckles

Duplo Number cards from Learn with Play at Home

Duplo Patterning FREE PRINTABLE Worksheet from Plants and Pillars

Plus:

Follow my LEGO LEARNING Pin board on Pinterest for even more fabulous ideas!!

Food Pouch Lid Activities

I’m sure I’m not the first to create a post about what you can do with all those little food pouch lids… because I’m sure there are a LOT of parents out there who have them coming out of their ears!!!  (I know I shudder to think how many we just threw away before we were saving them… sigh.)  So… if your kids eat anything from a pouch, SAVE THE LIDS!  These are just THREE of the activities you can do with these – not to mention color sorting, using them for counters for addition/subtraction, etc.

Fall Tree Activity – See my blog post yesterday for this fabulous activity – where your child matches numbers to encourage recognition out of order.  And just a side note – you realize you could do any numbers you wanted – it could be 50-70 or 80-100 (although you’d have to write really tiny to fit three digits on the center of one of those lids, you could easily write the number on the side – and go as big as you want!)  OR – what about this extension for your older kids?  Write an addition, subtraction, multiplication, or division problem on the side of the lid, and they have to match it to the answer on the tree!  Again, color coding helps make it a little easier, so if you have two or even three colors of lids that are fall leaf colors, that would be awesome.  Or, make it more challenging by making all your leaves/pouch tops the same color!

IMG_9284

Imaginative Play Activity – Build your family!  Did you ever think that you could make people with these little pouch tops?  And houses?  Becca loves to build with her pouch tops, so one fun activity was to make our family.  I drew faces on four lids, and then we stacked them up by height to create our family!  Now, you could take it a step further and hot glue them together so they could walk around and go into their house, etc.  But Becca enjoys building the people over and over.  She searches through and finds the faces, and then builds them over and over again.  She knows Mommy and Daddy are four pouch tops, she’s three, and Baby Grayson is two.  So it makes a great counting activity, but stacking them is also great for her fine motor development – because by the time she has three stacked up, she has to be very careful to not knock them over!  She loves building castles and houses for her people, as well!  Super fun.

IMG_9113

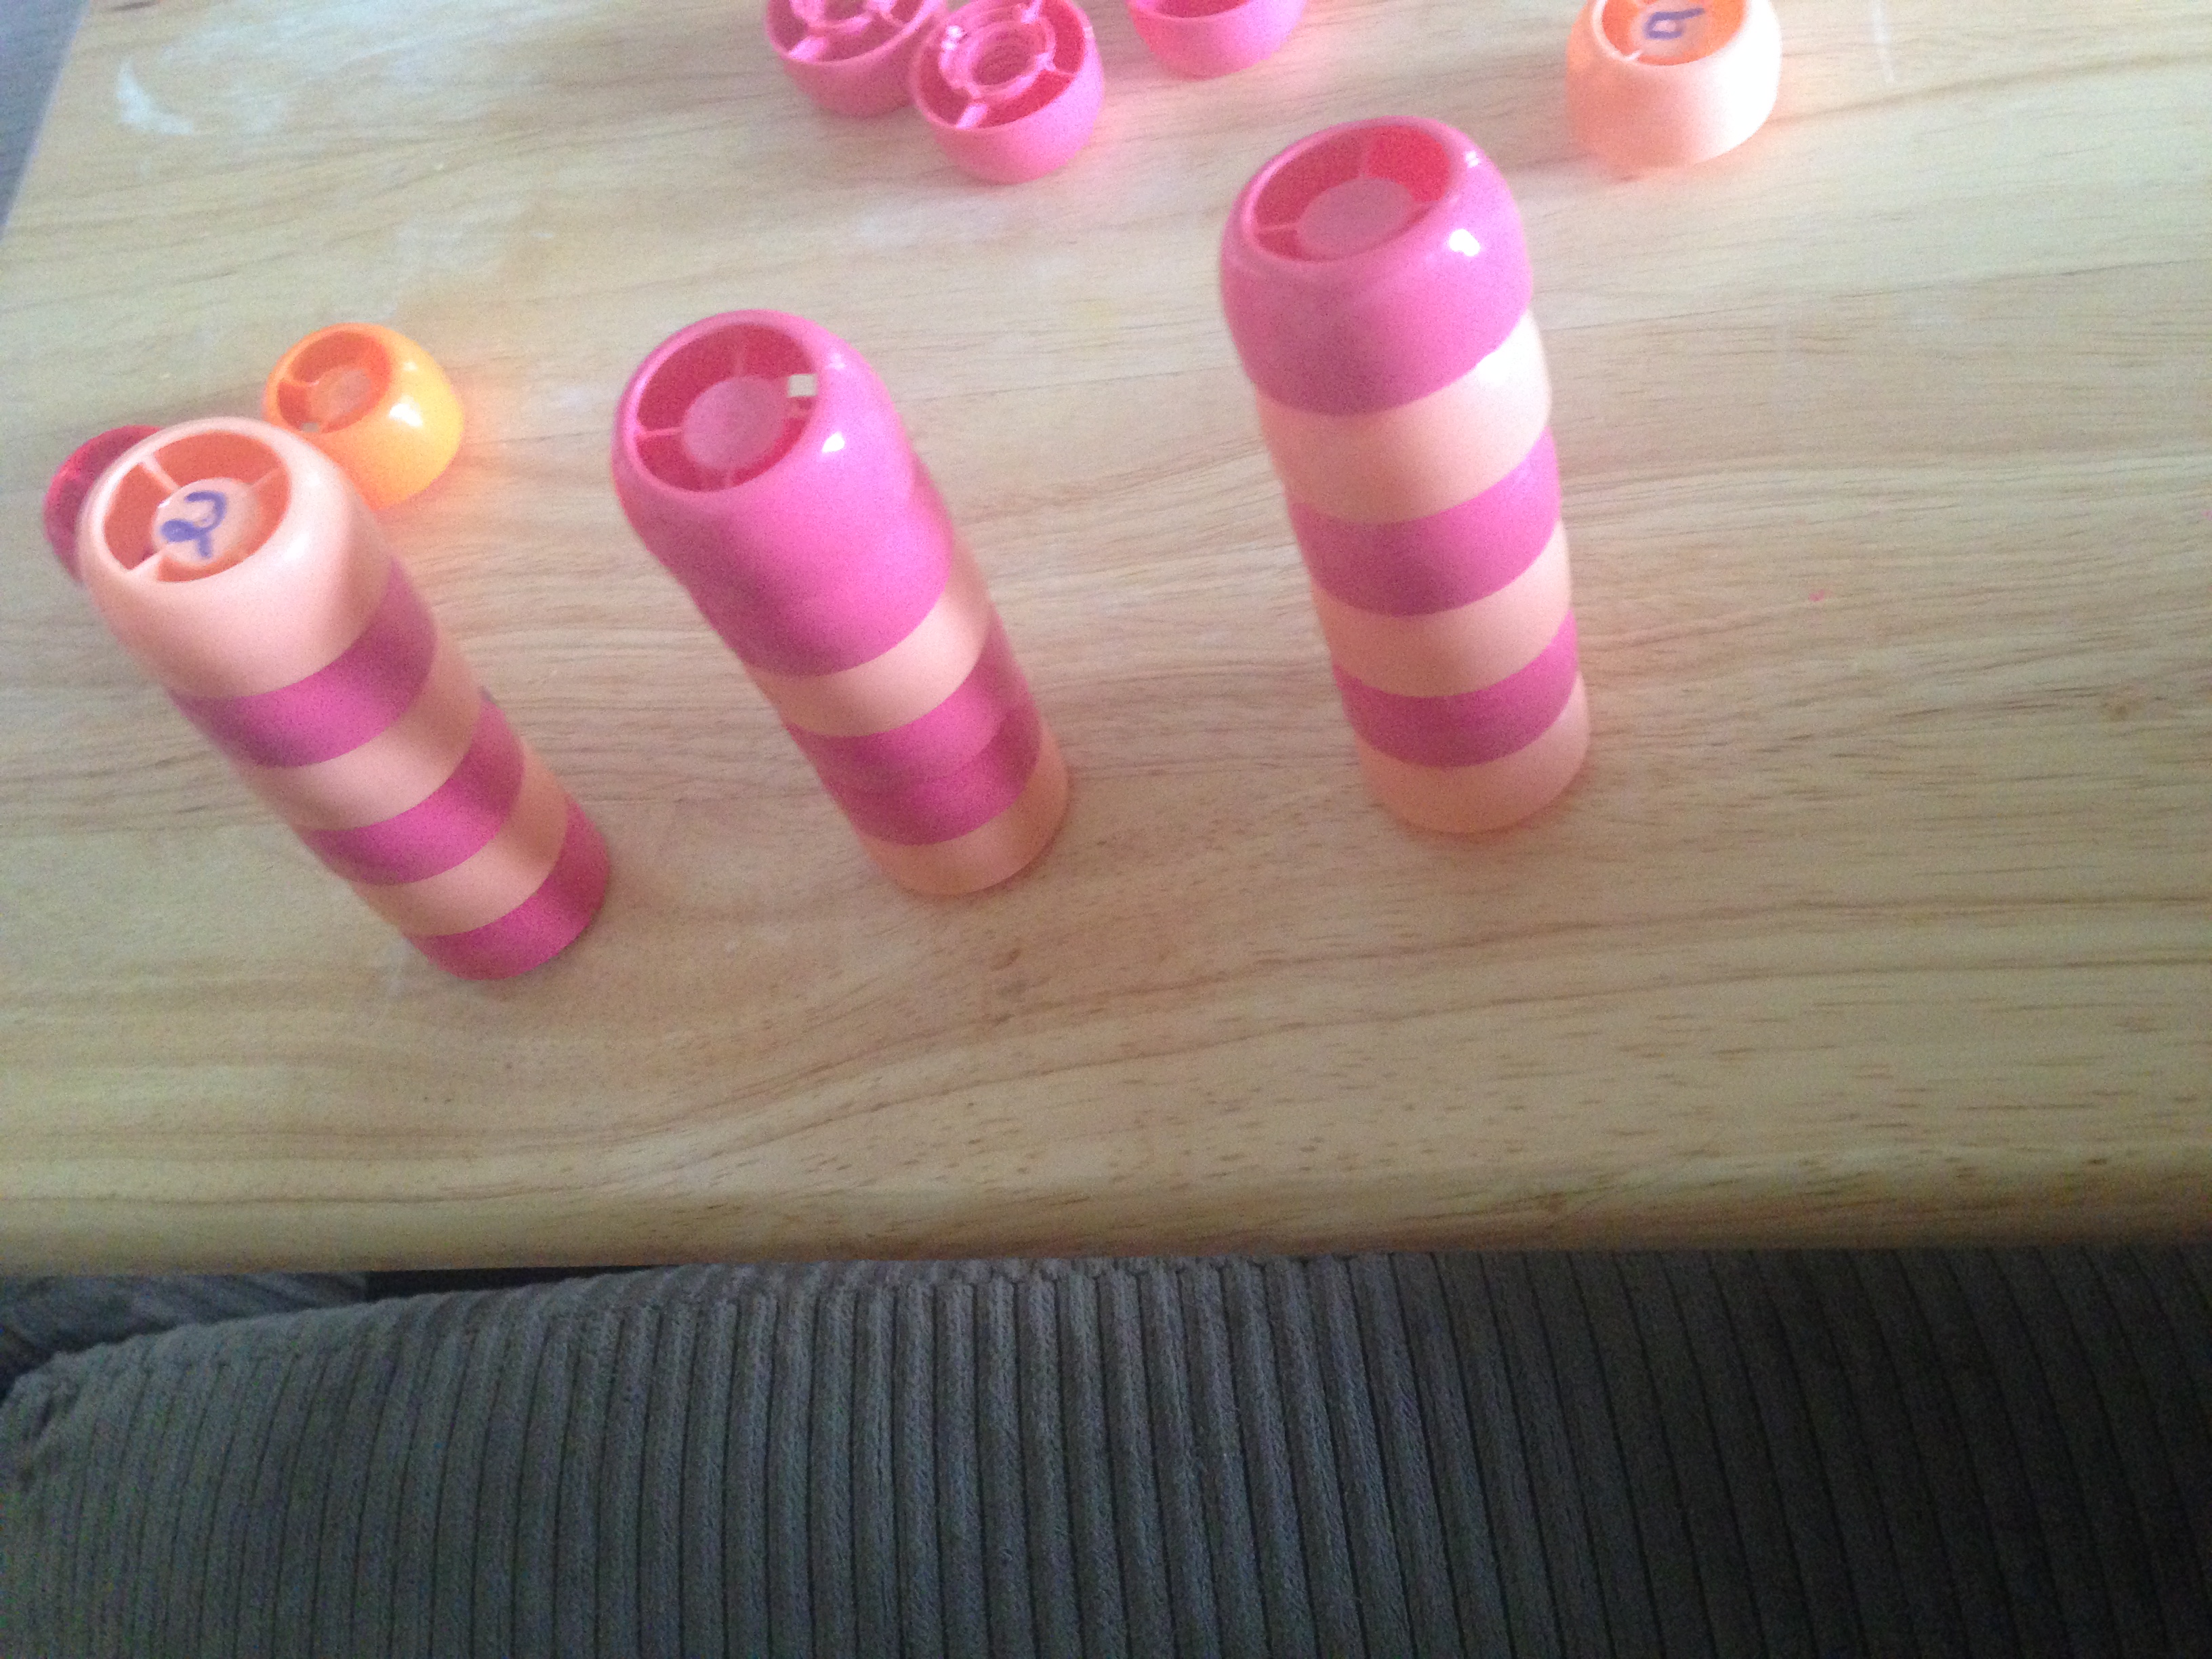
Patterning – I think another fabulous thing we have done with these is using them to create patterns.  Patterns are all around us in our world, but to recognize and create patterns is an important skill we must first be taught.  Becca is a huge fan of patterns – she’s always wanting me to make harder patterns for her to complete.  Sadly, she’s only a fan of three or four different kinds of pouches… so we can’t make patterns with very many colors of pouch lids, but that’s ok!  We use what we have!  If you aren’t familiar with teaching patterns to children, you might be interested to know that once in school, your child will learn to “name” their patterns with letters.  You can start coordinating this and teaching your child early to name their pattern.  For example, the patterns in this picture are named (L to R, bottom to top) an AB pattern, an ABB pattern, an AB pattern.

IMG_9116

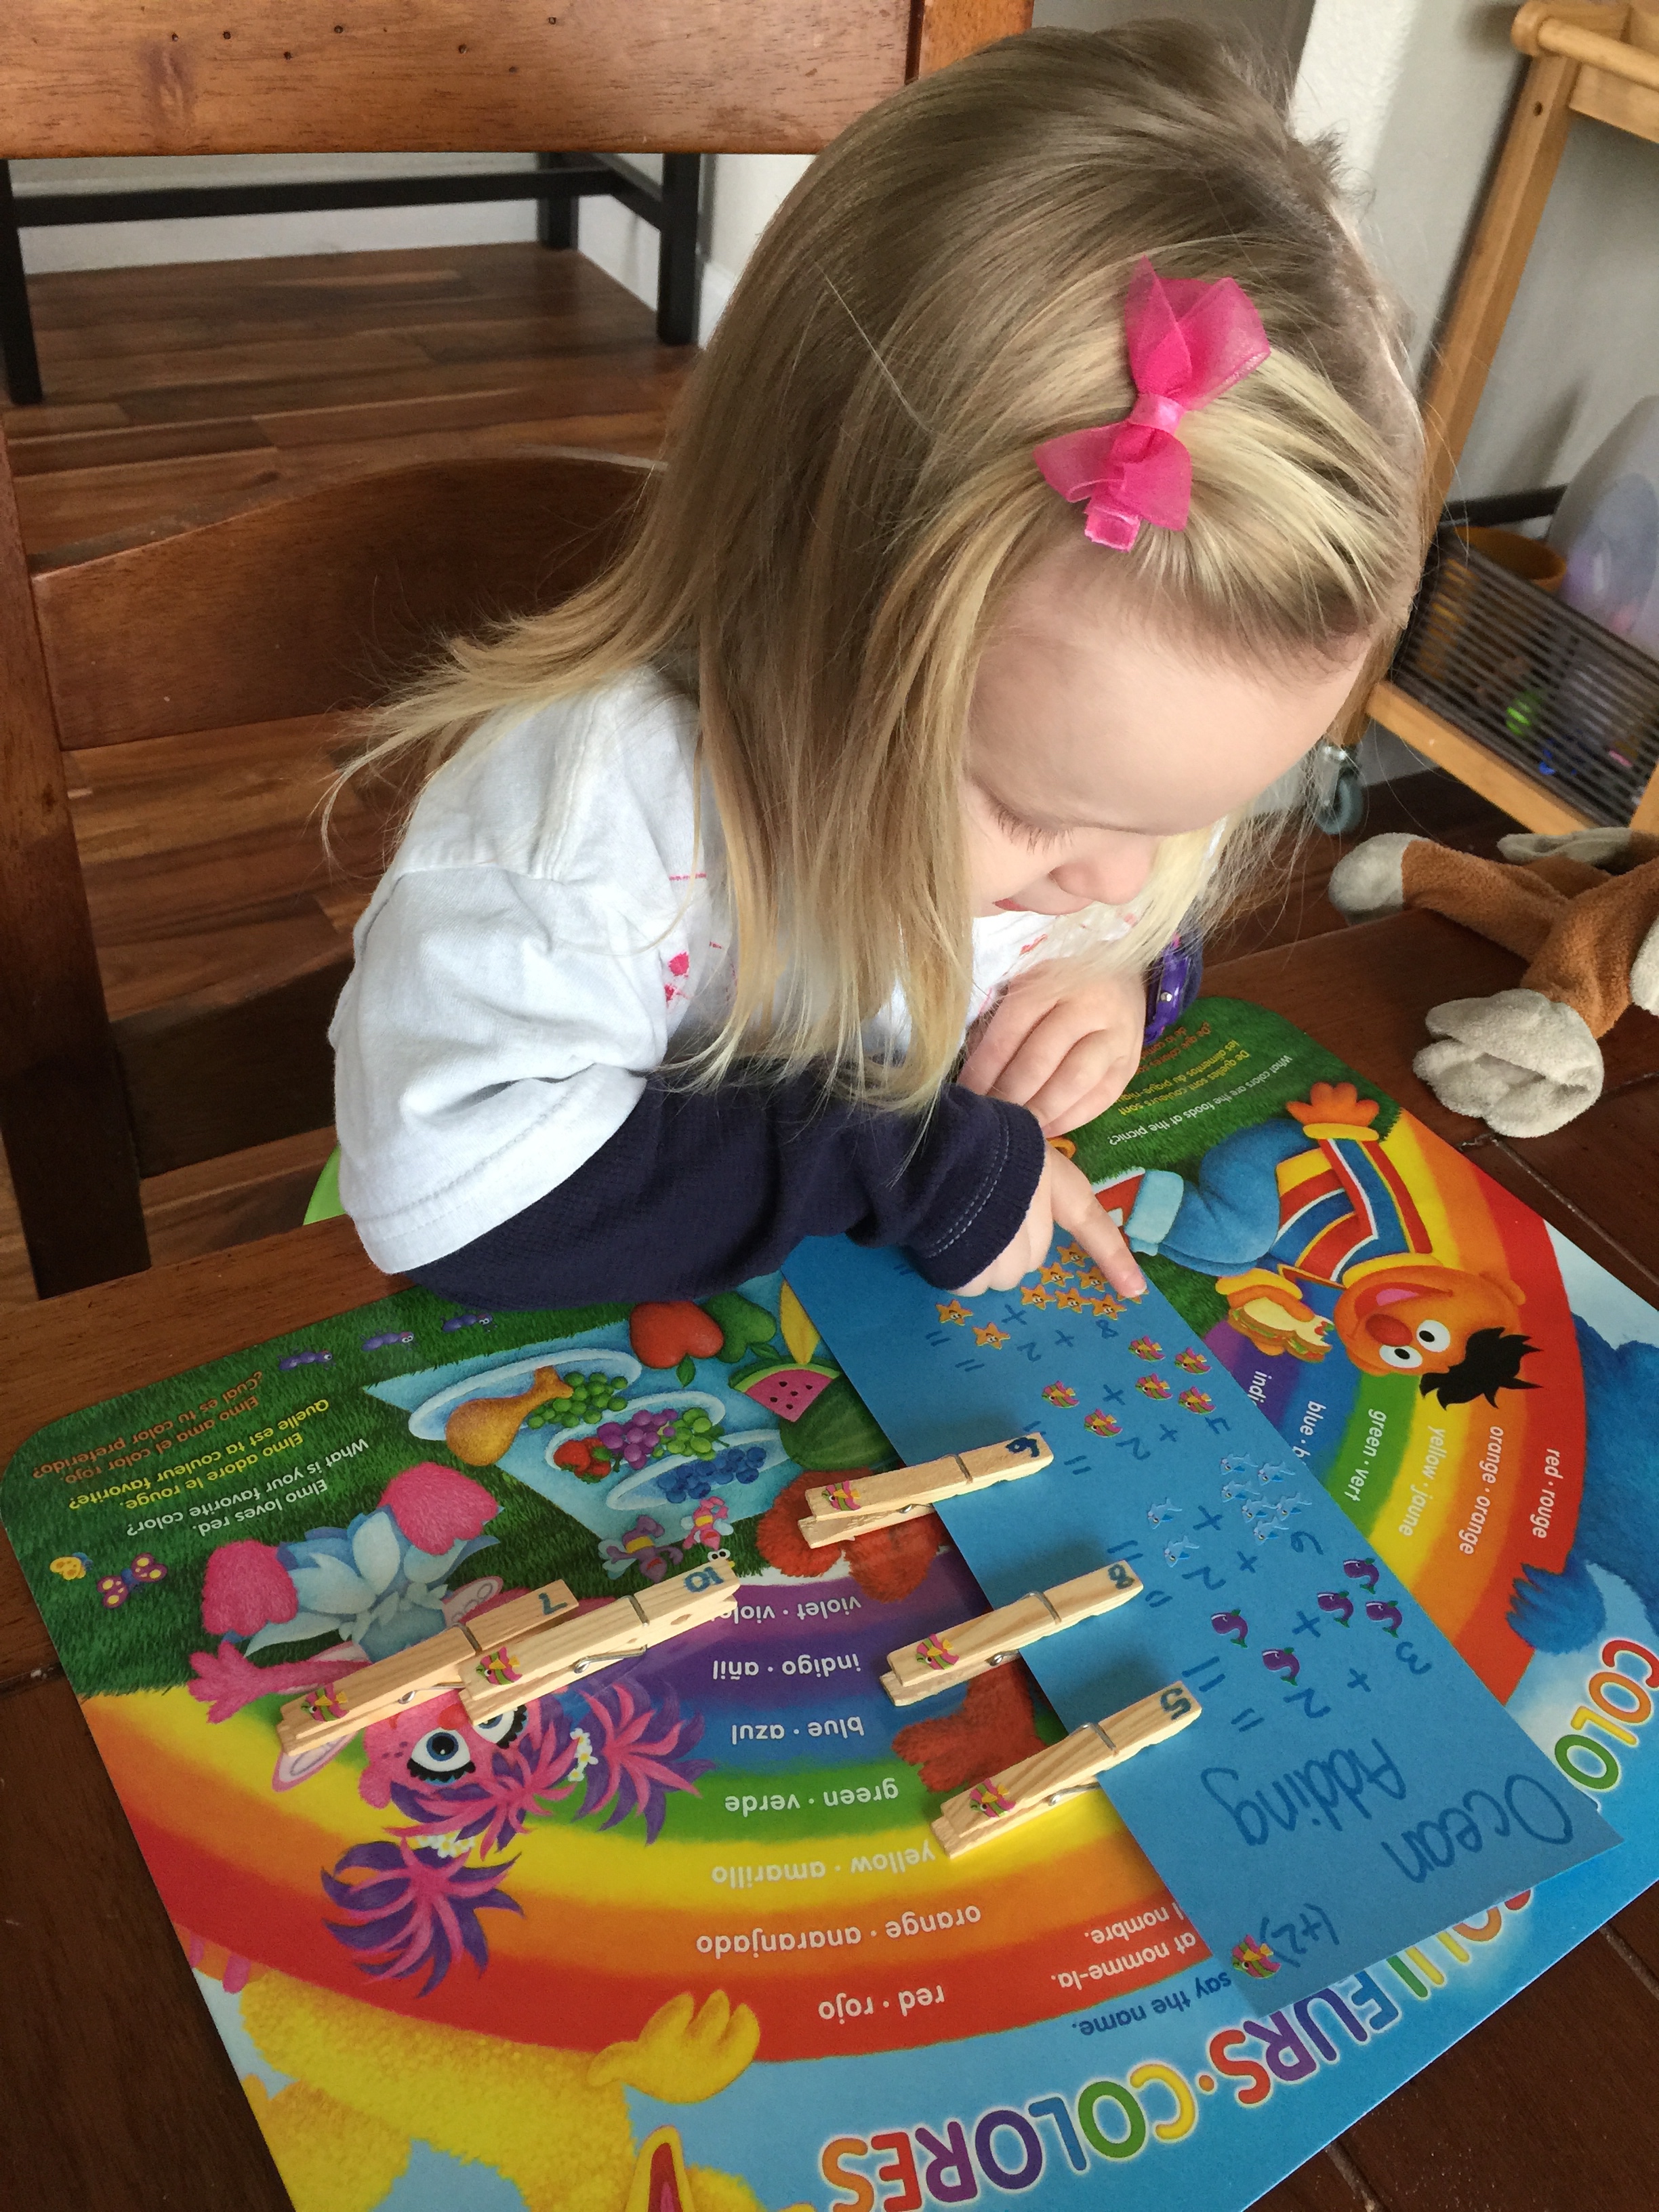
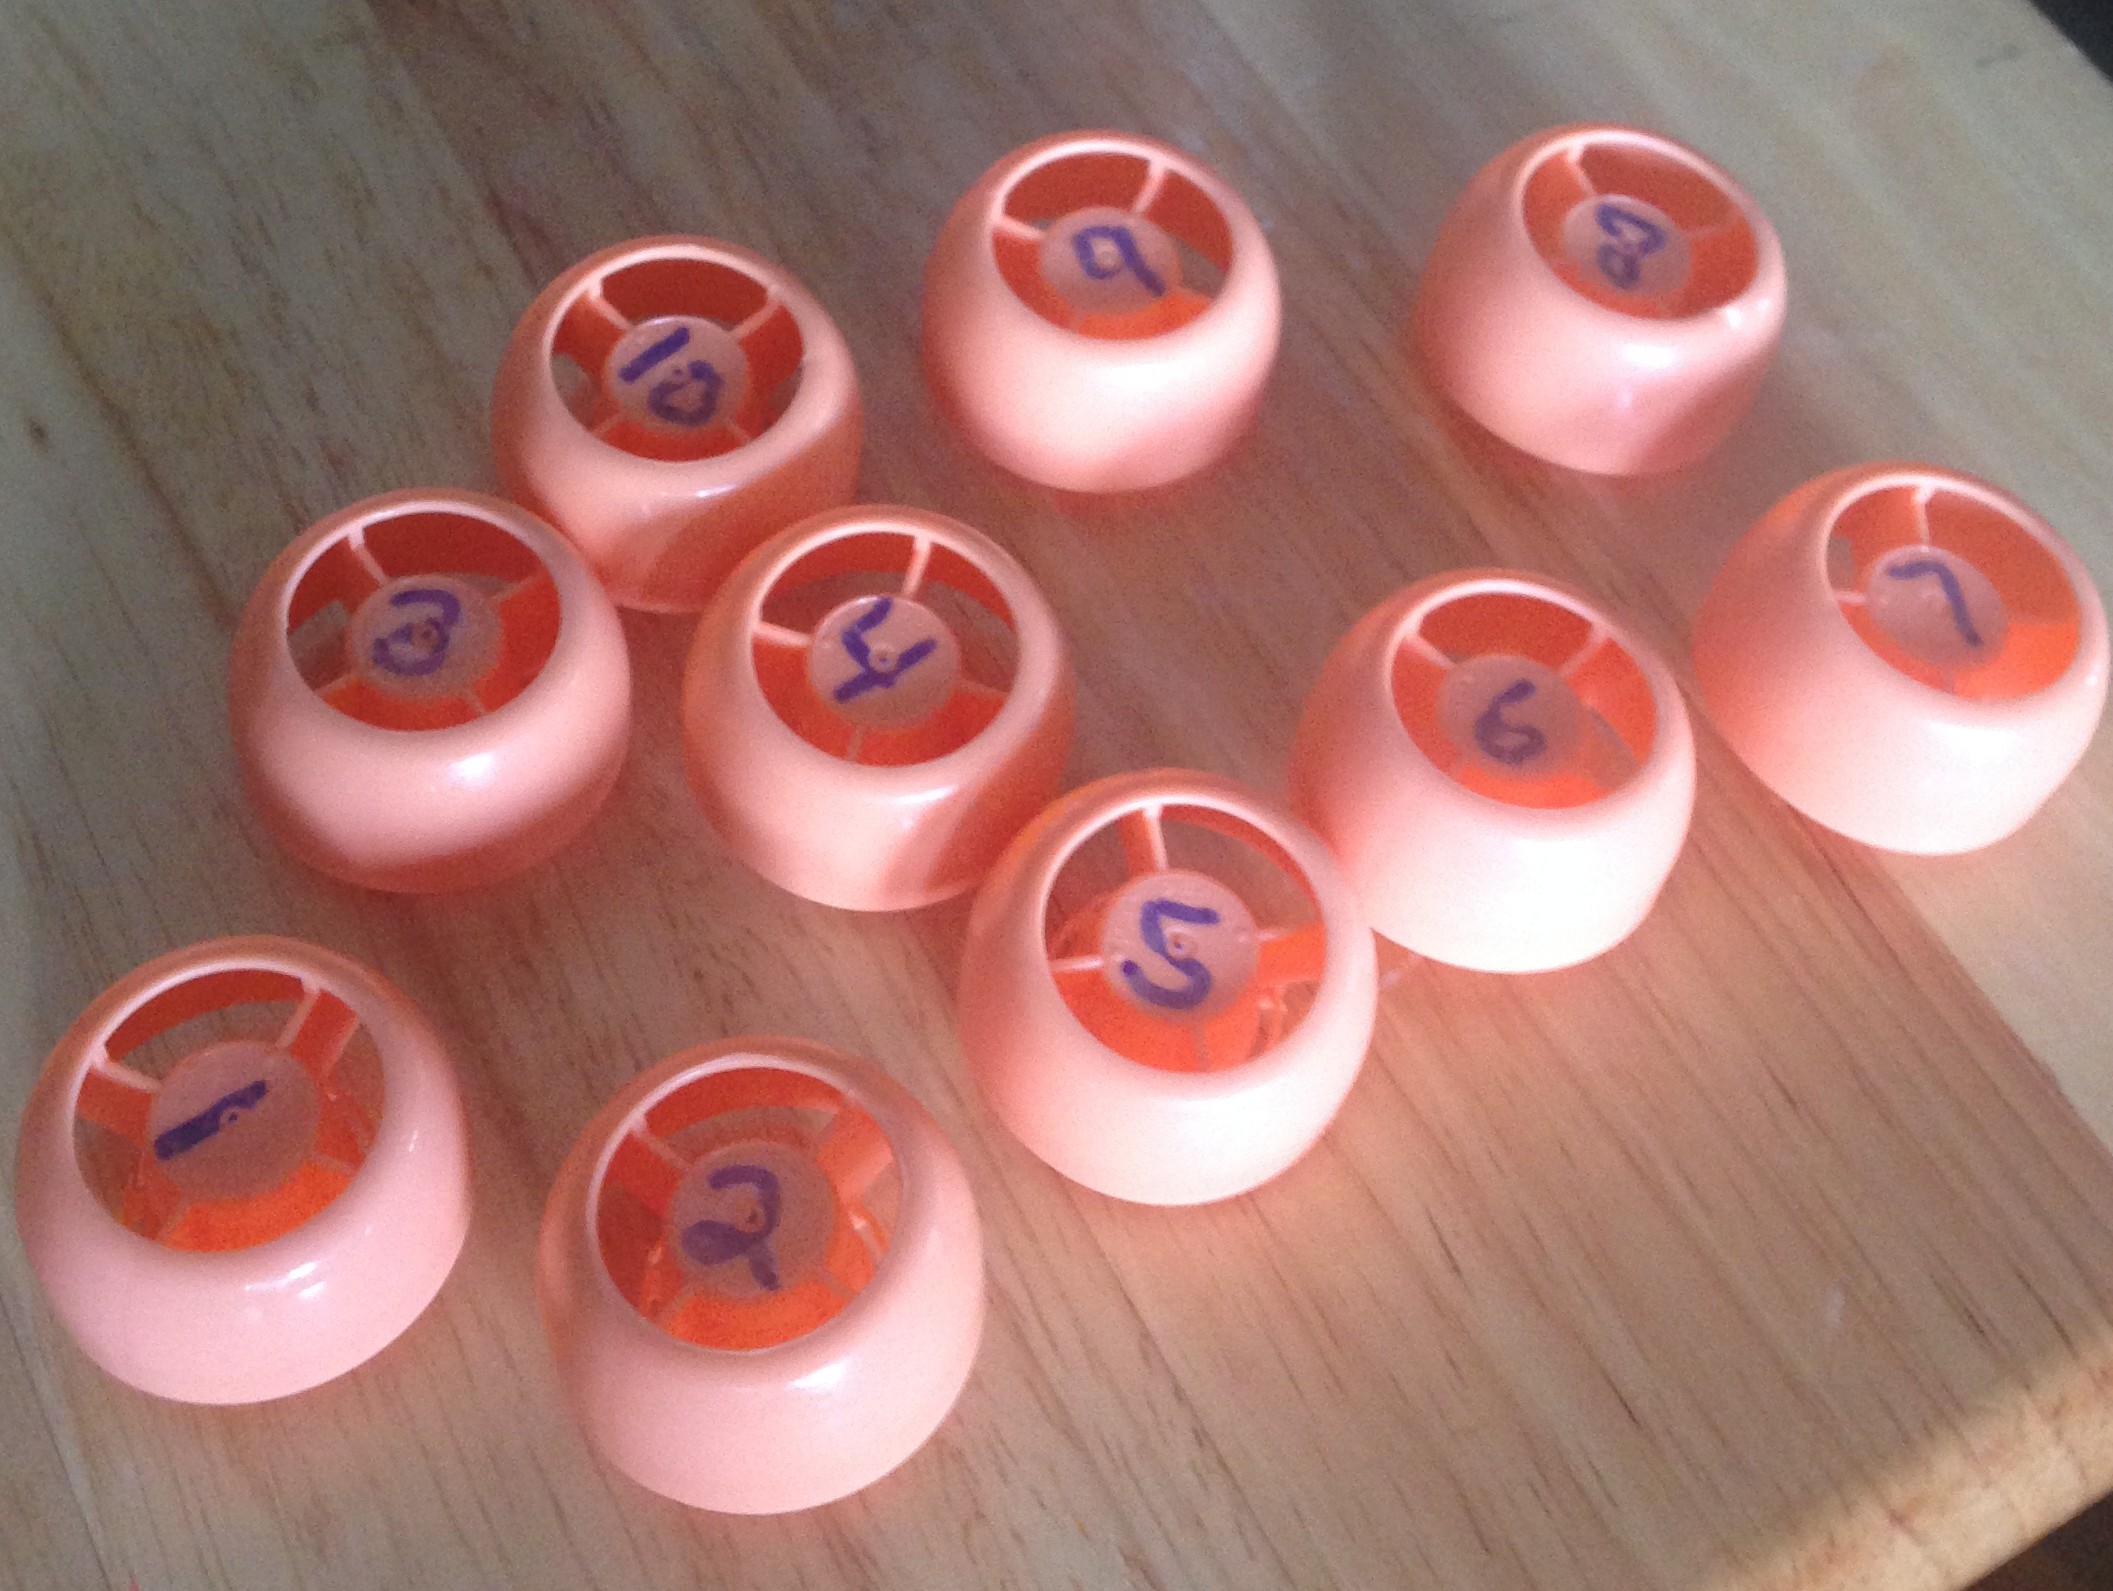
Counting/Ordinal Position/One-to-one Correspondence – I’m always a fan of using REAL LIFE objects to help teach little ones to count.  So, it’s as simple as what I did for the fall tree – put the numbers that you want to work on on top of each lid.  Then your child can use them to make a number line, putting each number in it’s correct spot; they can use the numbers to count the lids and see how many they have; and it’s also helpful for those who like to just keep counting, and struggle with One-to-one Correspondence.  Becca used to really struggle with that.  There could be four of an item, and she’d put her finger on each of the four and count to four, but then keep touching the items and count however high she wanted to count.  She still does that occasionally – with a grin on her face because she knows she’s doing it wrong.  What really helped her to understand this concept was to count items that had a number on them.  She would touch the number, and say it.  When she ran out of numbers, she was done counting.  This activity might help your child if he/she struggles with this concept as well.

IMG_9115

Alphabet Matching/ Ordering / Word Building – Another activity that I want to do with her soon (as soon as we have enough more pouch lids) is taking these over to the Language Arts side of things, and putting the letters of the alphabet on them.  You could put an upper case letter on one, and lower case on another and match the upper and lower case together.  You could simply practice putting them in order.  Or, what I’d really like to do, is to start word building.  Pre-program lids to have the letters you need to build basic sight words, or high interest words – for any age child.  If your older child is super into dinosaurs, save up a bunch of pouch lids and make enough to spell out types of dinosaurs!  The possibilities are endless.  If you are doing word building, I recommend having a pre-printed sheet of words that your child can use to spell from the pouch lids you’ve made available.  Have him/her build the word on the mat right next to the pre-printed word, or if you have space, ideally, they would build the word right on top of the word you’ve pre-printed.  So you’ll have to check your spacing.  I’ll be working on creating some of these for basic sight words SOON, and will share the printable when I have them created. 🙂

Do you have more food pouch lid activities that you’d like to share?  Post them over on my Facebook page!  I’d love to see what you are doing, and would love to have you be a part of the Facebook community I’m attempting to build! 🙂  (Be sure to click “like” over on the right-hand side of my blog! 🙂 )

Honeybee Math

To extend our trip to the Bee Ranch, I created a little addition worksheet to start introducing Becca to the concept of addition.  Except I didn’t realize that my cognitively gifted child would have the concept already, and was ready for more difficult numbers and equations.  But, she did enjoy seeing the little bees, and this FREE PRINTABLE might be perfect for your child!!  (I hope someone gets some good use out of it!!)  I put it in a Write And Wipe Pocket (aff link – thank you!) so we can use it again, and she ended up turning the pocket over and drawing with the dry erase marker – a “bee.” 🙂

IMG_9079