Recycling Rocks!

I’ve had a lot going on lately… to say the least.  So just this week I finally picked up all the signs of Halloween around the house and got them tucked away for next year.  I wanted to do one more sensory bin for Becca before putting the water table up in the attic for the Christmas season (way too much stuff will be in our living room…), but WHAT?  I wanted something fallish, but different from her pumpkin center.  So I looked around and found some items that have long since been forgotten… her fall leaves number tree, her box of beans (minus the pom poms), and her tub of beans, leaves, and pumpkins.  And I’m pretty pleased with what I came up with!  (And she was, too!)

IMG_0436

I emptied all of the beans, leaves, and pumpkins I could find into the main part of the water table, put her rake and shovel with the number tree in the top, and then put the Indian corn in a festive pumpkin basket that she can’t seem to get enough of (she hauls the thing all over the house at least twice a day).  She loved digging around using her tools, and just running her fingers through the beans again.  “This is fun, Mommy!  I like it better in here than that other place.”  So see, part of my problem before had been not enough space to dig in!  Now we know.  The container really DOES make a difference, and this water table (affiliate link – thank you!) is FABULOUS for way more than just water play!

I also showed her how she can pull the silks off the Indian corn and make fun strings, and how to pop the corn kernels off (into the table), which she had a blast doing!  Once she tired of it, she immediately pulled the fall number tree out, and we did that together.  Such fun to revisit old favorites – in a new format!  Recycling really does rock, ya’ll.  No need to throw out those activities because she was seemingly done with them!  Just gotta find a way to make things new!

IMG_0439

What activities do you have around your house that could stand to be recycled or “up cycled” into something new and different?

Being Thankful

So what’s a good way to encourage thankfulness in your preschooler? Helping them think of all the things they have that are blessings! Here’s an easy activity you can do TODAY!

I’ve programmed pieces of construction paper with the letters of the alphabet, and then throughout the past few days, Becca and I have added to the list. (It’s now much longer than what this picture shows!) Then later this week, I will take the pages down off the easel, and put them together in book form.

There’s so many options of how to do this. You could make an “I’m Thankful for my Family” book and put each person’s picture on one page and then write their name. That would be perfect for a young child who is just learning everyone’s names.

For us, list form is fabulous. I’m sure she’ll be thinking of things to add to our lists later, so I don’t plan on laminating this one. But you totally could. I just like the idea of having a running record of our thankfulness!

Note: I’ve just had her tell me things she’s thankful for as they pop into her head, and I put them under the correct letter. Later this week, before we pull down the list, I’ll change up the challenge- and ask her to think of things that begin with the specific letters we haven’t filled up yet. 🙂

What are you thankful for?

IMG_0326.JPG

Pumpkin/Halloween Center

This post contains affiliate links.  Thank you for your participation and support of this blog and our family!

A few weeks ago, I posted about play with orange colored rice.  (Here’s that post)  And then a few days after that, I took the purple rice I had, and added lavender essential oil.  I’ve heard that it has calming properties, and thought – what better thing to add to Becca’s rice?  Well, so I added a couple drops too many and the whole house smelled like lavender for two days.  Which isn’t necessarily a bad thing.. just unexpected.  To try and combat the strong lavender scent, I mixed the purple rice with the orange, and then let it sit for about a week or maybe even two before we used it.  Now, it has a nice lavender scent, but isn’t overwhelming.

I love our water table – such versatility.  You can get yours here (aff link).  It works great for centers like this because I can fit several activities on the different layers.

I will give a qualifying statement to this post – like I did on my Apple Theme Center – if you are just starting to do sensory activities with your kids, you might not want to take the time or have the energy to put together an entire theme center.  THAT IS OK!!!  Just pick one or two of these and start there! 🙂

IMG_9263

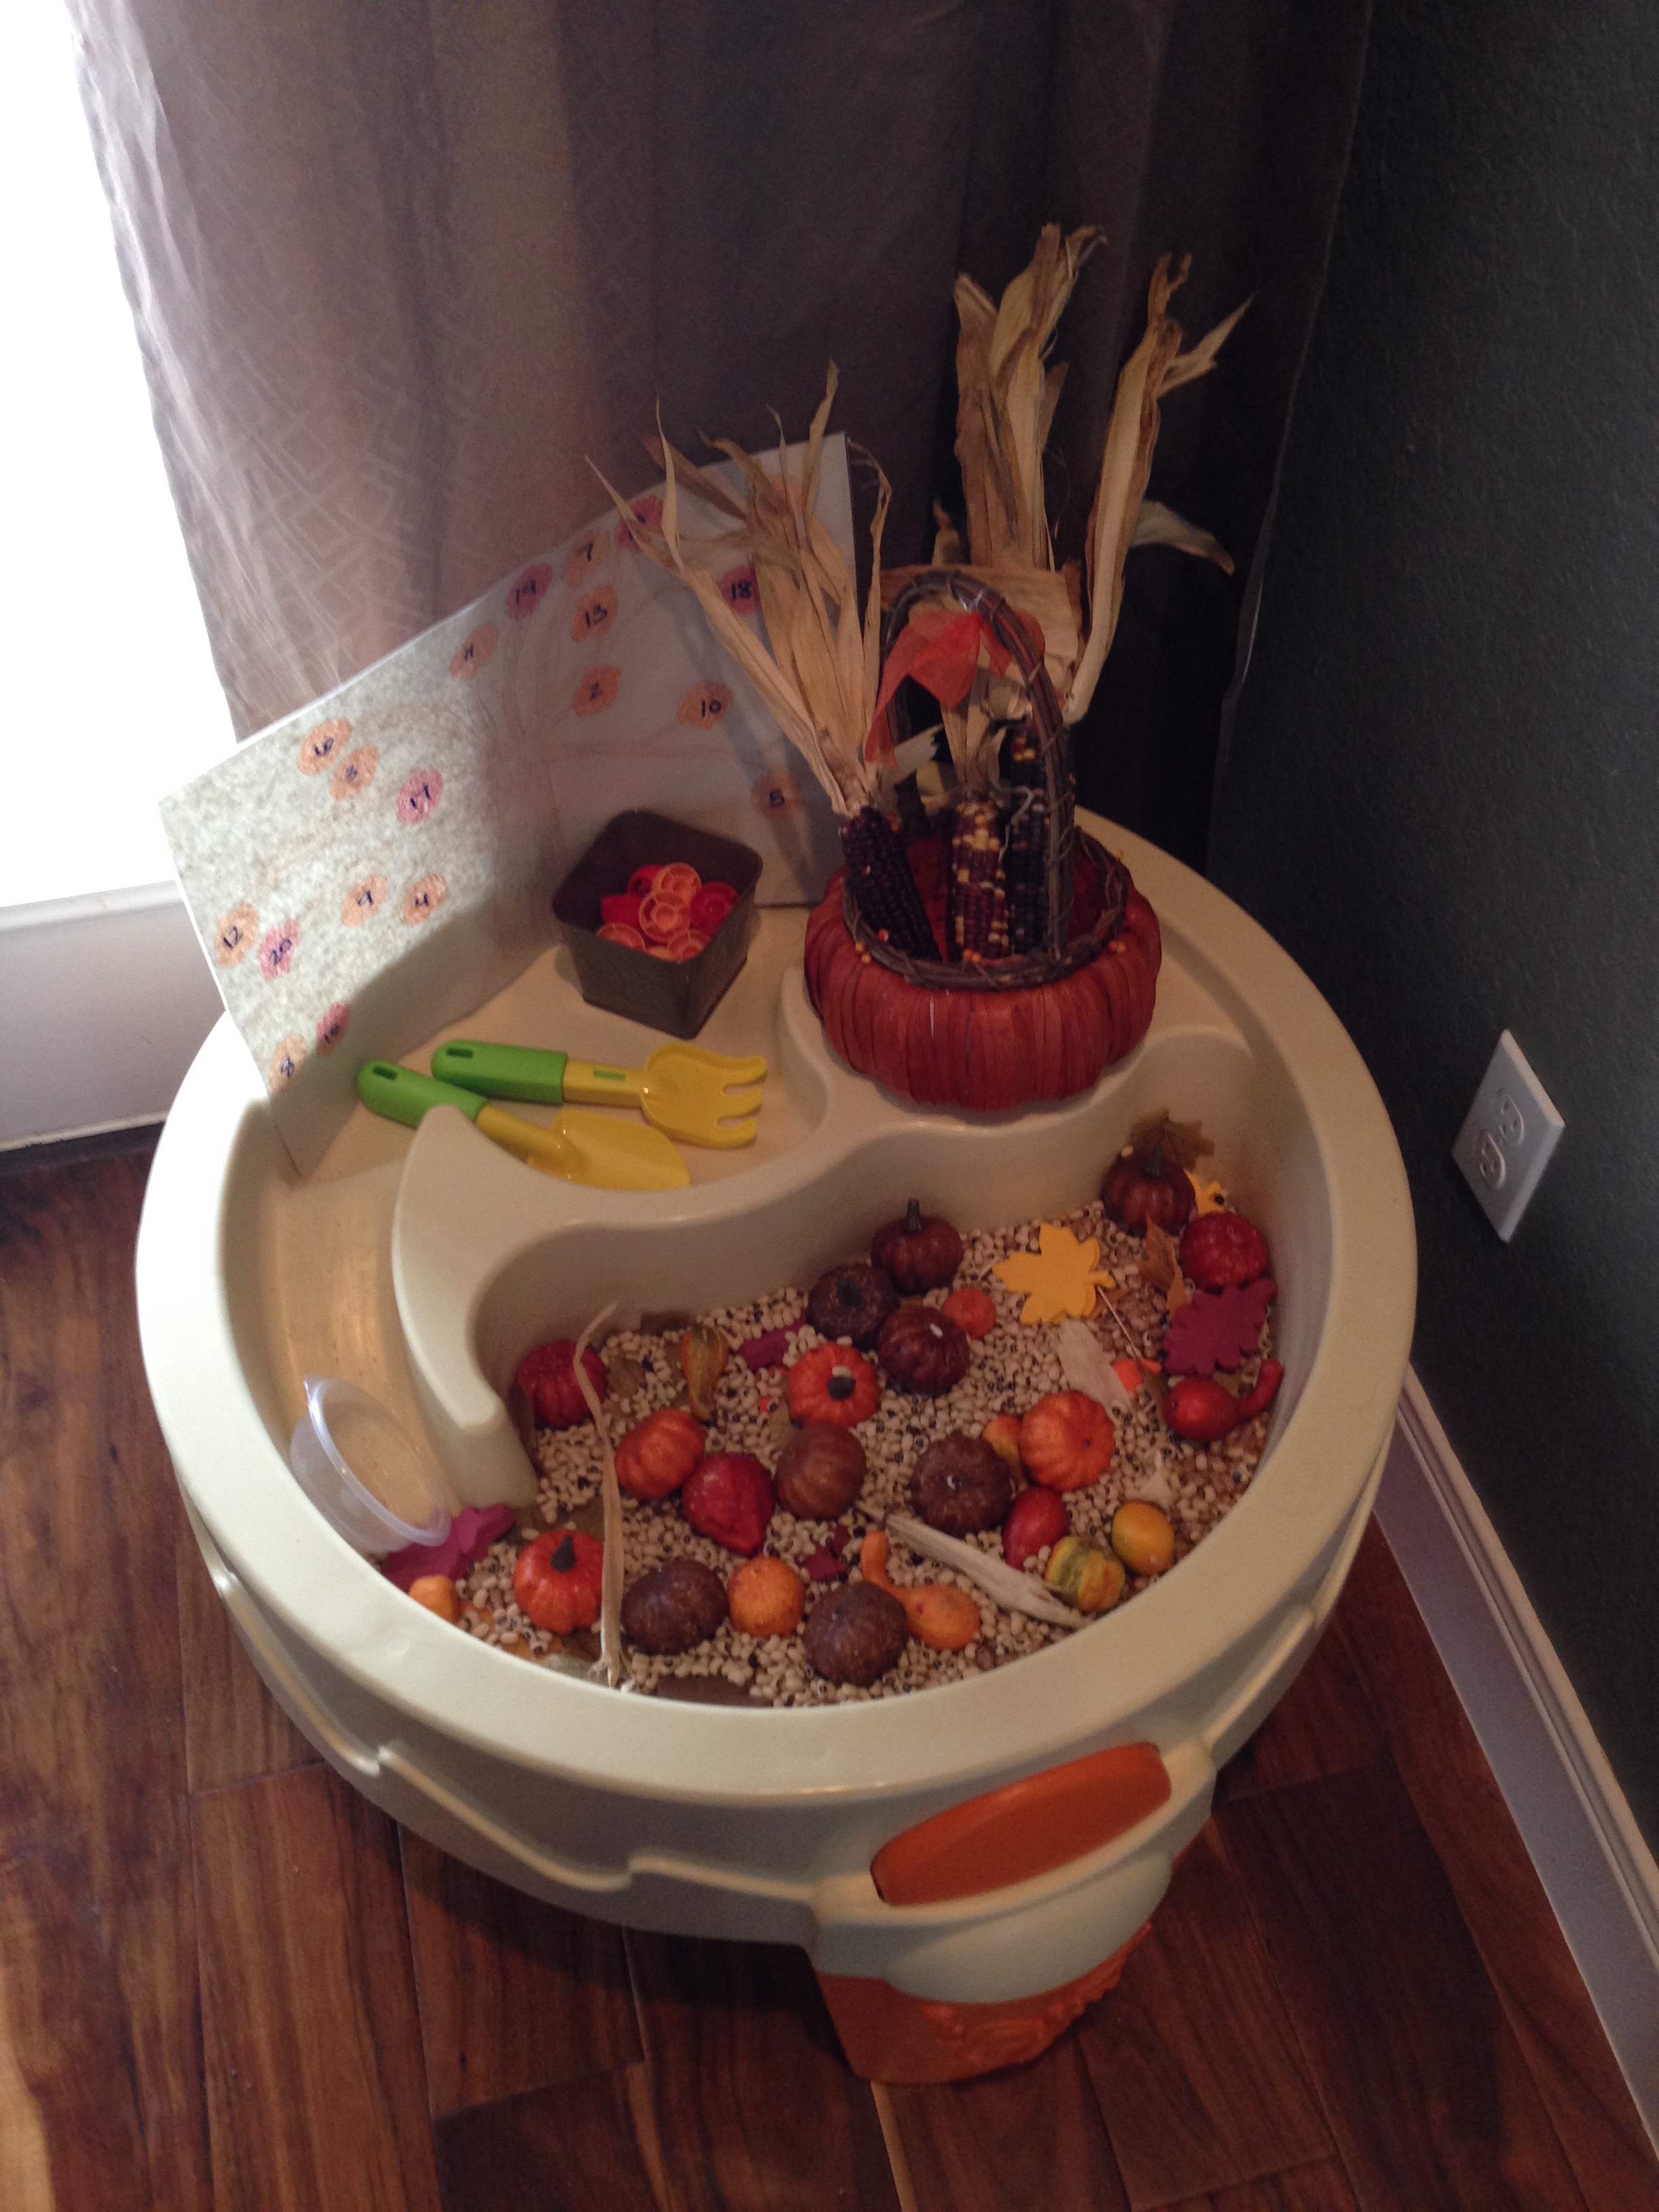
So here’s the big picture – the overview of everything.  This center has a high emphasis on math and art, where my Apple center was a combination of Language Arts and Math concepts.

IMG_9259IMG_9271

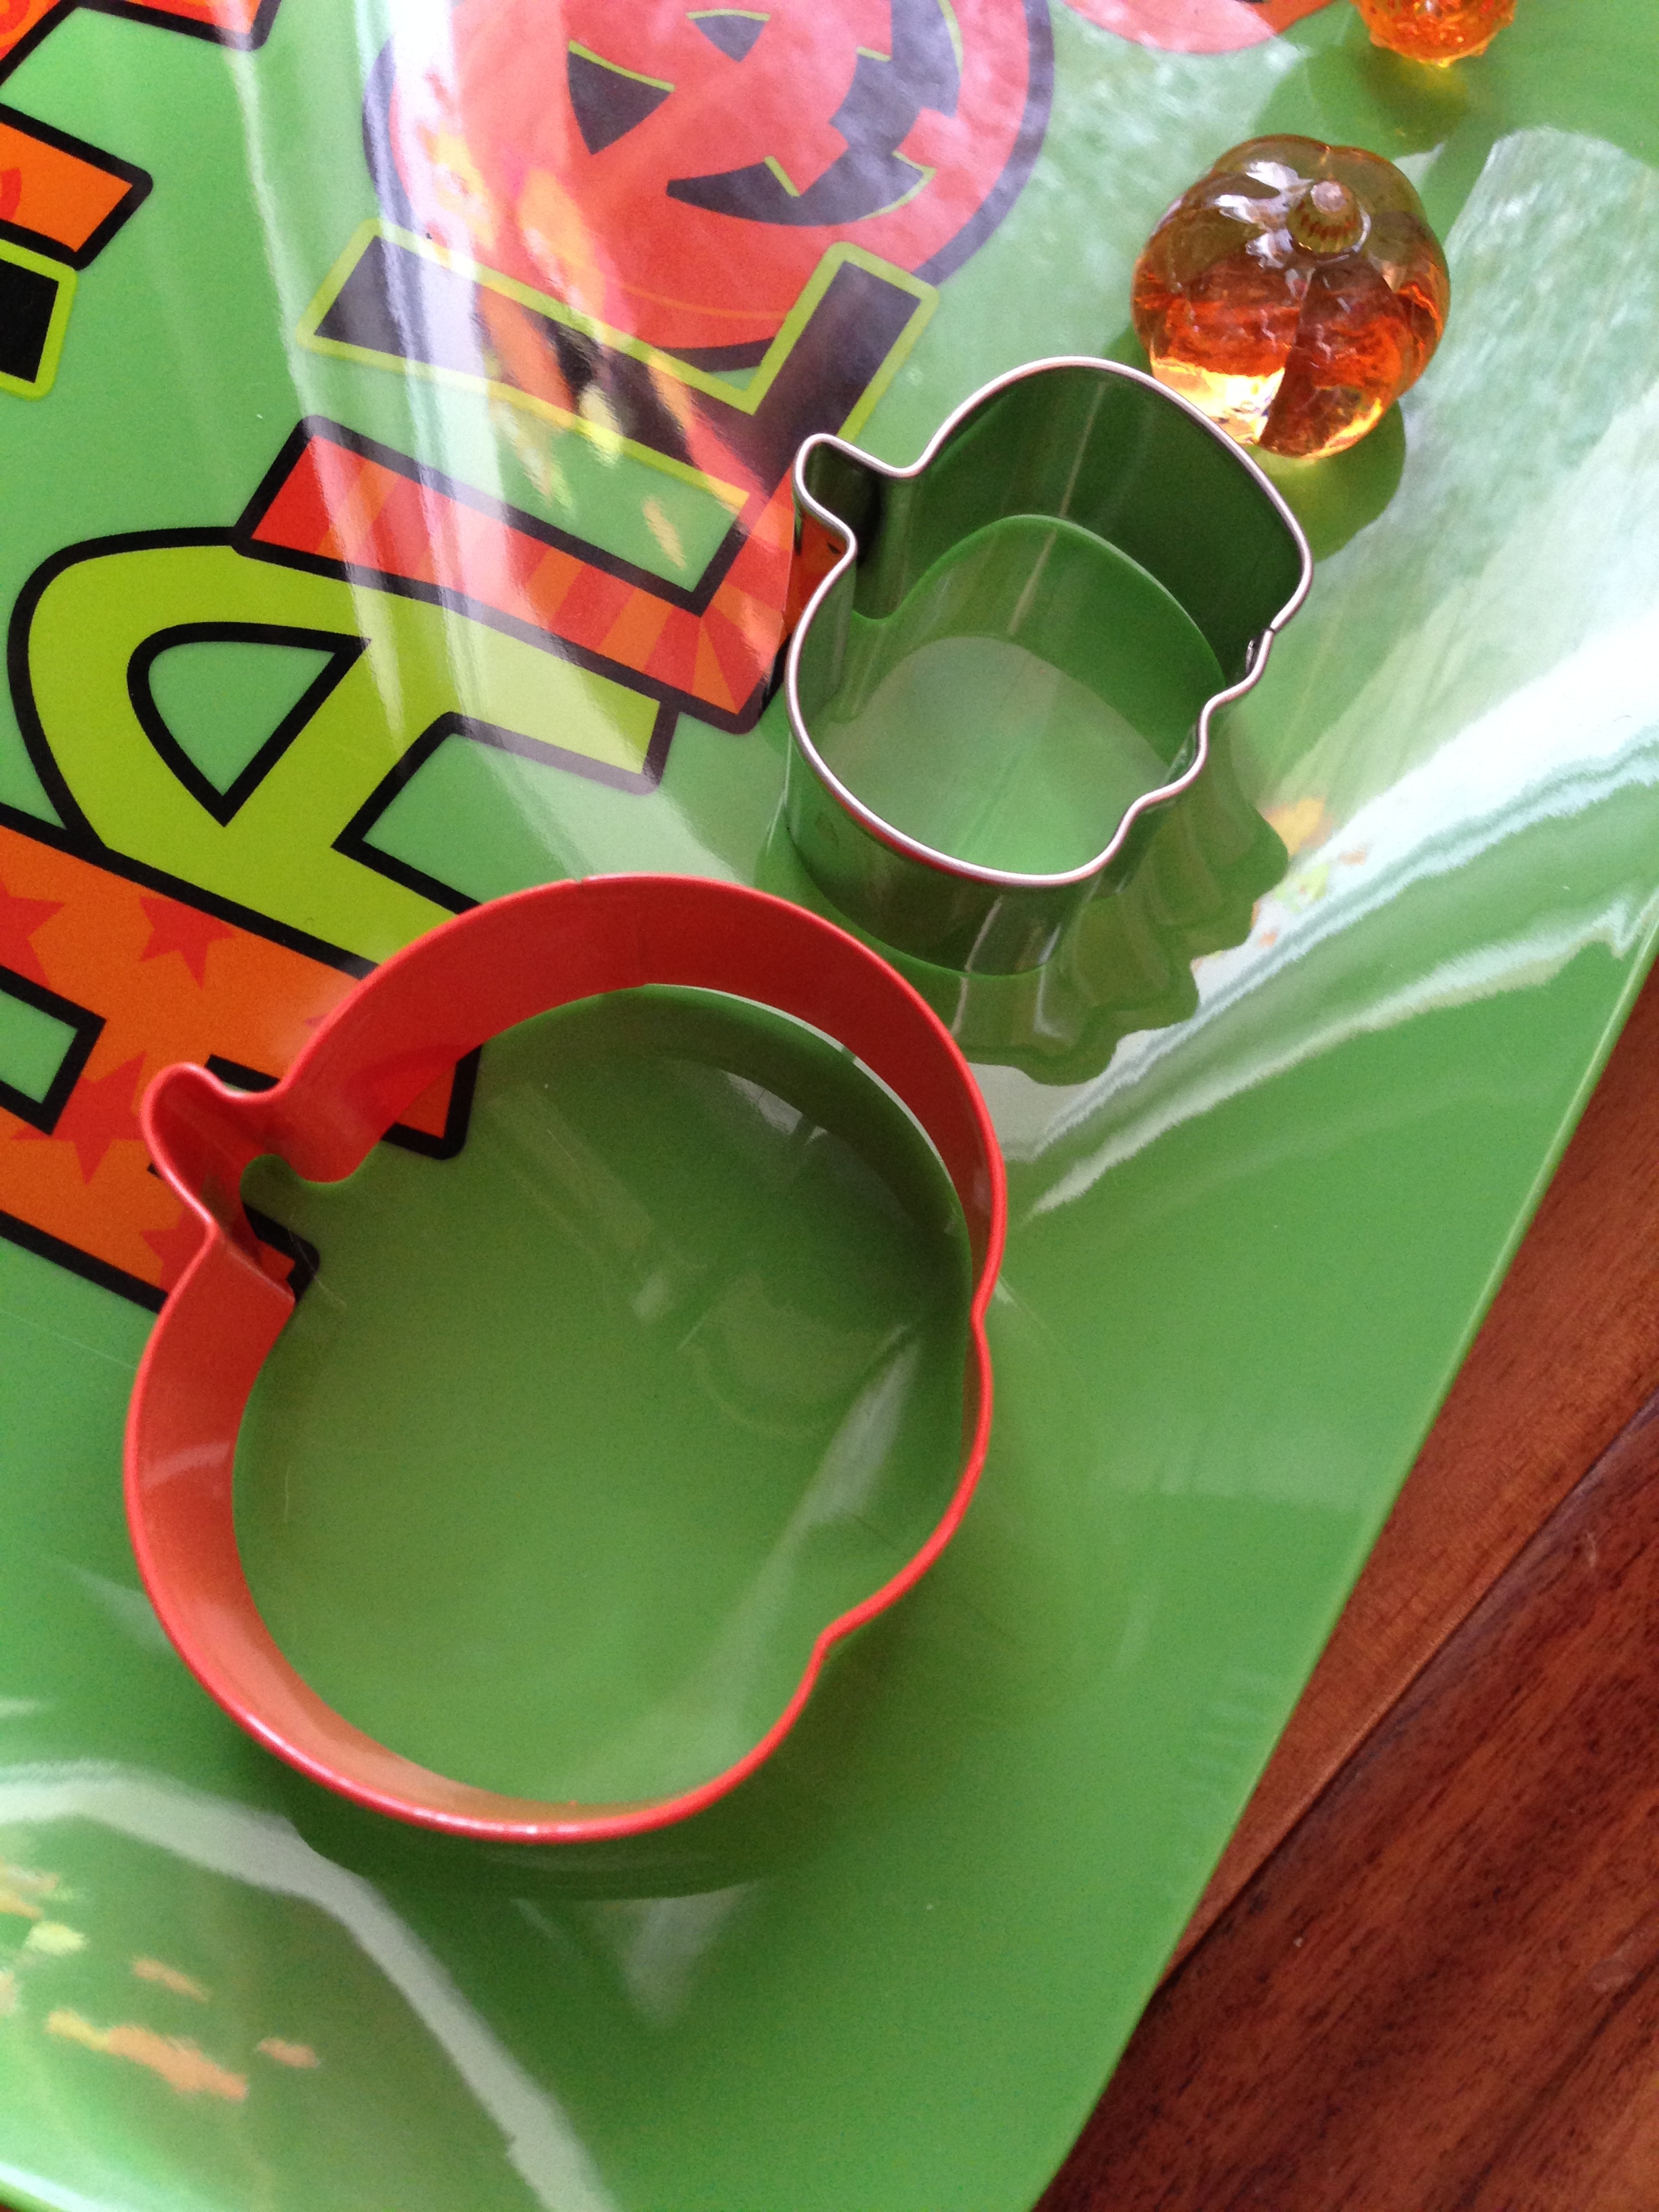
First we’ll look at that sensory rice.  Isn’t it pretty?  And it fit so well in the top of the water table.  I added some fall cookie cutters – they are super fun to sink down and bury in the rice – as well as a variety of sizes of pumpkins that I had collected the past couple of years at Dollar Tree.  She definitely likes the cookie cutters the best.  She likes to hide them and then dig around to try and find them.

IMG_9248 IMG_9251

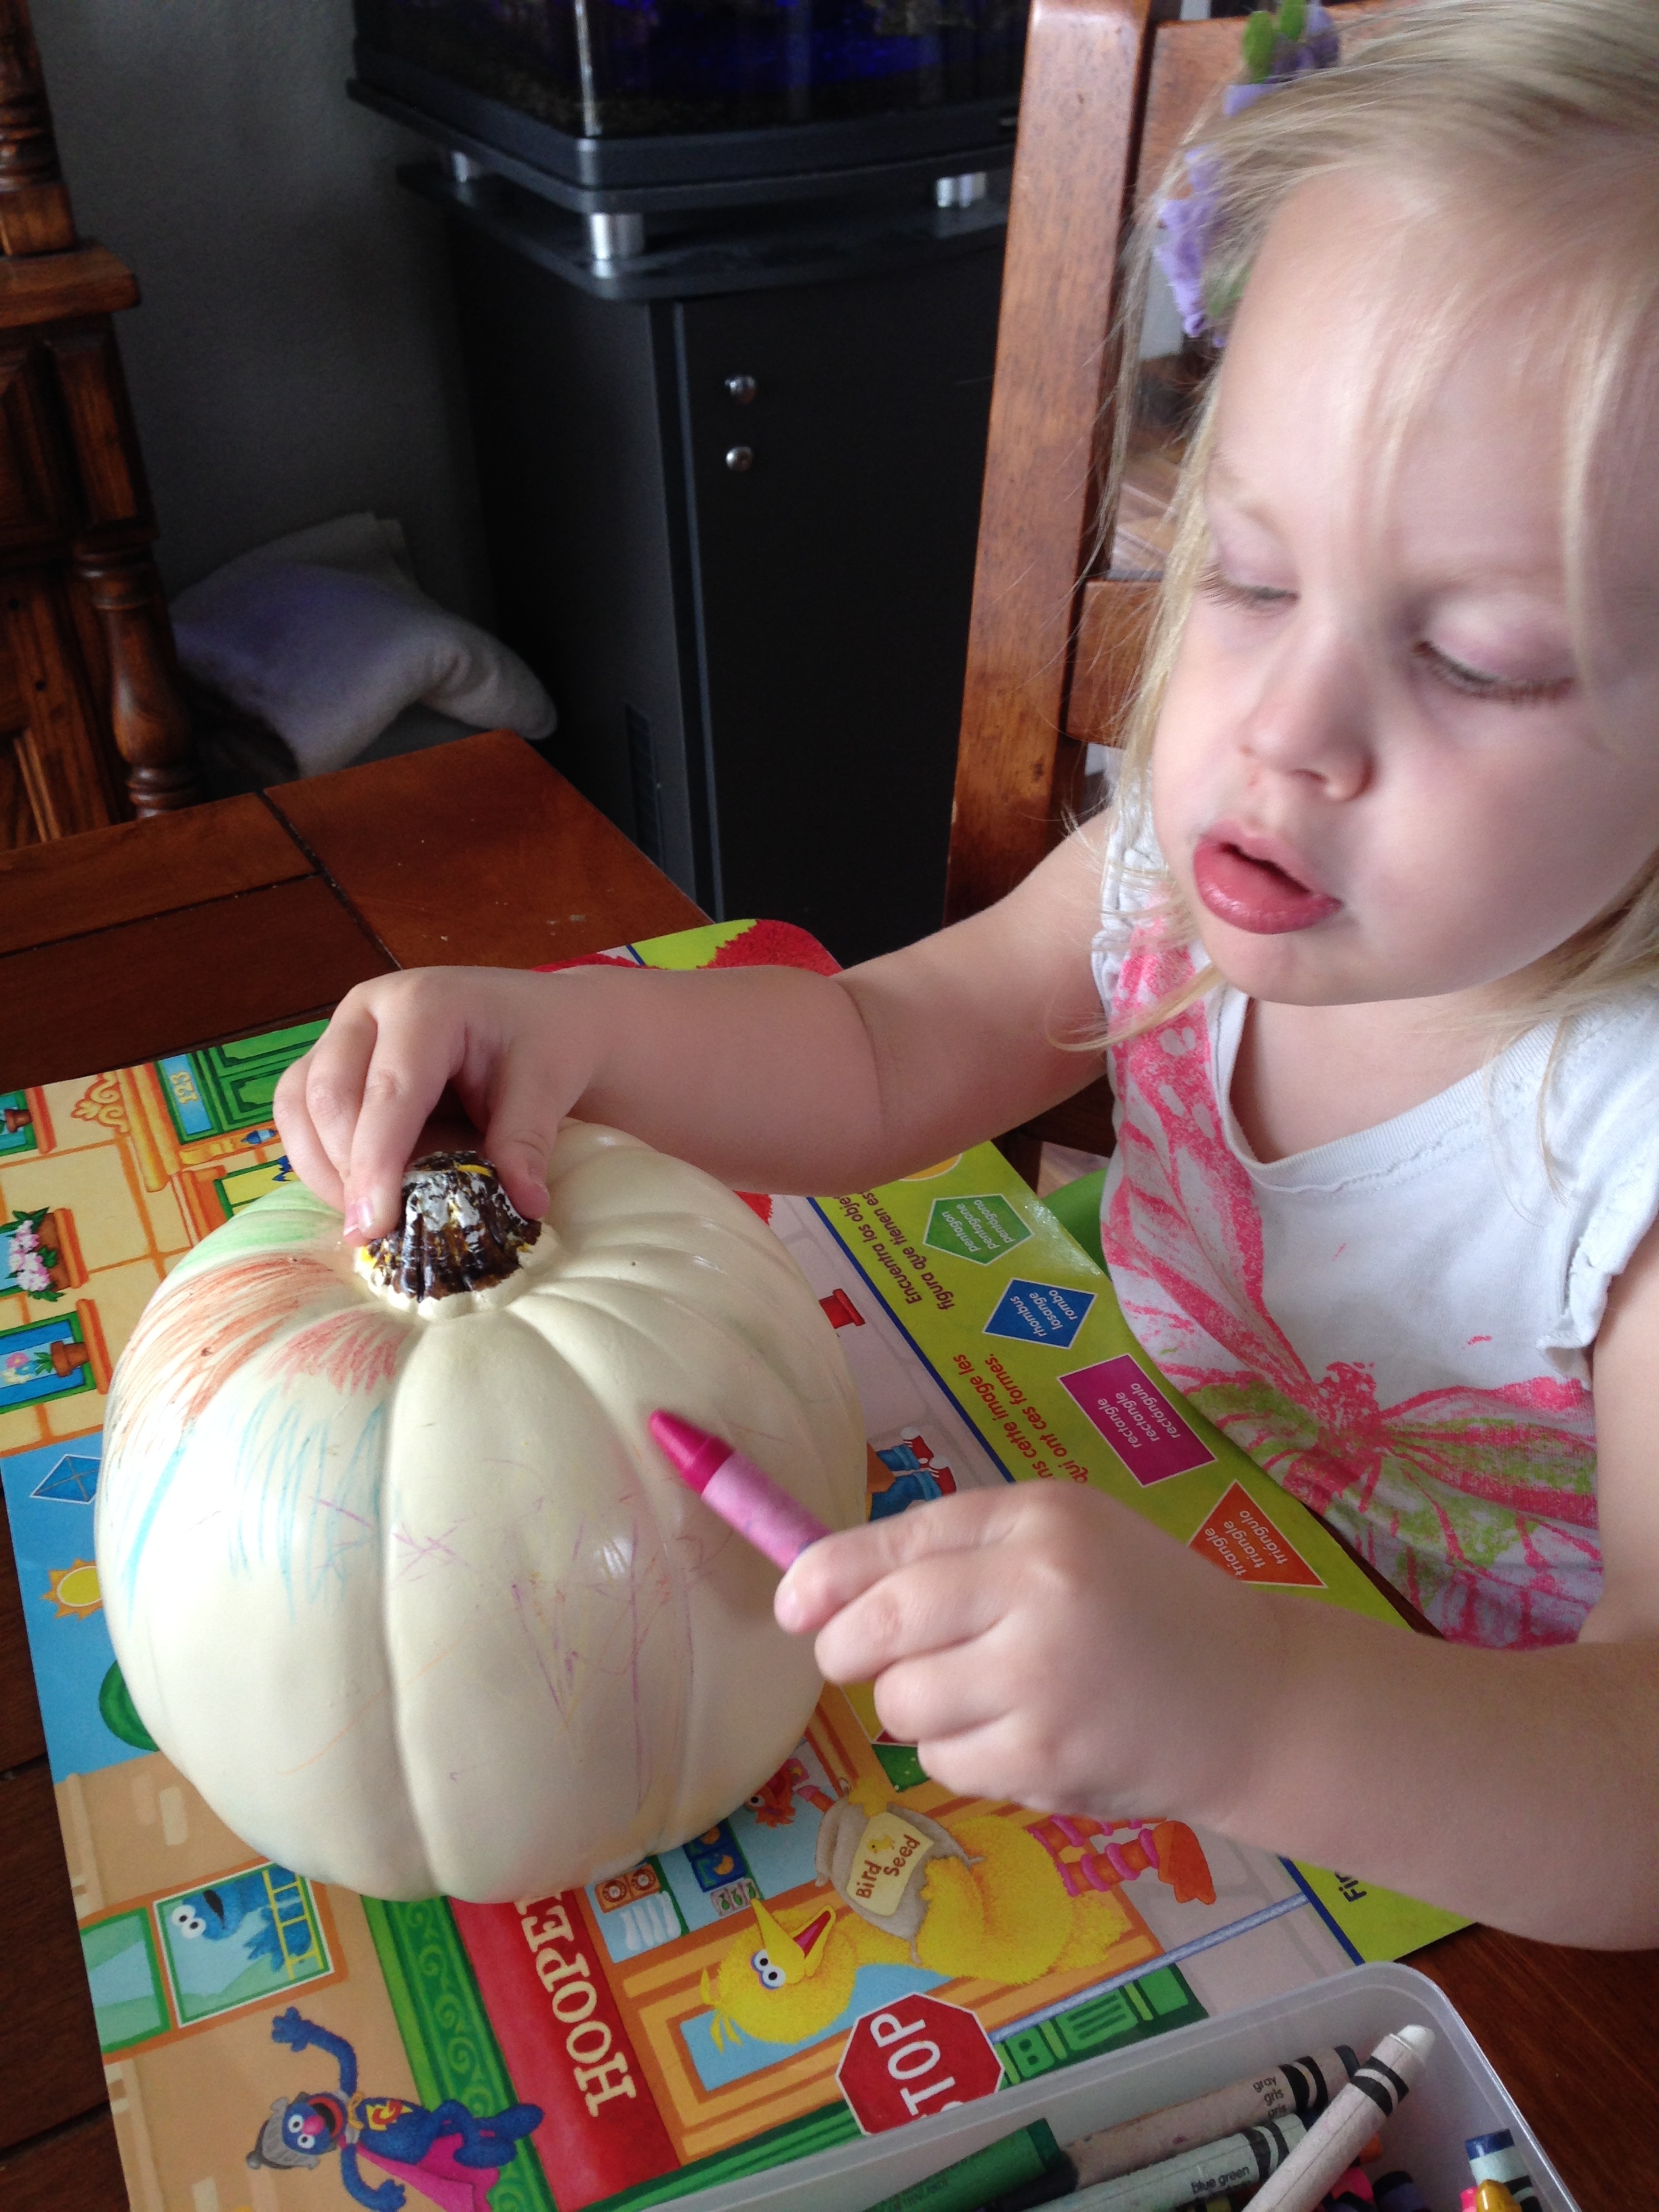
Another fun activity is the pumpkin coloring activity.  We went to Michaels and picked up a white craft pumpkin, and I actually introduced this activity with her BEFORE putting it in the center.  We talked about how this pumpkin is MADE for coloring, and remembered that other pumpkins we have around the house that are decorations were NOT made for coloring.  We also remembered that crayons are only for coloring on paper (and this pumpkin) – not on the table, the couch, the hearth, or any other surface.  So I felt confident that I could put this activity in the pumpkin center and allow her to pull it out and take it anywhere to color, without getting crayon everywhere.  So far, she has done great with it, and will occasionally just go grab it and go to town coloring!  It’s really starting to look cool, and she can definitely take ownership of this and next week, I’ll let her select where she wants to put it to decorate our home!

 IMG_9262

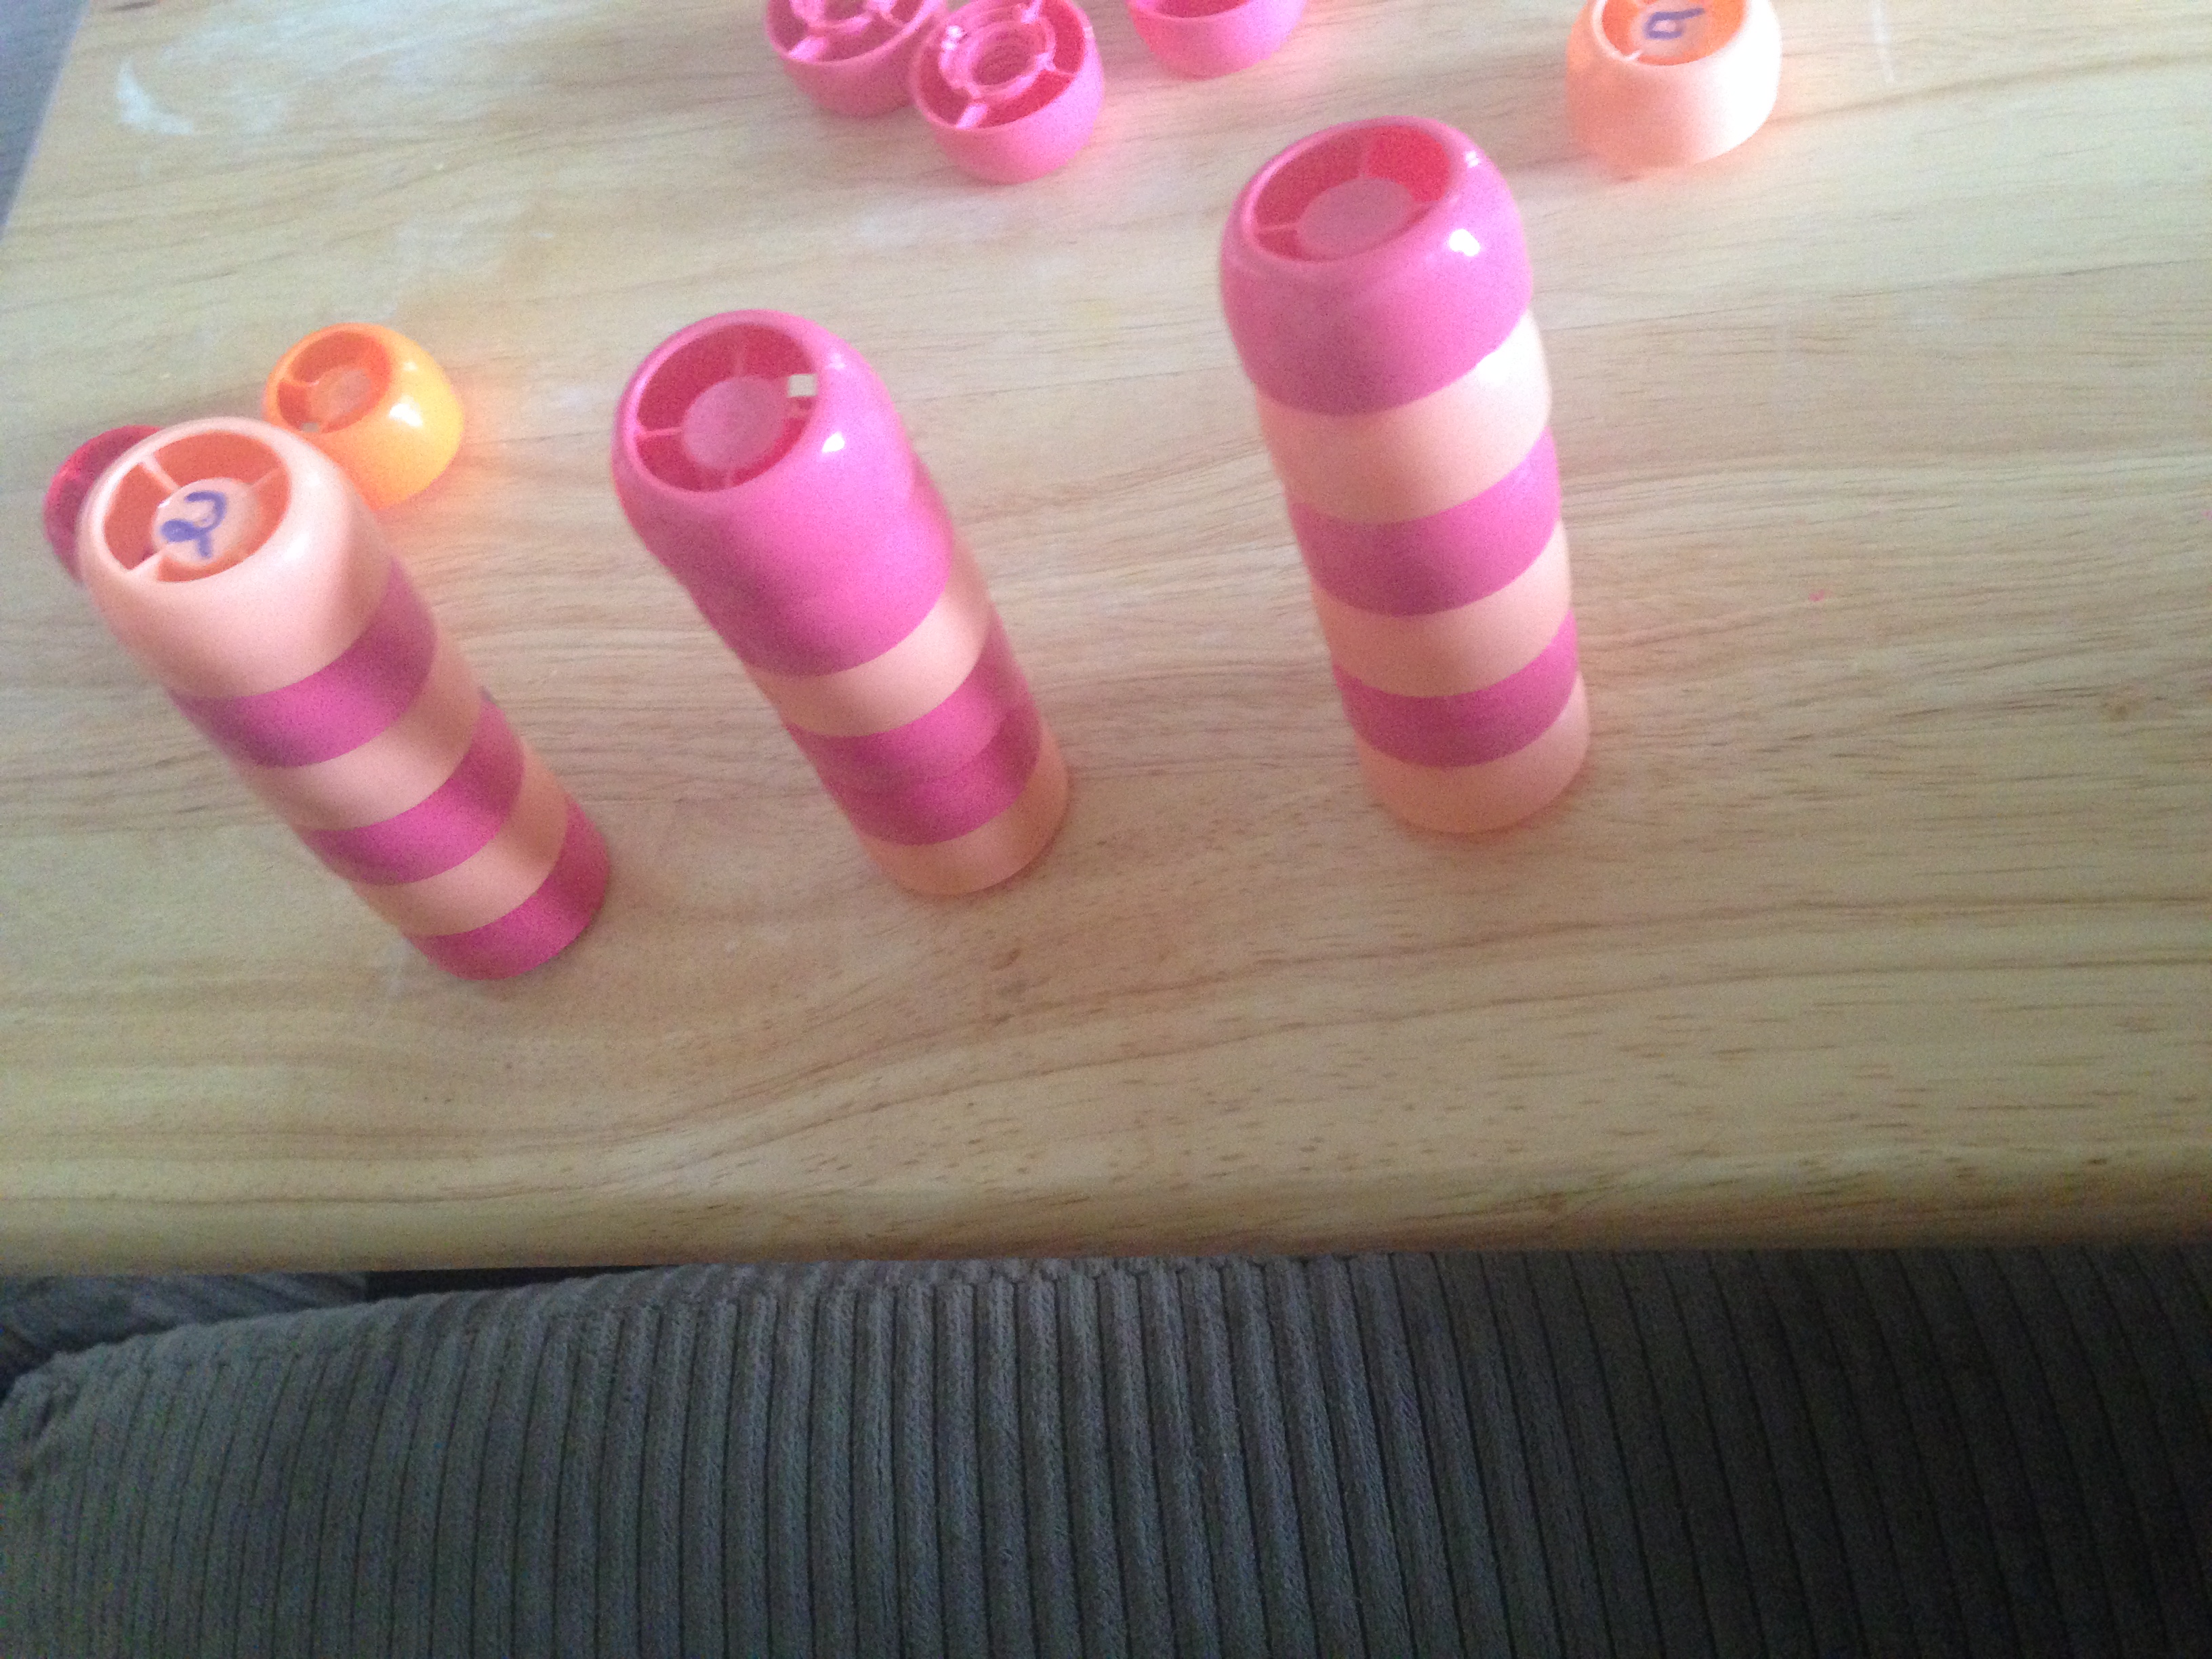
I also gave her a little pumpkin ice cube tray that I had bought at Dollar Tree – and I added the numbers 2, 4, 6, 8, 10 to reinforce counting by twos.  My thought was that she could put one little pumpkin in each space, and count them by twos.  She had another idea all together – which reinforces the differences in the way she thinks vs the way I think… and makes me glad I didn’t limit her thinking by telling her what to do with it.  She put two grains of rice in each pumpkin on either side of the two, four by the four, six by the six, and up.  She actually sat there and counted out ten grains of rice two different times to fill up the “10” pumpkins.  Not quite the skill I was hoping to cover, but she kept saying 2,4,6,8,10, so it did end up reinforcing the skill after all.

In addition, I gave her a mesh bag that she could practice putting her pumpkins into (for a gross motor skill of holding a bag open and coordinating the drop to put them in), along with these little black bags for sorting (definitely a much more fine motor skill – these bags are LITTLE).  I got this “fall scatter” (shown below) at Michaels for super cheap.  She had fun sorting them by color and shape, holding them up to the lights to look through them, and of course, making patterns.  (Note: we ended up having to put the acorns away because she kept wanting to pretend she was a squirrel and put the acorns in her mouth, which is of course not safe.  She hasn’t done that with the pumpkins.  Not sure what it was about the acorns – other than her desire to be a squirrel…)

IMG_9253  IMG_9255 IMG_9275

IMG_9277 IMG_9278

We also used the cookie cutters, plastic pumpkins, and pumpkin scatter to sort small, medium, and large, and talk about “big, bigger, biggest” and “small, smaller, smallest.”  She informed me that NONE of the pumpkins were big, so it wasn’t correct to use those words about these teeny pumpkins, so then we said they were “teeny, teenier, and teeniest.”  That was super funny, and giggles ensued.

Four Seasons Button Trees

On Thursday, I showed you our fall button tree.  Well, Becca loved that activity so much, that I decided to take it a step further, and do a little mini-lesson on the four seasons.  She’s well aware of them, and points out the different seasons – especially when we watch Peep and the Big Wide World on Netflix Kids.  (If you haven’t watched these science videos with your kiddos, they are fabulous for age 2 all the way up through ELL grade 1!)  But, I also found this little music video on YouTube that is cute and puts them all together nicely.  Becca was even singing it later in the day.

Then we sat down and looked at our trees.  I had the fall tree there, but also three other blank trees.  I had already purchased/gathered buttons for the other seasons, and she was most eager to do winter.  She loved the snowflake buttons we’d gotten at Michaels, and was super excited about putting them on.  Then when we did the spring tree, she got tired of placing individual buttons where she wanted them, and started grabbing whole handfuls and laying them over the branches – which I glued where she placed.  She was pretty much done by the time we got to the summer tree, but she put on the bigger buttons before getting down to go play.  I added the rest of the green buttons, and I’m really pleased with how they all turned out.

My ultimate plan with these is to get a canvas from Hobby Lobby or Michaels to attach them to, and display them as art in our home.  You could easily do the same, or plan to matt and frame them – you’d just have to use flatter buttons.  Our snowflakes are very 3D because they had loops on the back instead of button holes.

You could also maintain your child’s interest longer by only doing one tree in a day.  I was excited about seeing them finished, so I did Spring, Summer, and Winter all in one day.  You could easily make it a week-long activity by showing the music video, watching some Peep episodes, and checking out library books about each of the seasons.  Especially if you are introducing this topic for the first time.  Becca is already familiar with the concept of the seasons – it was more about creating the art than anything else for us.

IMG_9281

Food Pouch Lid Activities

I’m sure I’m not the first to create a post about what you can do with all those little food pouch lids… because I’m sure there are a LOT of parents out there who have them coming out of their ears!!!  (I know I shudder to think how many we just threw away before we were saving them… sigh.)  So… if your kids eat anything from a pouch, SAVE THE LIDS!  These are just THREE of the activities you can do with these – not to mention color sorting, using them for counters for addition/subtraction, etc.

Fall Tree Activity – See my blog post yesterday for this fabulous activity – where your child matches numbers to encourage recognition out of order.  And just a side note – you realize you could do any numbers you wanted – it could be 50-70 or 80-100 (although you’d have to write really tiny to fit three digits on the center of one of those lids, you could easily write the number on the side – and go as big as you want!)  OR – what about this extension for your older kids?  Write an addition, subtraction, multiplication, or division problem on the side of the lid, and they have to match it to the answer on the tree!  Again, color coding helps make it a little easier, so if you have two or even three colors of lids that are fall leaf colors, that would be awesome.  Or, make it more challenging by making all your leaves/pouch tops the same color!

IMG_9284

Imaginative Play Activity – Build your family!  Did you ever think that you could make people with these little pouch tops?  And houses?  Becca loves to build with her pouch tops, so one fun activity was to make our family.  I drew faces on four lids, and then we stacked them up by height to create our family!  Now, you could take it a step further and hot glue them together so they could walk around and go into their house, etc.  But Becca enjoys building the people over and over.  She searches through and finds the faces, and then builds them over and over again.  She knows Mommy and Daddy are four pouch tops, she’s three, and Baby Grayson is two.  So it makes a great counting activity, but stacking them is also great for her fine motor development – because by the time she has three stacked up, she has to be very careful to not knock them over!  She loves building castles and houses for her people, as well!  Super fun.

IMG_9113

Patterning – I think another fabulous thing we have done with these is using them to create patterns.  Patterns are all around us in our world, but to recognize and create patterns is an important skill we must first be taught.  Becca is a huge fan of patterns – she’s always wanting me to make harder patterns for her to complete.  Sadly, she’s only a fan of three or four different kinds of pouches… so we can’t make patterns with very many colors of pouch lids, but that’s ok!  We use what we have!  If you aren’t familiar with teaching patterns to children, you might be interested to know that once in school, your child will learn to “name” their patterns with letters.  You can start coordinating this and teaching your child early to name their pattern.  For example, the patterns in this picture are named (L to R, bottom to top) an AB pattern, an ABB pattern, an AB pattern.

IMG_9116

Counting/Ordinal Position/One-to-one Correspondence – I’m always a fan of using REAL LIFE objects to help teach little ones to count.  So, it’s as simple as what I did for the fall tree – put the numbers that you want to work on on top of each lid.  Then your child can use them to make a number line, putting each number in it’s correct spot; they can use the numbers to count the lids and see how many they have; and it’s also helpful for those who like to just keep counting, and struggle with One-to-one Correspondence.  Becca used to really struggle with that.  There could be four of an item, and she’d put her finger on each of the four and count to four, but then keep touching the items and count however high she wanted to count.  She still does that occasionally – with a grin on her face because she knows she’s doing it wrong.  What really helped her to understand this concept was to count items that had a number on them.  She would touch the number, and say it.  When she ran out of numbers, she was done counting.  This activity might help your child if he/she struggles with this concept as well.

IMG_9115

Alphabet Matching/ Ordering / Word Building – Another activity that I want to do with her soon (as soon as we have enough more pouch lids) is taking these over to the Language Arts side of things, and putting the letters of the alphabet on them.  You could put an upper case letter on one, and lower case on another and match the upper and lower case together.  You could simply practice putting them in order.  Or, what I’d really like to do, is to start word building.  Pre-program lids to have the letters you need to build basic sight words, or high interest words – for any age child.  If your older child is super into dinosaurs, save up a bunch of pouch lids and make enough to spell out types of dinosaurs!  The possibilities are endless.  If you are doing word building, I recommend having a pre-printed sheet of words that your child can use to spell from the pouch lids you’ve made available.  Have him/her build the word on the mat right next to the pre-printed word, or if you have space, ideally, they would build the word right on top of the word you’ve pre-printed.  So you’ll have to check your spacing.  I’ll be working on creating some of these for basic sight words SOON, and will share the printable when I have them created. 🙂

Do you have more food pouch lid activities that you’d like to share?  Post them over on my Facebook page!  I’d love to see what you are doing, and would love to have you be a part of the Facebook community I’m attempting to build! 🙂  (Be sure to click “like” over on the right-hand side of my blog! 🙂 )