Christmas Activities

I debated about how to do this post – if I should put everything separate so it doesn’t seem overwhelming, or just put it all together.  I decided it’s easier to reference later if it’s all together… and honestly, if I wait on some things until later, you have less time to do them with your kids!  So… get ready.  I’m about to bombard you with a bunch of fun ideas – the first several will be great for even your little toddlers, and the rest will be geared toward your older kiddos.

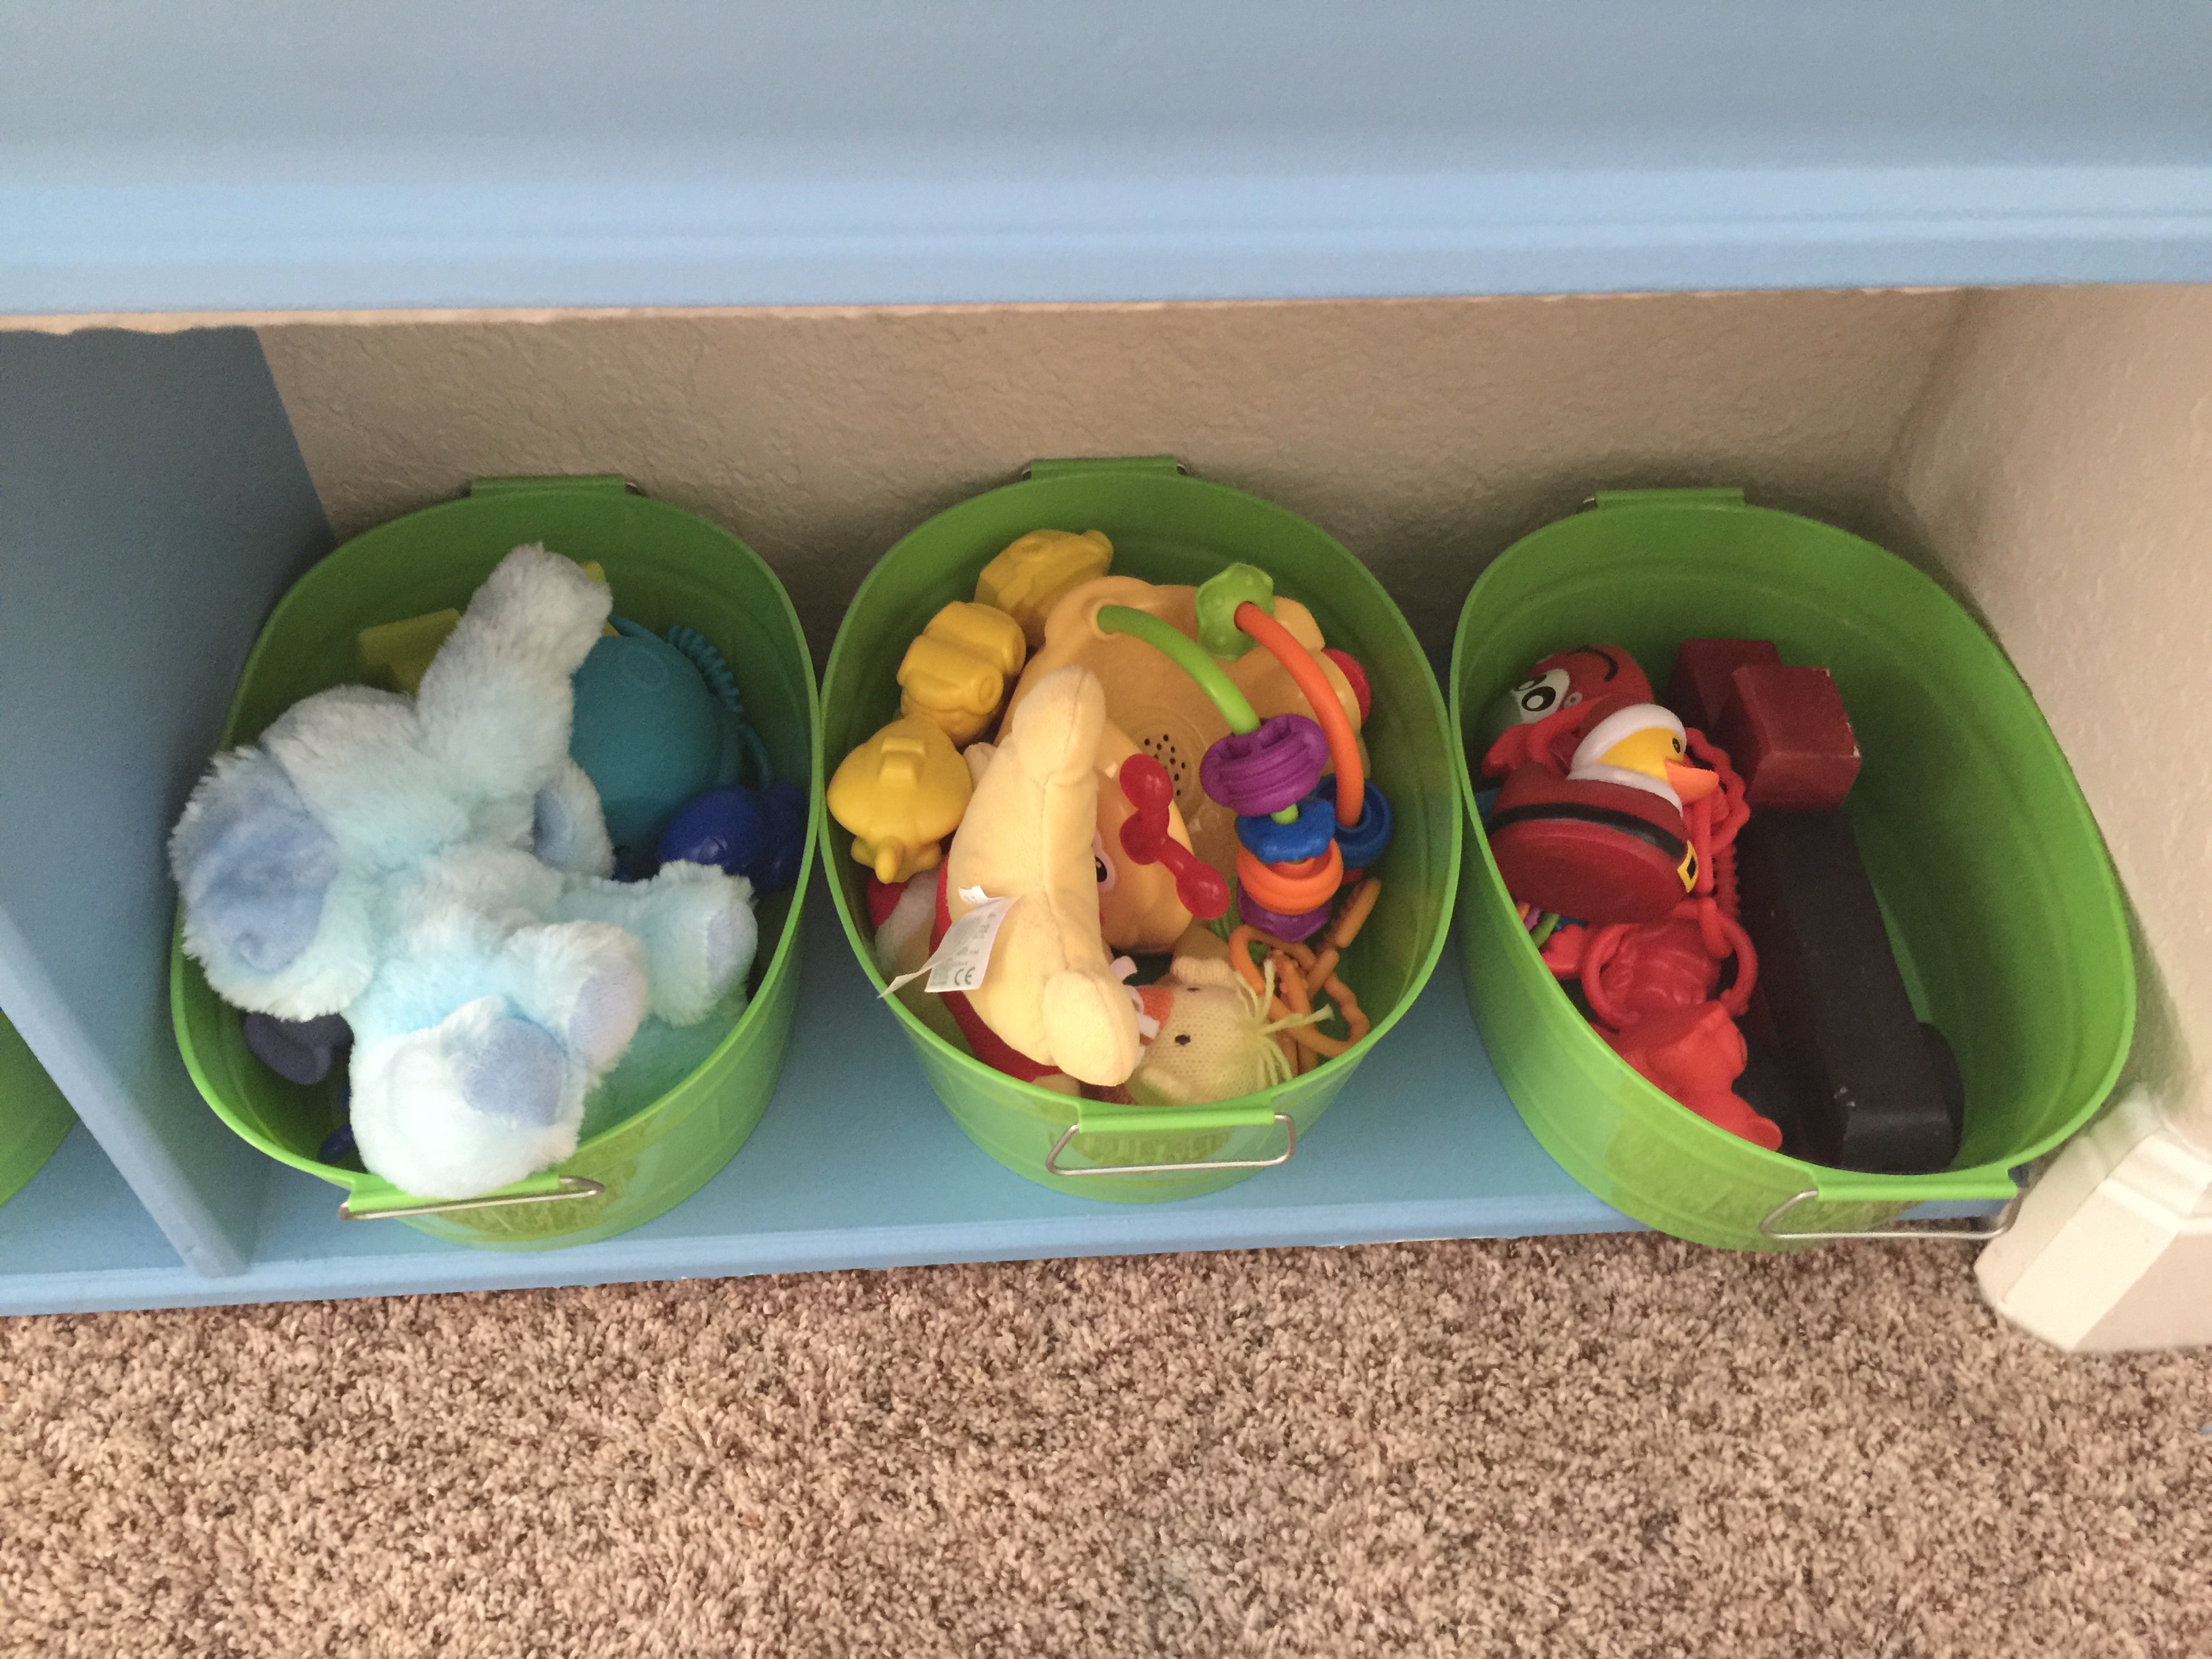
Many of these activities I have stored in little plastic bags and all inside a storage box (in fact, the same box that once held our Apple Activities).  But a couple of them are ready at the window any time one of the kids wants them.  The great thing about the activities in the box is that while Becca is working on her activities, she can select something from the box for Gray to do, to appease his desire to do what she is doing.  She can also interact with him on his activities, and I love watching the tender moments they share (which usually come right before a snatch-grab-cry-scream fest HA!) together when working on a project.  If you have a toddler and an older child, you know how hard it is to find something they can both do either together, or to keep the little one occupied while the older one does something different.  This box of activities seems to be my best effort yet in this department.. and is about 80% effective!   So, here we go!  Let me know if you try any of these with your kids!  I’d love to see you share pictures on my Facebook page, as well!

sticky window

The Christmas Tree Sticky Window is super simple to make – just draw a Christmas tree onto a piece of clear contact paper, and then attach it to your window with tape – so that the sticky side is out.   Then, cut various shapes out of felt or other fabric (so that they won’t adhere permanently) and let your kids decorate the tree over and over again!  While Becca enjoyed this activity at first, this is definitely a Grayson favorite.  He LOVES standing at the window and moving the shapes around.  Of course, he also loves to carry the shapes all over the house and leave them random places…

shape identification

This felt Christmas tree was a busy bag I made a few years ago at a MOPS meeting – simply by cutting shapes from various colors of felt.  It’s a great activity for the kids to do together – Becca loves to tell Gray the names of the shapes and their colors.  She likes to make patterns of ornaments – he likes to throw them in the air and watch them rain down around him.  Either way, they are happily occupied.

writing coloring

In an effort to provide activity for Gray AND Becca in the same box, I have a couple of Christmas coloring books and some blank paper that either of them can enjoy, but I also have magnetic Christmas words that Becca can spell, and then write in her bare book (I found a bunch of them in the Target dollar section at one point this summer!).  She also has two rhyming word wheels that she can practice with and write the rhyming words in her book.  Gray loves that he’s “writing” with crayons while Sis is writing too.  He feels so big and important, and it shows!  We just have to watch that he doesn’t run around with a crayon sticking out of his mouth… he has that tendency.

geo shapes

We have some really fun building materials – you could use anything you have laying around – Legos, Duplos (for your little hands), building blocks, marble runs, whatever you  have.  Challenge your little ones to build a Christmas tree out of the supplies provided!!  Looking for more STEAM Engineering ideas?  Click Here!

reading retelling

We have a play Peanuts nativity set (affiliate link – thank you!) available on our low window sill for Becca to retell the Christmas story anytime she’d like.  Gray also enjoys playing with the characters, and he loves to sit and listen to her act out the story.  I also provided in her Christmas activity box Jan Brett’s Gingerbread Baby and Gingerbread Friends (affiliate links – thank you!) books – along with a tiny stuffed ginger baby that she can read the books to, and then use to re-inact the stories.

christmas treeNot an activity for Brother, Becca LOVES making Christmas trees of various designs using green popsicle sticks, red buttons, white pom poms, and one gold one for the star on top.  She has come up with some of the coolest, and also weirdest designs.  Some look like trees, and some, well… don’t.  But she is having a blast, it’s a great sensory activity for her that really allows her imagination and creativity to go wild.

fine motor

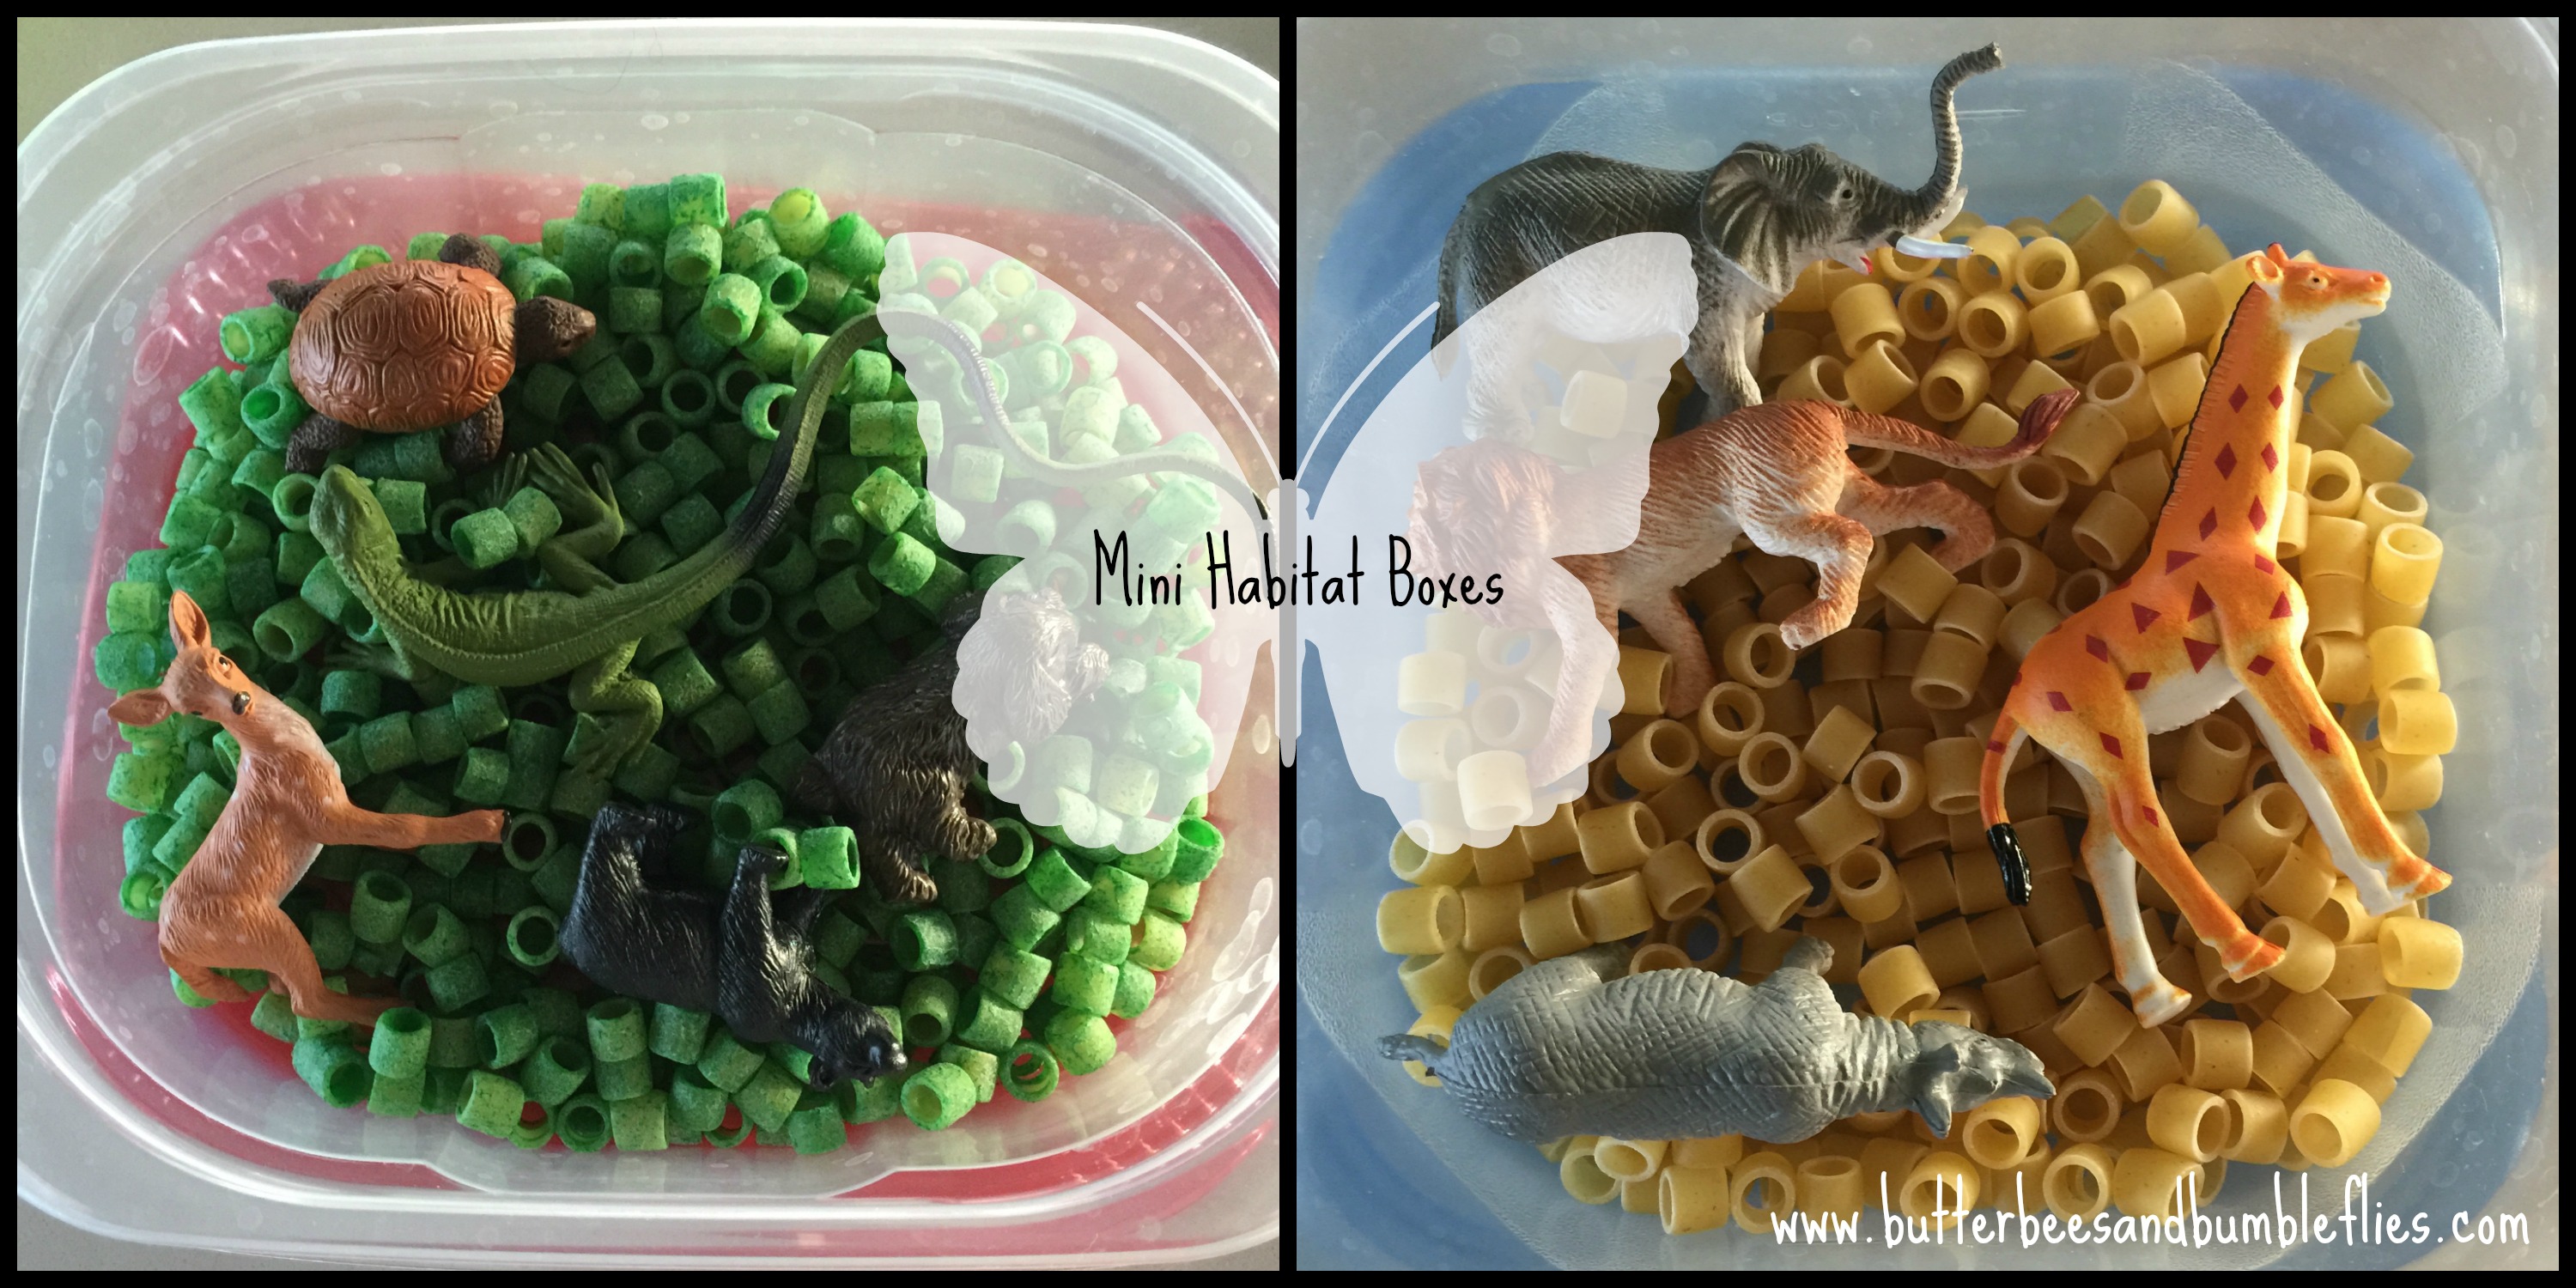
Becca struggles with some simple things like getting dressed, and in order to strengthen her hands and fingers to work on those little things like putting on socks and shoes, I try to find lots of fine motor skill practice activities for her.  I had some green colored pasta leftover from one of our habitat boxes, and also have some little Christmas jewelry pieces that I put in some little containers and let her string onto pipe cleaners to make bracelets and necklaces.  She LOVES it, and it’s great practice.  I even made an extension to this that stays in her room for holiday play – mini ball ornaments that she can string onto pipe cleaners.  It’s fabulous for her, and I’ve seen just in the past couple of weeks her fine motor skills making some great improvements!

star math

I programmed several index cards with a variety of patterns and addition/subtraction/multiplication story problems, and had her use these little star cards to solve them.  She even said “I wish all math was fun like this!”  So we’ve started using the star cards for other kinds of math too.  You could use anything you have around the house – scraps of paper, fabric, cut pipe cleaners, Legos, Duplos, crayons, etc.  Hands down, using manipulatives makes math more fun!  (And Mr. Gingerbaby even got involved in the math, too!)

more math

Becca has always struggled with seeing the importance behind having any numbers beyond 20.  She can count to 100 now with ease, but just really doesn’t see the point.  But she does love a good challenge, so I cut some 100s grids into lots of funny pieces, and she really enjoys putting them together.  I also took her sensory box from last Christmas and stepped it up a notch.  She loves playing with it with her balance.  She has discovered that the shiny and matte ornaments do not weigh the same as each other.  She has weighed the cookie cutters that are also in the box, and loves to scoop and pour the rice/split peas into and out of the balance.  She gets so excited when she makes them equal, and loves trying new combinations to see how much she needs to equalize if one side has more ornaments, etc.  I love seeing her creativity come out in this simple hands-on sensory activity, and I love to see her enjoying math.  She’s measuring with her measuring cup each time, and getting better at recognizing the values, etc.  Seeing her enjoy math is so good for me – I’m not a fan of math at all… so I try hard to make it really enjoyable for her so that she will love it.

What Christmas activities do you have going on in your house?  We are also doing daily advent activities, reading lots of Christmas books, and watching lots of special Christmas shows.  I’m hoping we can get out to look at Christmas lights sometime soon as well.  It can be such a crazy time of the year, but when we remember to stop and focus on the Reason for the season, it is all worth while.

May God richly bless you and yours this Christmas!  I look forward to hearing from you on Facebook, and I look forward to starting the new year with some new resolutions and some new post ideas!!  Do you have something you’d like to see me post here on my blog?  Send me an email!  I’d love to hear from you!


Apple Activity Box

If you’ve been following my blog for a while, you probably remember the really fun activity centers I made for Becca last fall using our water table.  I brought it in from our summer play on the back porch, and she really had a blast… and I was super proud of all I came up with for her to do!  Fast forward a year, and lil Bro is into EVERYTHING… even things he’s not ready to do yet.  So, I found a way to re-make her apple activity center into a box that can easily be packed up and kept out of reach of Grayson’s little grabby hands!

apple box 2

You can find boxes like this one at your local craft store in the scrapbooking section – they are 13×13 and are fabulous!!!  I used scotch tape to stick the index cards on so they can easily be removed and the next seasonal activity center can go in their places.

Here are the skills that I included:
Math – apple patterning / apple adding & subtracting / measuring
Reading – a book to read and retell / a poem to read and recite
Writing – magnetic words to build / a blank book to write them in
Art – markers to make illustrations in the book and on the poem cards
Science – non-fiction book to read
Hand-Eye-Coordination/Fine Motor/Engineering – create an apple tree with popsicle sticks and buttons

apple box 1

Here are the direction cards, which guide play but certainly don’t limit it – she has gone way outside the box of just following these cards, though the lil OCD in her followed each card in order to some extent before moving on to do her own thing.  I also included with each instruction the list of items your child will need to complete the activity.  Some require prep, some don’t.

apple writing1. Write and illustrate a book about apples using the words on your magnets.
–>I got packs of 3 blank books for $1 at Target before school started!  Score. You could make your own just by folding paper together and stapling.  You’ll also need to write a few fall words on index cards, cut out, and stick magnet tape on the back.

2. Practice saying the poem without looking. (Recite from memory).
–>You’ll need to write the poem on index cards.  I got it online – original source unknown.  Here are the words:
—->card 1: Apples are so good to eat,
—->card 2: To have them is a special treat.
—->card 3: Red, green, yellow too,
—->card 4: All of them are good for you!

3. Draw pictures on the poem cards to illustrate what the words say.
–>Provide markers or crayons for illustrations

apple pattern4. Make an apple pattern. / Add the apples: green apples + red apples = how many apples all together?  (We extended this and did subtraction and multiplication as well – we have 2 groups of 5 apples.)
–>I got these little apples at Dollar Tree.  You could easily use buttons or gems or place apple stickers on index cards and cut out.  As long as there are at least red and green so that your child can make patterns, you’re good!

apple buttons5. Make an apple tree with popsicle sticks and buttons.  How many buttons did you use?  How many are left over?
–>You’ll need a bunch of random red, green, and/or yellow buttons, and some popsicle sticks.  I had green popsicle sticks, so we used those.  Any color will work.  You can really extend this by having your child pattern with the buttons, sort by size, add, subtract, make even groups for multiplication, etc.

6. Read the book “Apples” by Ken Robbins.  Retell to a grownup.
–>Any non-fiction book about apples will work.  This one fit well into the box I had.  I selected a non-fiction book to add in a science aspect to the box, but you could easily do a fiction book.  In my apple center last year, we had Ten Apples Up On Top and did a block activity with it.  You could easily have your child use the buttons to put ten apples on top of the book characters, or some such.  Use what you have, and you know your child – if your child won’t be “into” a non-fiction text, use what they will love!

apple word build7. Build the fall words on your magnet tray!
–>This activity is totally a repeat from last year’s apple center, because it’s just so fun and it’s always great to practice spelling!  I didn’t want to buy a bunch of magnetic letters, so I just wrote the words on index cards, cut out the letters, and put magnet tape on the back!  Super simple and cheap!  And obviously, you can save them from year to year to use again!  You’ll also need some sort of magnetic tray – I got this pizza pan from Dollar Tree and she uses it for all of her magnetic activities, including building sandcastles, which she loves.

apple measure8. How many cups of apple “tea” mix?  Find and bury treasure!
–>Again a repeated material from last year’s apple center, I simply took a bag of green decorative fish tank rocks from Dollar Tree and added some Black Apple Tea leaves to it to make it smell like apples.  We didn’t know that she has Anosmia back then… (Anosmia = no sense of smell.)  To extend this activity this year, I took the rock/tea mix and put into a small container and provided her with measuring cups to measure with, and a couple of fall shaped mini cookie cutters to bury and then dig around for.  She loves digging in the rocks, and will bury and find and rebury and find the cookie cutters over and over again.

This apple activity box has already brought us HOURS of fun, and I just created it this week.  It’s sure to be a hit well into early October, when I plan to take them out and convert the box to a pumpkin activity for Halloween/Thanksgiving!  I hope you enjoy the ideas… I’d love to know how you put them to use with your kids!  Please share!  If you’re not following my Facebook page, please be sure to click over and “like” the page and then share your photos and ideas anytime! 🙂

Mini Habitat Boxes

mini habitat boxes


Every Tuesday this month, I have shared with you some ideas for various animal habitat boxes.  (Arctic/AntarcticFarmDinosaursOcean)  But what if you don’t have abundant space to store all of these habitats?  And what if you don’t have a million storage containers big enough for everything that I showed?

That’s where these MINI Habitat Boxes come in!  Simply using a small Ziploc box, or even a washed out lunchmeat container (hello, recycling and FREE!), you can make a fun habitat box.  Whether it’s a Serengeti refuge for just four safari animals, or a woodland retreat for five, these mini habitat boxes can provide just as much fun for your kids, while making it possible to have even more variety stored in a smaller amount of space!  You could also create two different mini boxes from the same Toob of animals so that siblings could have their own habitat boxes to play in.

Shown in these boxes are a combination of animals from a variety of Toobs that haven’t already been placed into sensory boxes.  I love it that we bought several Toobs and combined them all into one big bag so that when I want to make a box, I can just go and sift through and see what we have available.  You can find the animals shown above in these Toobs (affiliate links – thank you for your purchases!):

Safari Ltd Pets TOOB

Safari Ltd Big Cats TOOB

Safari Ltd Wild TOOB

Ocean Habitat

This month I’ve been talking on Tuesdays about our animal habitat boxes.  Hard to believe we’ve just got one more week in this series!  I hope you are enjoying the ideas I’ve been sharing.  If you’ve missed any of them, here are the links:

Arctic/Antarctic Habitats  –  Dinosaur Habitat  – Farm Habitat

So today is the Ocean!  Becca’s favorite habitat.  She is obsessed with learning more and more about the ocean.  She loves watching Octonauts on Disney Jr, reading ocean books, and of course, taking care of our tank of saltwater marine life.  She would live at Sea World if she could.

The best part about these habitat boxes for me is that they take about three minutes to throw together.  And for a Mommy who works from home, that three minute prep for an activity that will occupy her for 20+ minutes, is GOLDEN.  So here’s what you’ll need:

colored rice (I used the blue and green rice mix that we already had together from our Colored Rice Sensory tray activity – KEEP everything, Mommy.  Just throw it in a bag when your kiddo is “done” and pull it back out a couple months later.  Keep everything.)

a storage box

Safari Ltd Toob (here are a couple great options):
Safari Ltd Ocean TOOB

Safari Ltd Coral Reef TOOB

Safari Ltd Baby Sea Life TOOB

Extension – get this Toob and make it be a shark box! Safari Ltd Sharks TOOB

A different idea for your older child learning about the various levels of the ocean – color your rice black and purple and get this Toob: Safari Ltd. Deep Sea Creatures

IMG_2165


Colored Sensory Tubs

baby bees header

Now that I do all kinds of interactive sensory bins for Becca, I had to really dig deep to remember how I started with her.  There’s a picture of 8 month old her floating around Pinterest playing with her very first sensory bin… and sadly, the link is broken because my old blog doesn’t exist anymore.  But, it’s a super cute picture, and hopefully the picture alone has given lots of moms ideas.  It brought me back to my “roots” of how to start for him.

It’s as simple as sorting your Baby Bees’ toys by color.  If you’re like us and have an older child, you probably have a MILLION baby toys that your Baby Bee has “adopted” from their older sibling(s).  And then there are the Christmas presents that just never seem to stop, that equip your Baby Bee with even more toys they probably don’t need.  So, take all those excess of toys and turn them into a learning experience!!!

Don’t have an older child and an over abundance of toys?  Just wait!  HA! No, seriously, what I did for Becca was to sort her toys, and then I added additional things that were ok to go in her mouth – like long strips of colored ribbons and fabric tied together into a large knot.  Think dog chew toy.  Seriously, ya’ll, it works for Baby Bees, too.

So, you’ve got all these toys to sort.  What to put them in?  Well, you probably know that I’m a huge fan of Dollar Tree.  Get some of their little colored buckets to help you organize.  Then the great thing is, the toys are organized, too… plus they are sensory bins!  Double bonus!!

IMG_2355

Right now, Grayson’s color sensory tubs are for blue, yellow, and red.

IMG_2356 IMG_2357

The rest of his toys are also organized in Dollar Tree bins – I especially love the big basket I found for all of his cloth books, which are never organized and needed something larger to just throw them in so they stay off the floor!

As an extension for play for an older sibling, have him or her help you sort the toys.  Let your Big Butterfly help you sort them by color, deciding which color is most prominent on that toy.  Your Big Butterfly can also select which color your Baby Bee will play with – and encourage Big Butterfly to talk to Baby Bee about the color, and point to that color if the toy has multiple colors on it.  If your Big Butterfly is anything like mine, they’ll love the challenge.  Becca is all about teaching Grayson things.  She’s quick to say, “Look, Brother, this is yellow.  And this is yellow.  But Pooh’s sweater is red.  And so is his hat.”  It’s also a great extension to the activity to have Big Butterfly help clean up – remembering to sort the items into the correct bucket.

After they’ve been sorted by color for a while, get creative – sort into soft and hard, or noisy and quiet… so many ideas for using those toys!!

And again, if you don’t have a million toys, first, praise God!  (Seriously, ya’ll, I think we have toys coming out of our ears!!)  Second, look for things around your house that would be safe that you could add to the toys you do have. Do you have colored washrags?  Do you have colored plastic bowls or plates that perhaps your Baby Bee isn’t ready to eat off of just yet?  Look for items at Dollar Tree that could be considered “toys” now, and could grow with your child – like colored plastic cups that for now can be a toy and later they can drink out of.  Or those little plastic measuring cups that right now they can just chew on, but later they can use in a sensory bin and then later use to learn about measuring.  If you feel your Baby Bee is lacking in soft stuffed animals, Dollar Tree also has a million of those… or we could donate a few to your cause. 😉  Remember, however, that with your Baby Bee, less is more.  You don’t need a box of 30 red items.  5 is plenty.  Ideally, they’ll have different textures, weights, etc, but even if you have five identical items, it’s all good.  The focus is to introduce colors.

As your Baby Bee gets a tad older, you can begin providing two tubs to play with, and see if your Baby Bee gravitates toward one color or the other, and see if Baby Bee can put the items back in the bucket.  (At 7-9 months Baby Bee should be really awesome at pulling everything out of the bucket, and may begin to start setting things back inside closer to the beginning of the 10th month.  Don’t expect color sorting til Baby Bee is much older – for some Baby Bees, color sorting between two colors won’t happen until well after Baby Bee’s first birthday.  Remember always – every Baby Bee is unique and different!)

IMG_2350 IMG_2346

Colored sensory tubs are a great way to keep your Baby Bee happy during tummy time, and encourage Baby Bee to keep reaching for toys, trying to crawl, and practicing rolling!