This post contains affiliate links. Thank you for supporting my blog!
Most of my posts here are about homeschooling Becca, but this one is all about what to do with the little ones… and highlights what I do to keep Gray occupied so Sis can learn. (And SHHHH! he’s learning, too!) Keeping your toddler occupied while your older child does homeschool is NOT easy! But hopefully a few of these ideas will inspire you and be helpful on your journey!

One thing we really struggle with with Gray is that he still likes to put things in his mouth – a lot. I can’t just give him an activity and pay total attention to Sis. So, I have to very carefully select what he does when I’m busy with her. He loves our pop beads set – so when I’m teaching her, I pull out only the large beads on a tray and let him sit on the bench right next to me in our family room (which doubles as our homeschool room).

If we are doing something downstairs at the dining room table, he gets to do play dough next to me, and loves to make prints in the dough. We have little stackers, dominoes, construction trucks, and dinosaurs that all make awesome dough stamps, not to mention our fabulous cookie cutter set. He can stay occupied with play dough for almost an hour! (Plus, I make my own dough, so I can make it any color I want, and he loves to take two different colors of dough and squish them together… which works on those fine AND gross motor skills all at the same time!)
Back upstairs in the family room, we have a little Duplo table (this is the one I’d like to get once we move up to only Legos) and some diaper boxes full of Duplos that Gray loves to build with. Then we also have big wooden blocks (that my dad made for me when I was little!) with which he can build larger-scale items. We also keep crayons and coloring books readily available so that he can color when Sis is illustrating – because nothing is more exciting and makes you feel big and important like coloring when Sis is coloring. And he has been enjoying playing with window clings that I got from Dollar Tree!
There are so many fabulous things you can get your little ones excited about that are going to stretch them and help them grow their fine AND gross motor skills.

Pretend play is so important for little ones, and Gray is all about pretending. He is fairly quiet with his pretend play, so he doesn’t distract Sis too much. If you have a louder child who likes to play really loudly, you might want to skip this section and move on down to the academic ideas, leaving the pretend play for non-school times.
Gray loves our new set of felt dinosaurs. He likes to tell little stories with the dinosaurs, and can either use the portable board with which they came, or can use the larger cork board that I covered with felt that is up in our family room. I love that both kids can stand together at the easel and play, or he can play alone right next to me while she works. He also loves to drive his cars and trains on the activity rug that sits on the floor next to me, and cook “meals” for us in their kitchen, which is across the room. (This link is to a similar set – ours is no longer sold.)
He also loves to grab a reusable shopping bag and pretend he’s shopping, play dress up, and play with Little People figures. The beauty of doing school in our family room is the multiplicity of options to keep him entertained. We do not choose to have the tv on during school time. That is far too distracting for Becca.

Sometimes there is just no other way than to teach her with him sitting in my lap or standing right next to me. (His love language is touch.) For those times, I have some little academic activities that aren’t distracting to her that I can do with him while she is working independently. We have number puzzles matching the numerals 1-10 to their values, and he can sometimes do 1-5 alone. Sometimes he gets frustrated when they don’t fit exactly together (fine motor work!), but I can help him.
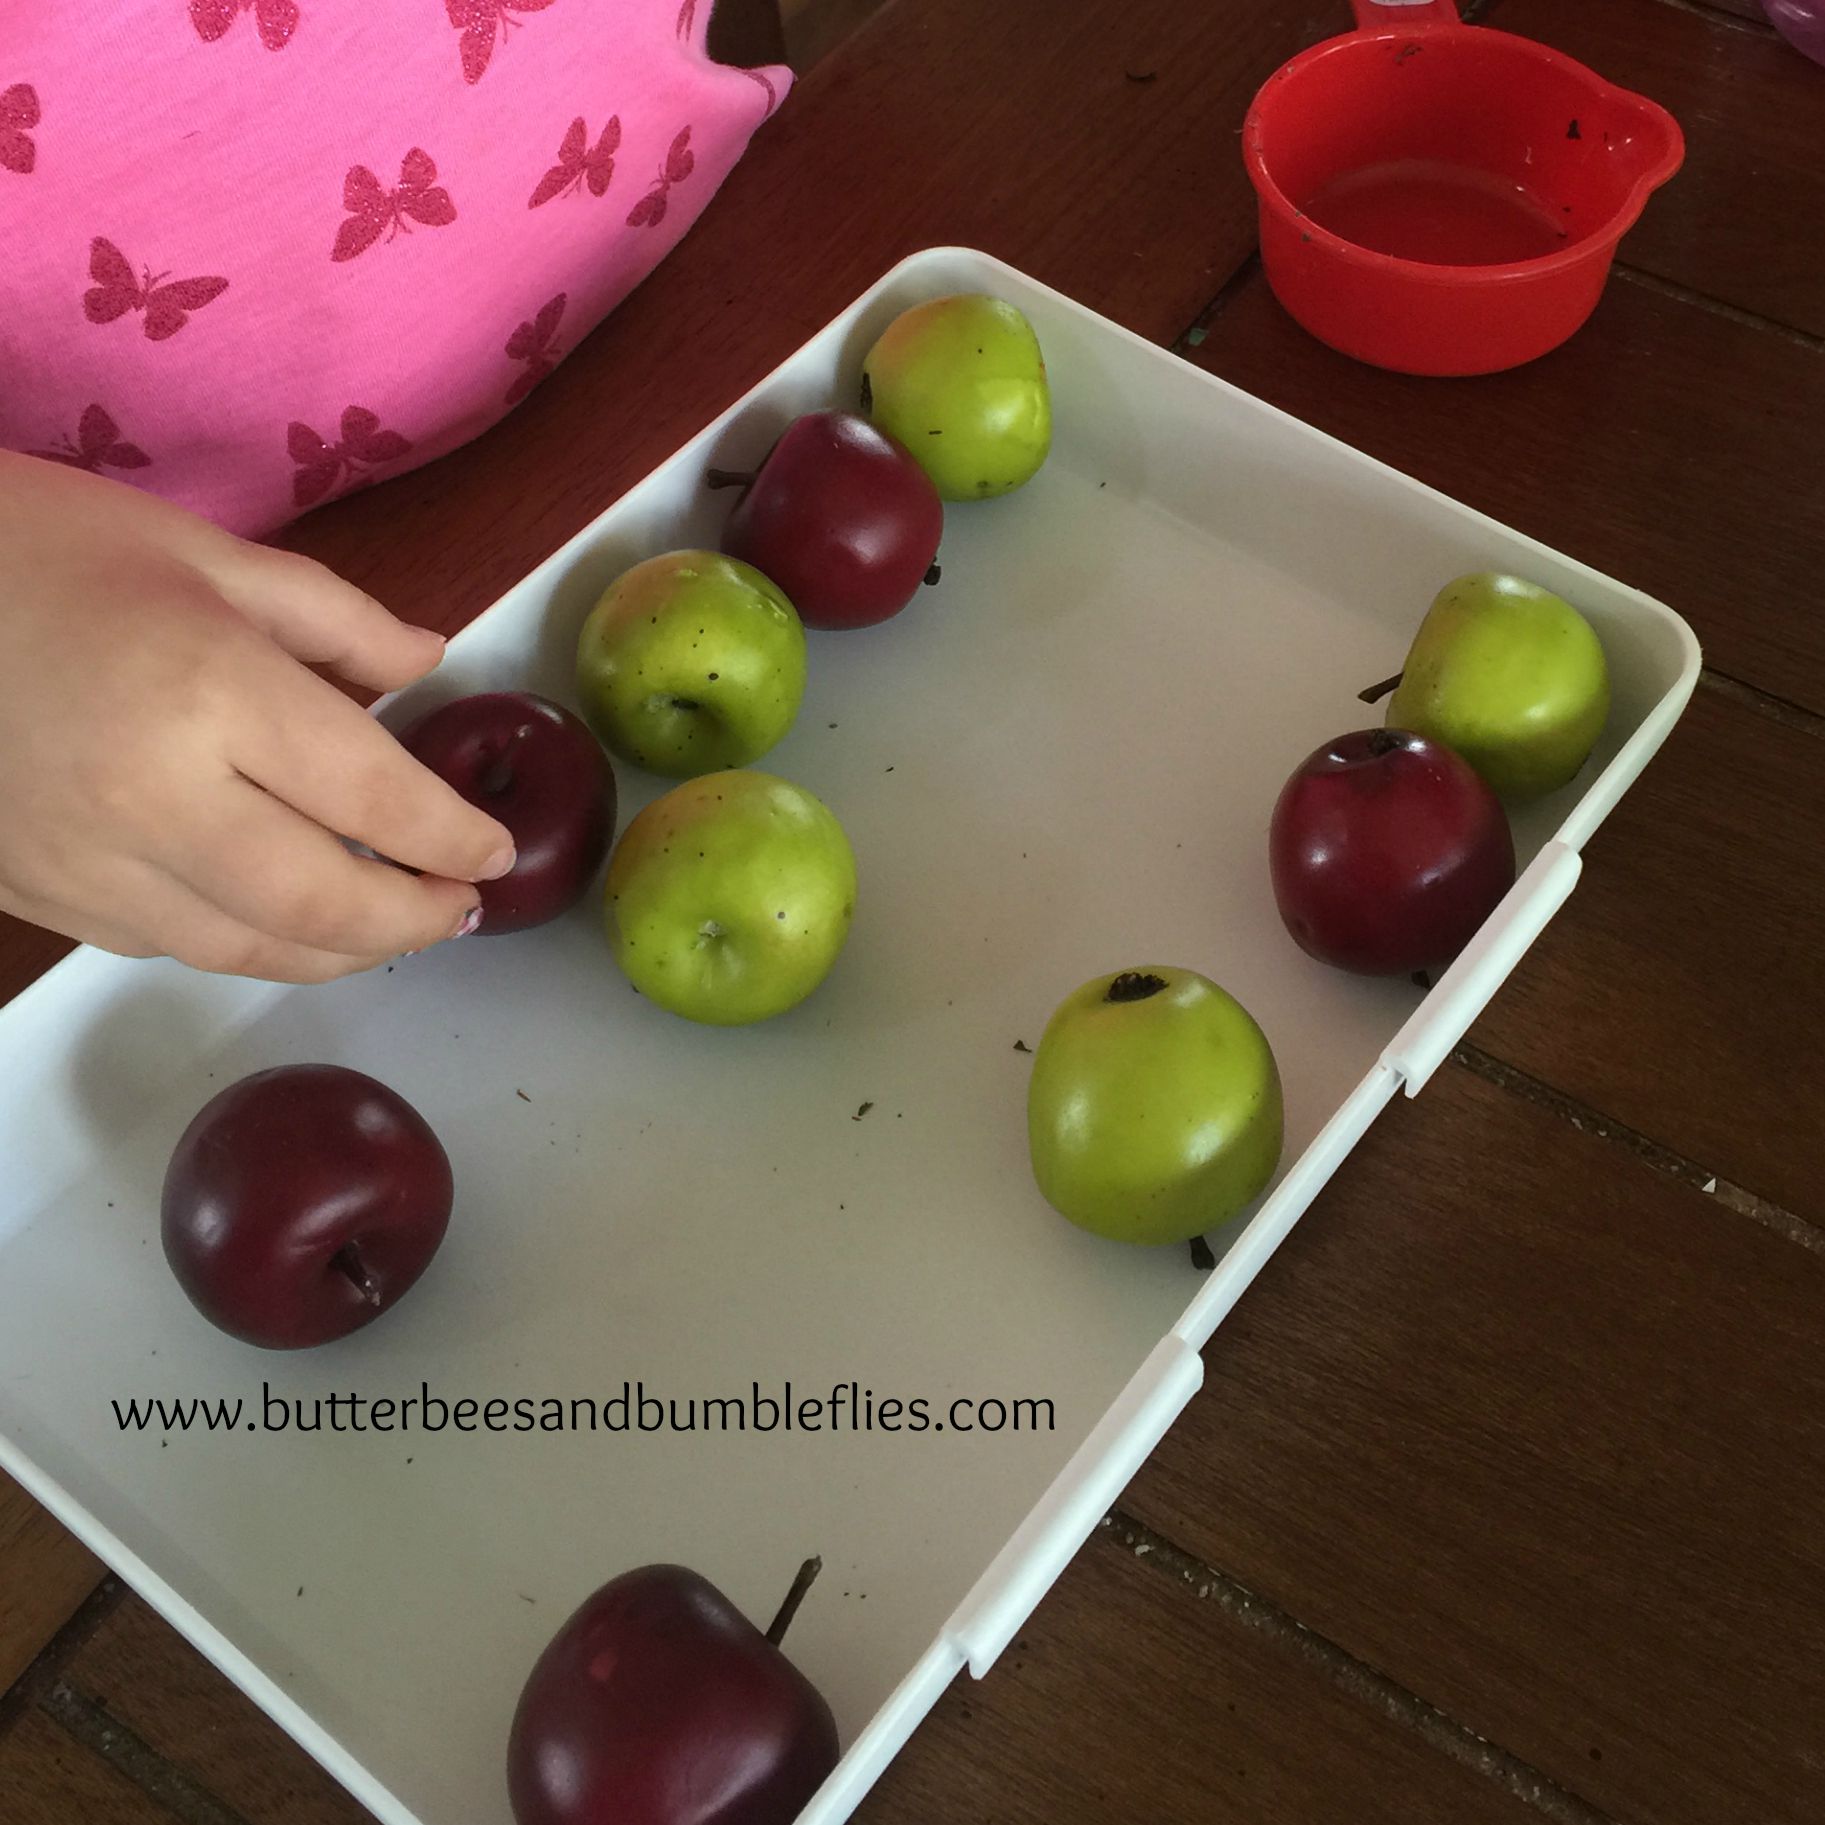
He also loves our pattern block shapes that I made out of thick colored card stock and laminated. I use them with Sis as math manipulatives, and he also loves to sort them out and try to count them. You can print your own here for free!
I have also laminated some little basic puzzles that have come out of magazines the kids get – he loves to put the three pieces together to make the trucks, and can put them together wrong to be silly and it’s ok, so he feels very successful with those.
I love the Target dollar section. Sometimes I get surprised and find a $3 item that I love and just have to have, but normally I stick to the $1 stuff. I got some really neat felt sticker numbers there (for $1), and placed one each on a set of 10 index cards so that he can actually FEEL the number, and attempts to put them in order.
He loves so much the big bin of Scrabble letter tiles at the DoSeum, so I finally bought this set so that he can play with the letters at home – and Sis can use them for spelling practice! They are both so excited to have their own letter tiles at home now! Sis also enjoys playing Scrabble Jr, so this now gives him letter tiles to play with, without messing up the board while we are playing!
I hope that you find these ideas helpful, and I so appreciate you purchasing via my affiliate links! What helpful hints do you have to share? What do you like to do with your toddler? And which of these ideas that I’ve shared are you ready to try this week? Let me know! I love to hear from you! Send me comments, and please be sure to head over to my Facebook Page to get involved in the discussion!

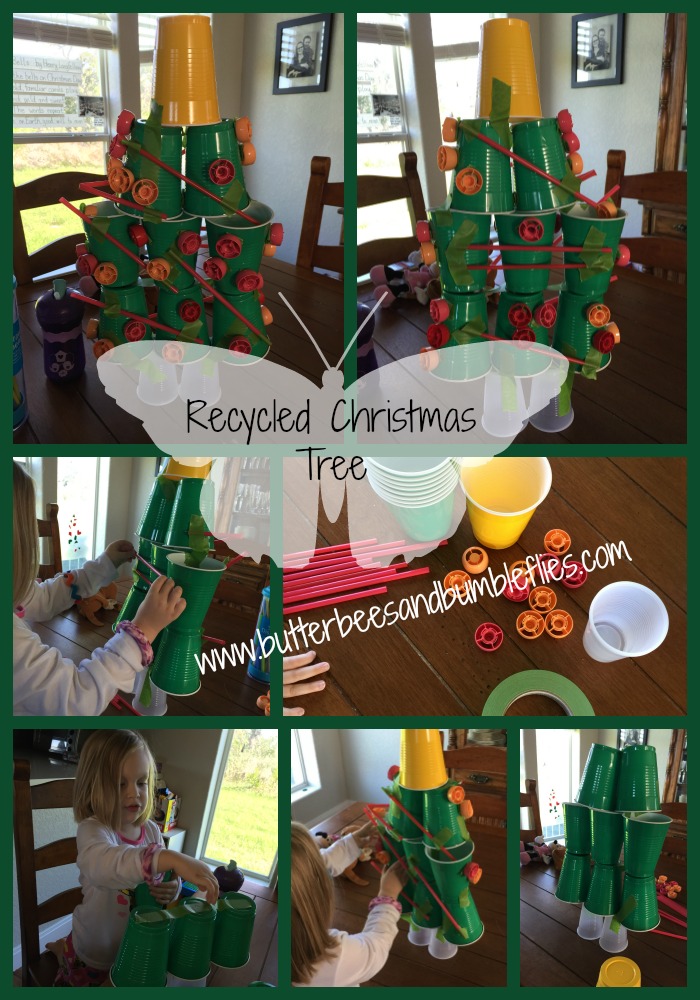


 Not an activity for Brother, Becca LOVES making Christmas trees of various designs using green popsicle sticks, red buttons, white pom poms, and one gold one for the star on top. She has come up with some of the coolest, and also weirdest designs. Some look like trees, and some, well… don’t. But she is having a blast, it’s a great sensory activity for her that really allows her imagination and creativity to go wild.