Flashbacks

From the Heart title

Well, so we’ve had a LOT going on around here.  I mean, just a lot.  So we’ve been doing a lot of “flashback” activities.  When life gets busy, that’s when you need lots of solid stuff to fall back on.  Yes, we’ve also been watching a lot of Sesame Street on Netflix.  I refuse to feel guilty.  Especially when the word of the day is “scrumptious” and Becca goes around looking for appropriate times to use the word “scrumptious” in her vocabulary throughout the day and suggests we should add “scrumptious” to the S page in her Fancy Nancy’s Favorite Fancy Words: From Accessories to Zany book (aff link, thank you) because “it’s the fanciest word I’ve heard all day.”  I’d say she’s learning from what she’s watching, wouldn’t you?

But I digressed.  We’ve gotten some new Kindle apps, which I’ll (hopefully) be reviewing very soon for you, and we did try a new-to-us art form yesterday that she loved that I can tell we’ll be doing lots more of in the future.  But mostly, she’s been going through her newly organized activity closet and pulling out a few old favorites that haven’t been used in a while.  Honestly, it’s nice to see her enjoying activities that I spent time on that got used and used and… forgotten.  Here are a few of the “oldies but goodies” that she’s been using the past couple weeks:

Animal Habitat Boxes (This is the last post I did about them, so they are all linked on this post.)

Activity Boxes (Boy these are definitely oldies but man, she has LOVED pulling these out lately!  I’m so glad I didn’t dismantle them!!)

We’ve been using our Activity Trays a lot, too!

She’s back to using her Race Car Number Mats again.

She’s again loving her Clothespin Clock.

And she’s been enjoying making her Ten Apples Up On Top tower from our old Apple Theme Center.

All of this to say – if you take time to make up activities for your kids, SAVE THEM FOR A RAINY/HECTIC DAY!  You just never know when you’ll need them to be able to pull out something and entertain themselves in an educational manner… None of these things took very long for me to make up, and they have been paying for themselves in spades the past couple of weeks!  I hope that when you make fabulous activities for your kids that you will share them with me, and that you will SAVE THEM for later.  If you need more ideas on organizing your learning space, I’m happy to offer some suggestions individually.  And if you just struggle with keeping it tidy, you might check out my post on getting your kids started with chores to help your family.

Hang in there, moms.  You can do this!!!  Remember that NO ONE is perfect, but YOU are the PERFECT mom for your kids!

IMG_0890

Me and my babies enjoying some time at the park with Daddy on his lunch break for my birthday last week.
I’m far from perfect, and so are they.
But together, we are exactly the perfect match that God planned.
We are a family made perfect by love.  

I am blessed beyond words.

blog signature

Nature Photography Art

steam activities header

Today’s Theme: Science, Tech, Art, Math
(yup, 4 for the price of 1… and technically, you could say it’s Engineering too if you use your items collected to build something…!)

With my life as crazy busy as it has been lately, I’m going to be perfectly honest with you that we’ve been doing a lot of super free, unplanned play.  Like watching a lot of Sesame Street.  And Creative Galaxy.  And Super Why.  And building train sets.  And marble runs.  And working puzzles.  And coloring in coloring books and on plain paper.  Ya know, the ordinary, unexciting activities that make up MOST of our normal lives.  Not a whole lot worth blogging about and saying “wow, isn’t this fantastic?  Don’t you want to do this with YOUR kids?”  HA!  But, I know that one of the things my readers comment on the most is how they feel inspired by what I share.  And honestly, that is humbling.  And it helps hold me to a higher standard for my own kids.  And I appreciate that.  Maybe it’s something about turning 31 today (really?  31?  I remember when 30 seemed ancient… and now 50 doesn’t sound that old…), or maybe it’s just because my life has been so crazy that I’ve had to think about hitting the “reset” button on our school time… but for whatever reason, I came up with a super fun, EASY activity to do with Becca this past week that she absolutely loved.  And hopefully your kids will too!  (And hopefully I can come up with some more fun ideas very soon!  Might be time to pull out my Raising Creative Kids book again and snag some more ideas from Colleen!!  Have you gotten her book yet?  OMG.  You need it.  You really do.  The link is on the right hand side of this page… or at the bottom if you’re on a mobile device.  And yes, it’s an affiliate link, so I make some dough from your purchase – THANK YOU!)

Wow.  That might well have been the longest run-on paragraph I’ve ever written here on my blog.  Thank ya’ll for sticking with me through that!  HA!

And now to the nitty gritty – Nature Photography Art!

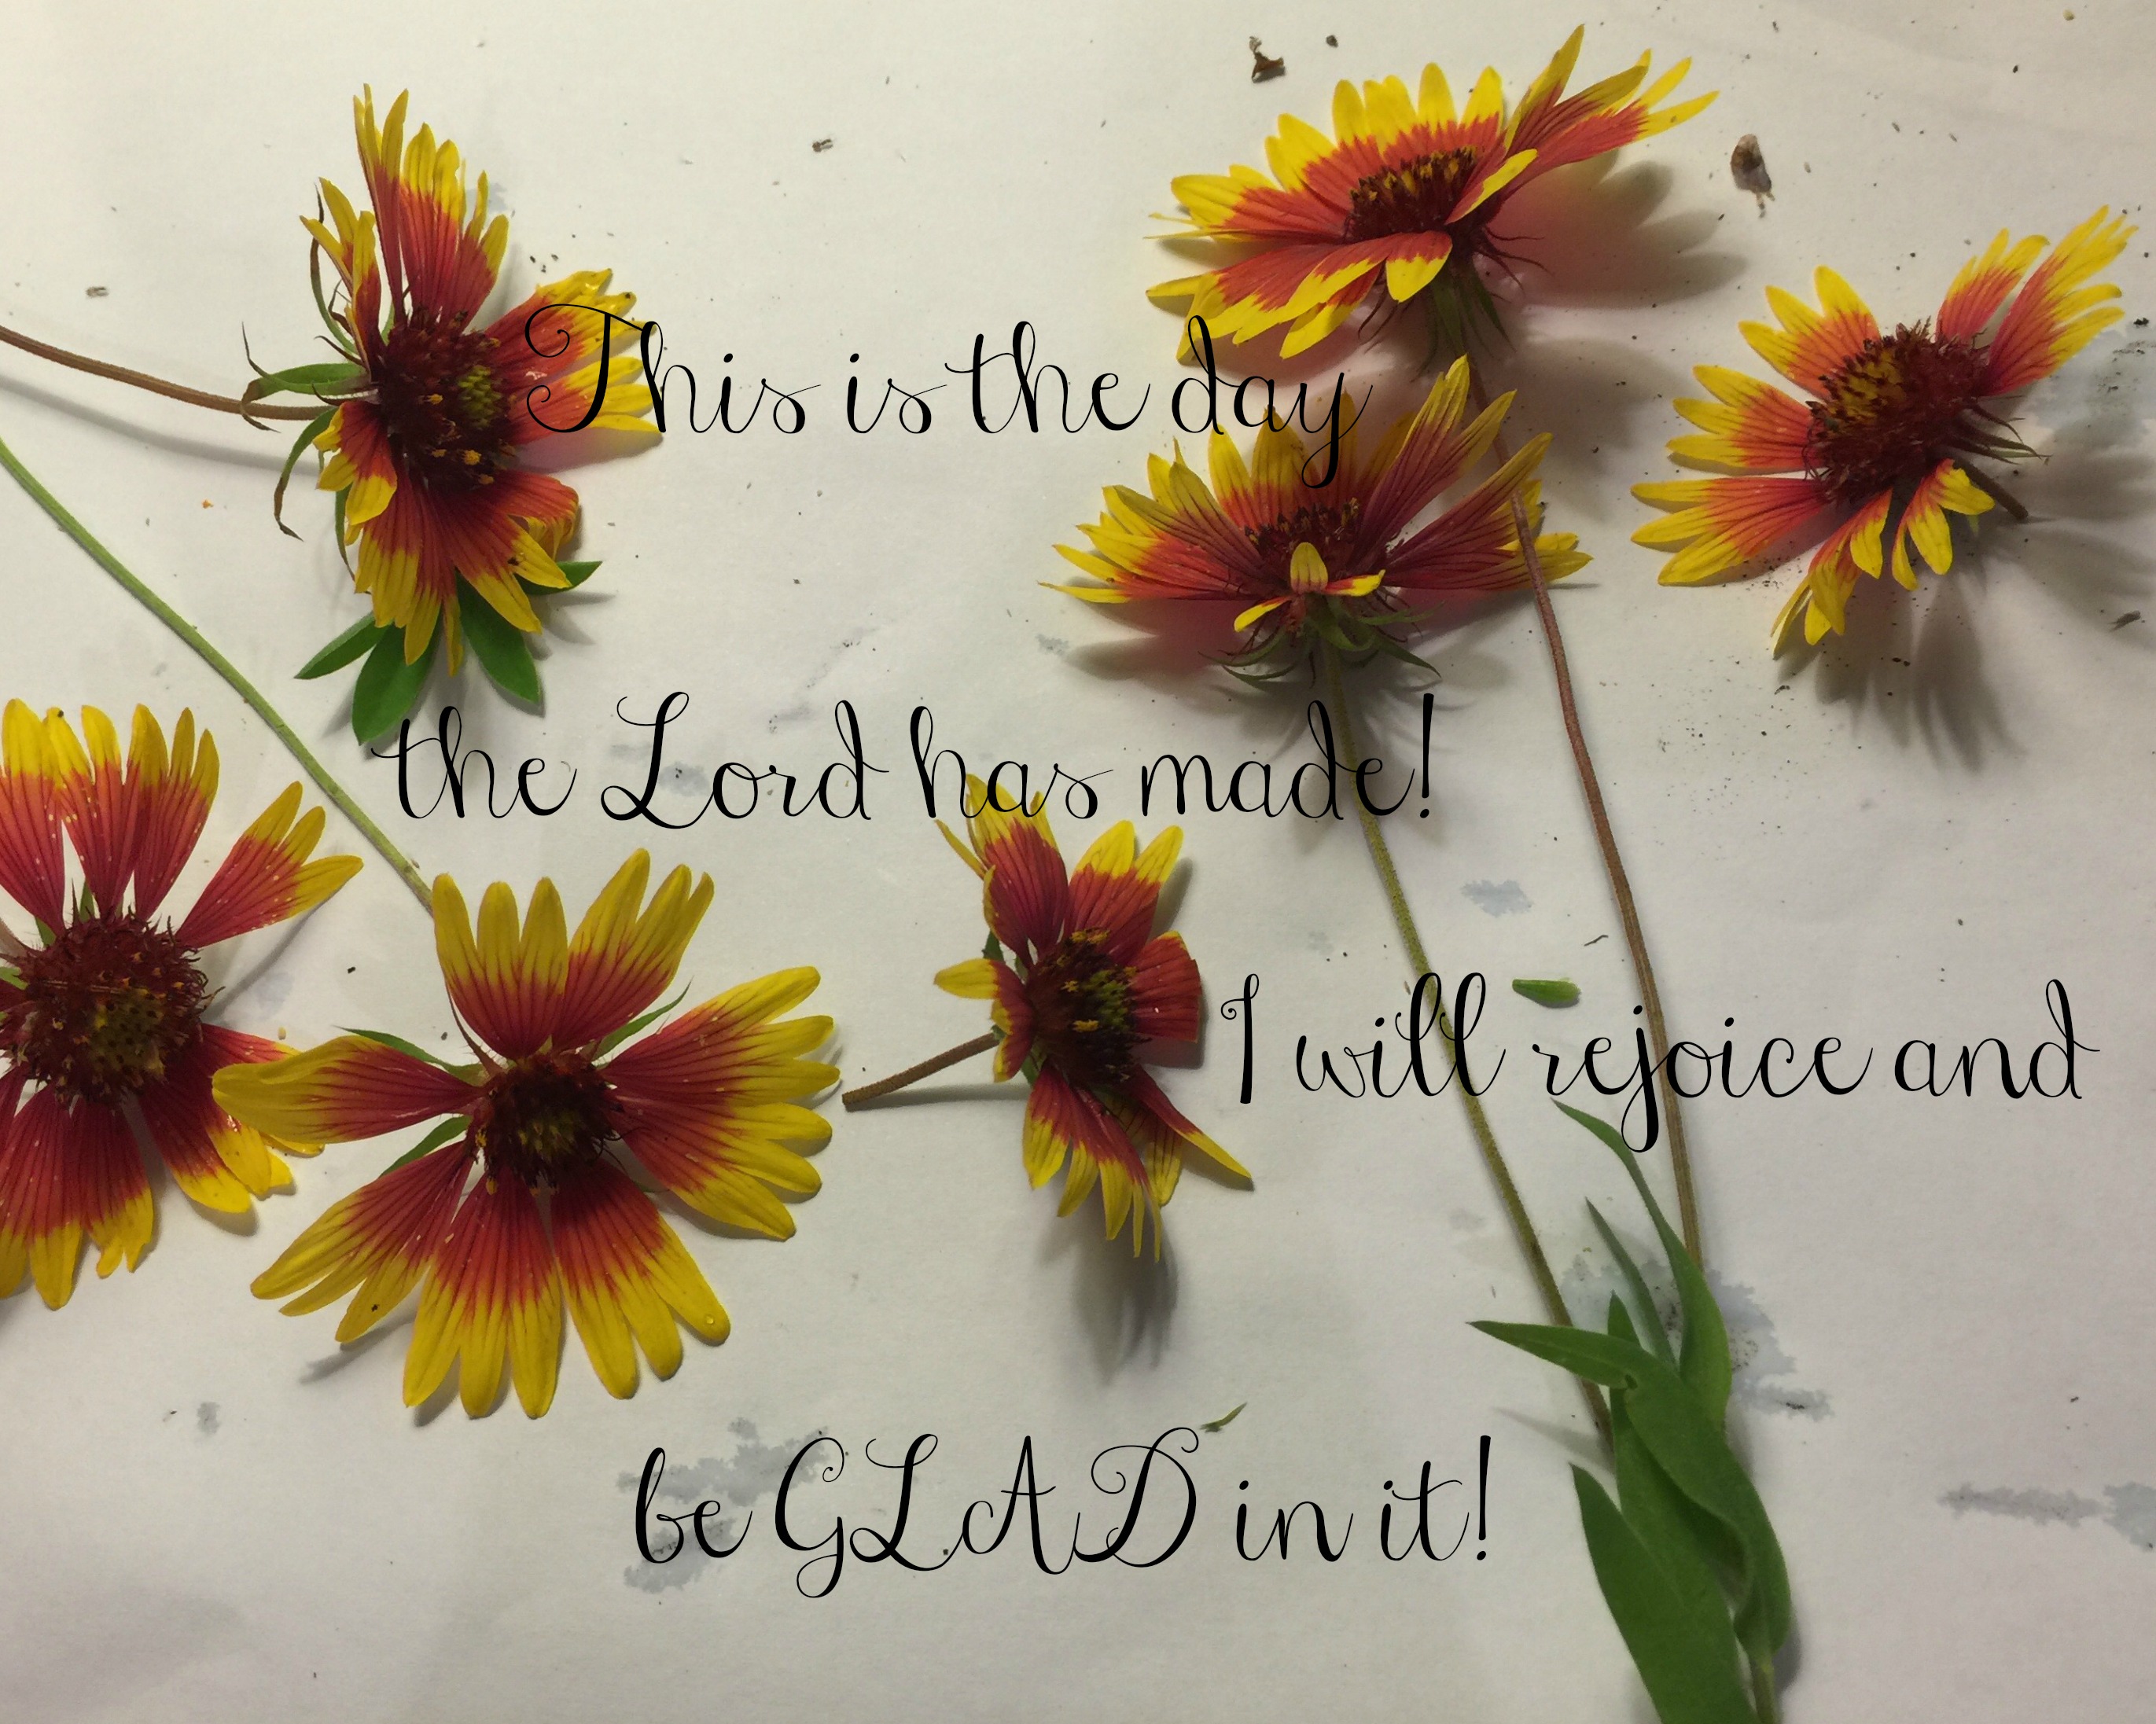
Becca LOVES to get out in our yard and explore.  We are so blessed to have some amazing land for her to roam around on, and even more blessed that we’re on the edge of Texas Hill Country, so our wildflowers each Spring are just simply incredible.  With zero work on our part.  God just paints our land every single year for us, and we are so blessed!  Cody and I both love to take nature photos – it’s one of the things that we first found that we had in common when we met.  So our kids see us take pictures of flowers and trees and butterflies and random rock formations ALL. THE. TIME.  And Becca often asks me if she can take the picture.  But I hesitate to let her hold my phone outside – especially on a day like the one when we did this activity – because the ground was moist and there are random rocks… ya know, my luck I’d hand her my iPhone 6 Plus and she’d drop it face down into a mud puddle with rocks at the bottom (I know Apple Care is great, but…)!  So I came up with this idea to get her involved, let her take nature photos, and yet do it in a structured environment.

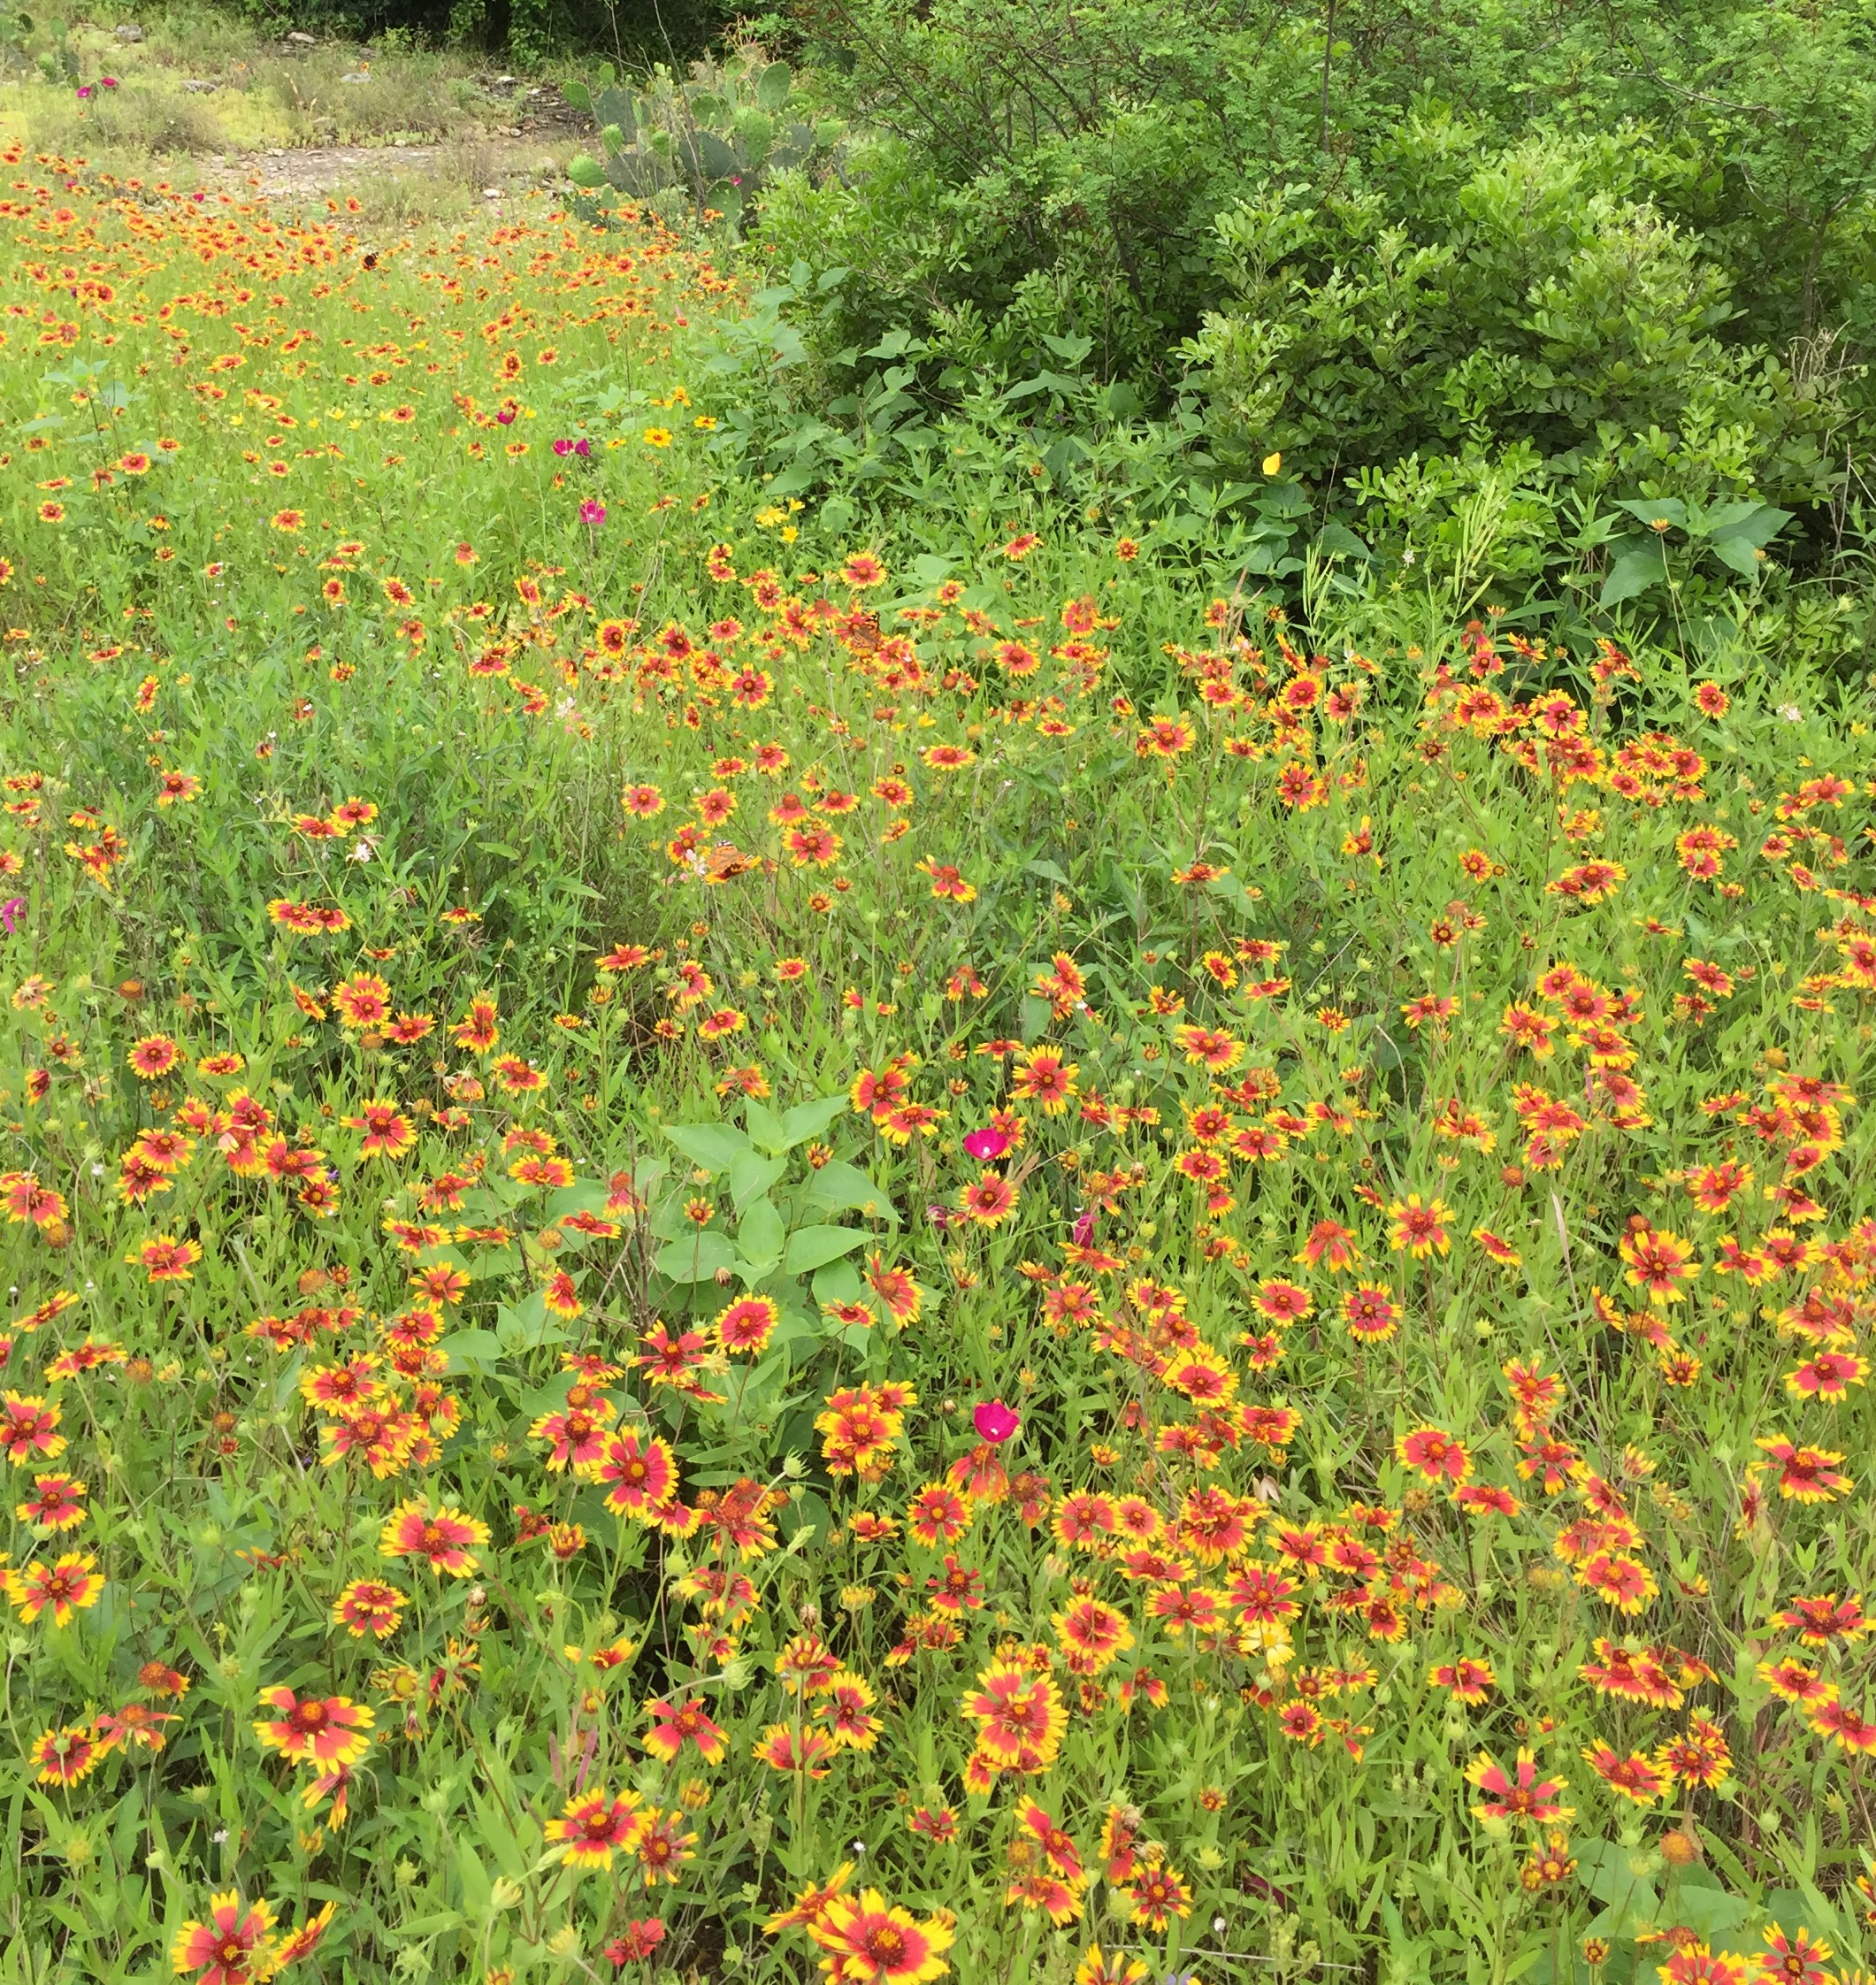
IMG_8425I took this photo in our front yard while we were working on collecting our flowers for this project.  The butterflies were fluttering EVERYWHERE, and the Indian Blankets are just gorgeous!

Here’s what you’ll need to do this activity:
A bucket or basket of some sort
A source of wildflowers, leaves, grass, or rocks
A sheet of white butcher paper
A good lamp
A magnifying glass
A digital camera of some sort that you are willing to let your child use
Optional extension:  A computer with internet for photo editing (I use PicMonkey.com)

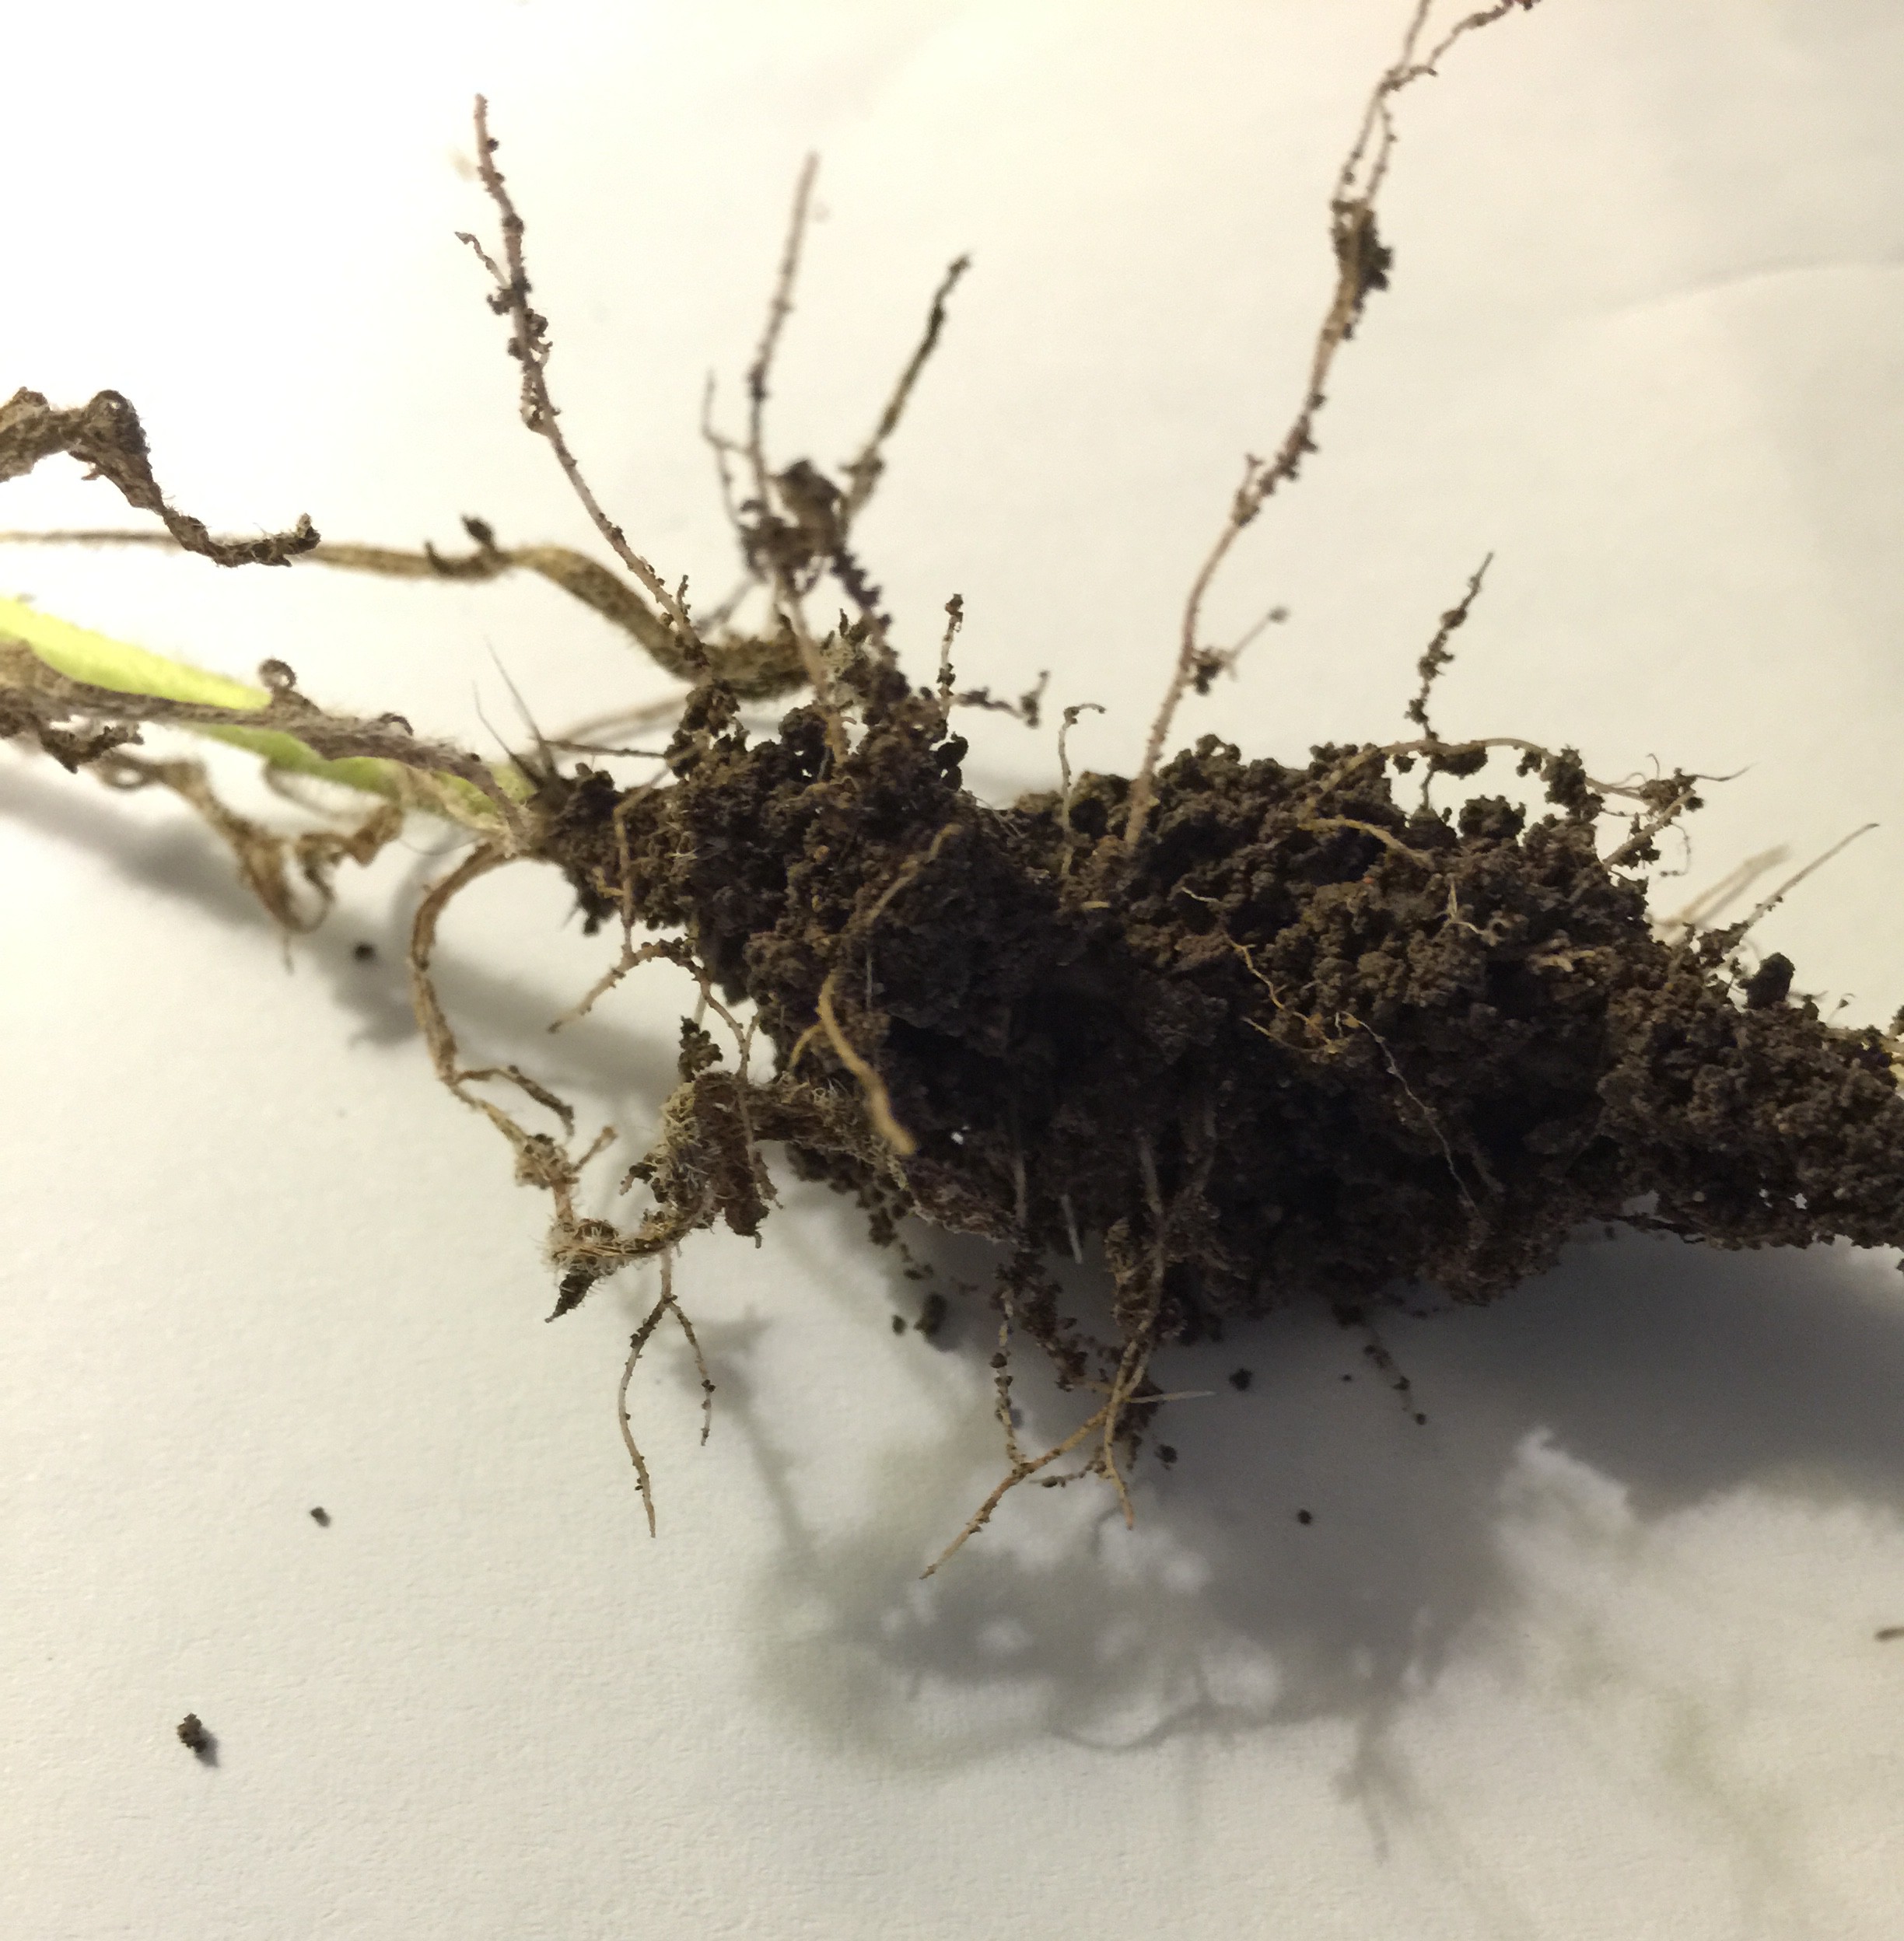
So just take your bucket to your source of nature, and collect objects.  It can be ANYTHING.  Any small piece of nature can be a fabulous source for photography.  Keep in mind that live objects such as caterpillars are harder to photograph – especially for kids – because they are a moving target.  So encourage your child to select STILL LIFE objects.  You can explain that still life is a type of art that depicts objects that are alive, but not moving.  Flowers don’t get up and walk away.  Nor do rocks or grass.  So they work great for this project.  Try to pull an entire wildflower plant up – root and all – to examine with your child.  If that’s not possible, no worries, but it certainly extended our conversation GREATLY to have a couple full plants.  We talked about the parts of the plant while out there in the yard, and also again once we got into the house – a fabulous science lesson.  You can totally do this with rocks as well, and get into discussing and sorting the features of the rocks, and create a rock collection box.

Once your basket or bucket is full, head inside and lay out your white butcher paper.  Set up your lamp and grab your magnifying glass and camera – the fun is about to begin!  Start laying out your objects on the paper.  You can talk about their shadows, their colors, examine them close up, and watch the paper closely with your magnifying glass as lots of teeny tiny little bugs will crawl off of the flowers and begin to explore your paper.  This is a fabulous time to talk about the features of the camera with your child – especially how to make it focus.  If your little one has shaky hands and you’re using a phone for your photos, work as a team – you hold the phone, let your little one select where on the screen to focus, and push the shutter button to snap the picture (that’s what we did).

Try laying your objects out in all different ways – you can get as creative as your child wants.  You could spell nature words with your objects, you could spell your child’s name, you could build something with your rocks, or you could just do random grouping nature shots.  Encourage your child to try holding the camera closer to an object and farther away to see the difference in the two shots.  How does the shadow look on the screen?  Can you move your camera to a different location to make the shadow longer or shorter?  Etc.  The possibilities with this activity are ENDLESS.  And totally repeatable!!  Just collect different objects each time, and you can do this activity over and over and over.

If you want to extend the activity further in the tech area and your child is really into it, you can easily upload your photos to your computer and check out www.picmonkey.com (totally not an affiliate link, I just love them so much and use their site for everything!).  Try making a collage of your photos together, or even play around with their favorite photo to make a sign for their bedroom door, an inspirational saying for their bathroom mirror, or add text to several of the photos to create a book that you can print out and stick in a 3 ring binder for them.  You could also do this activity throughout the seasons and use these photos instead of paintings for your 2016 calendar!  You could also add some math to this activity by measuring each flower and sorting them by length!  The possibilities of where you can go with this activity are truly limitless, and think of the OWNERSHIP your child will have in this project – and the fabulous opportunity to do something one on one with your child.  (I know I’m frequently looking for something special I can do with JUST Becca so that she feels special and grown up.  We did this while Grayson was napping.  If your younger child doesn’t nap anymore, you can easily have them go on the hunt with you and collect their own items in a separate basket, then give them white paper as well and let them play with the objects.  They could draw ovals around them with crayons, count their objects, and sort by color, just to give you a few ideas.)

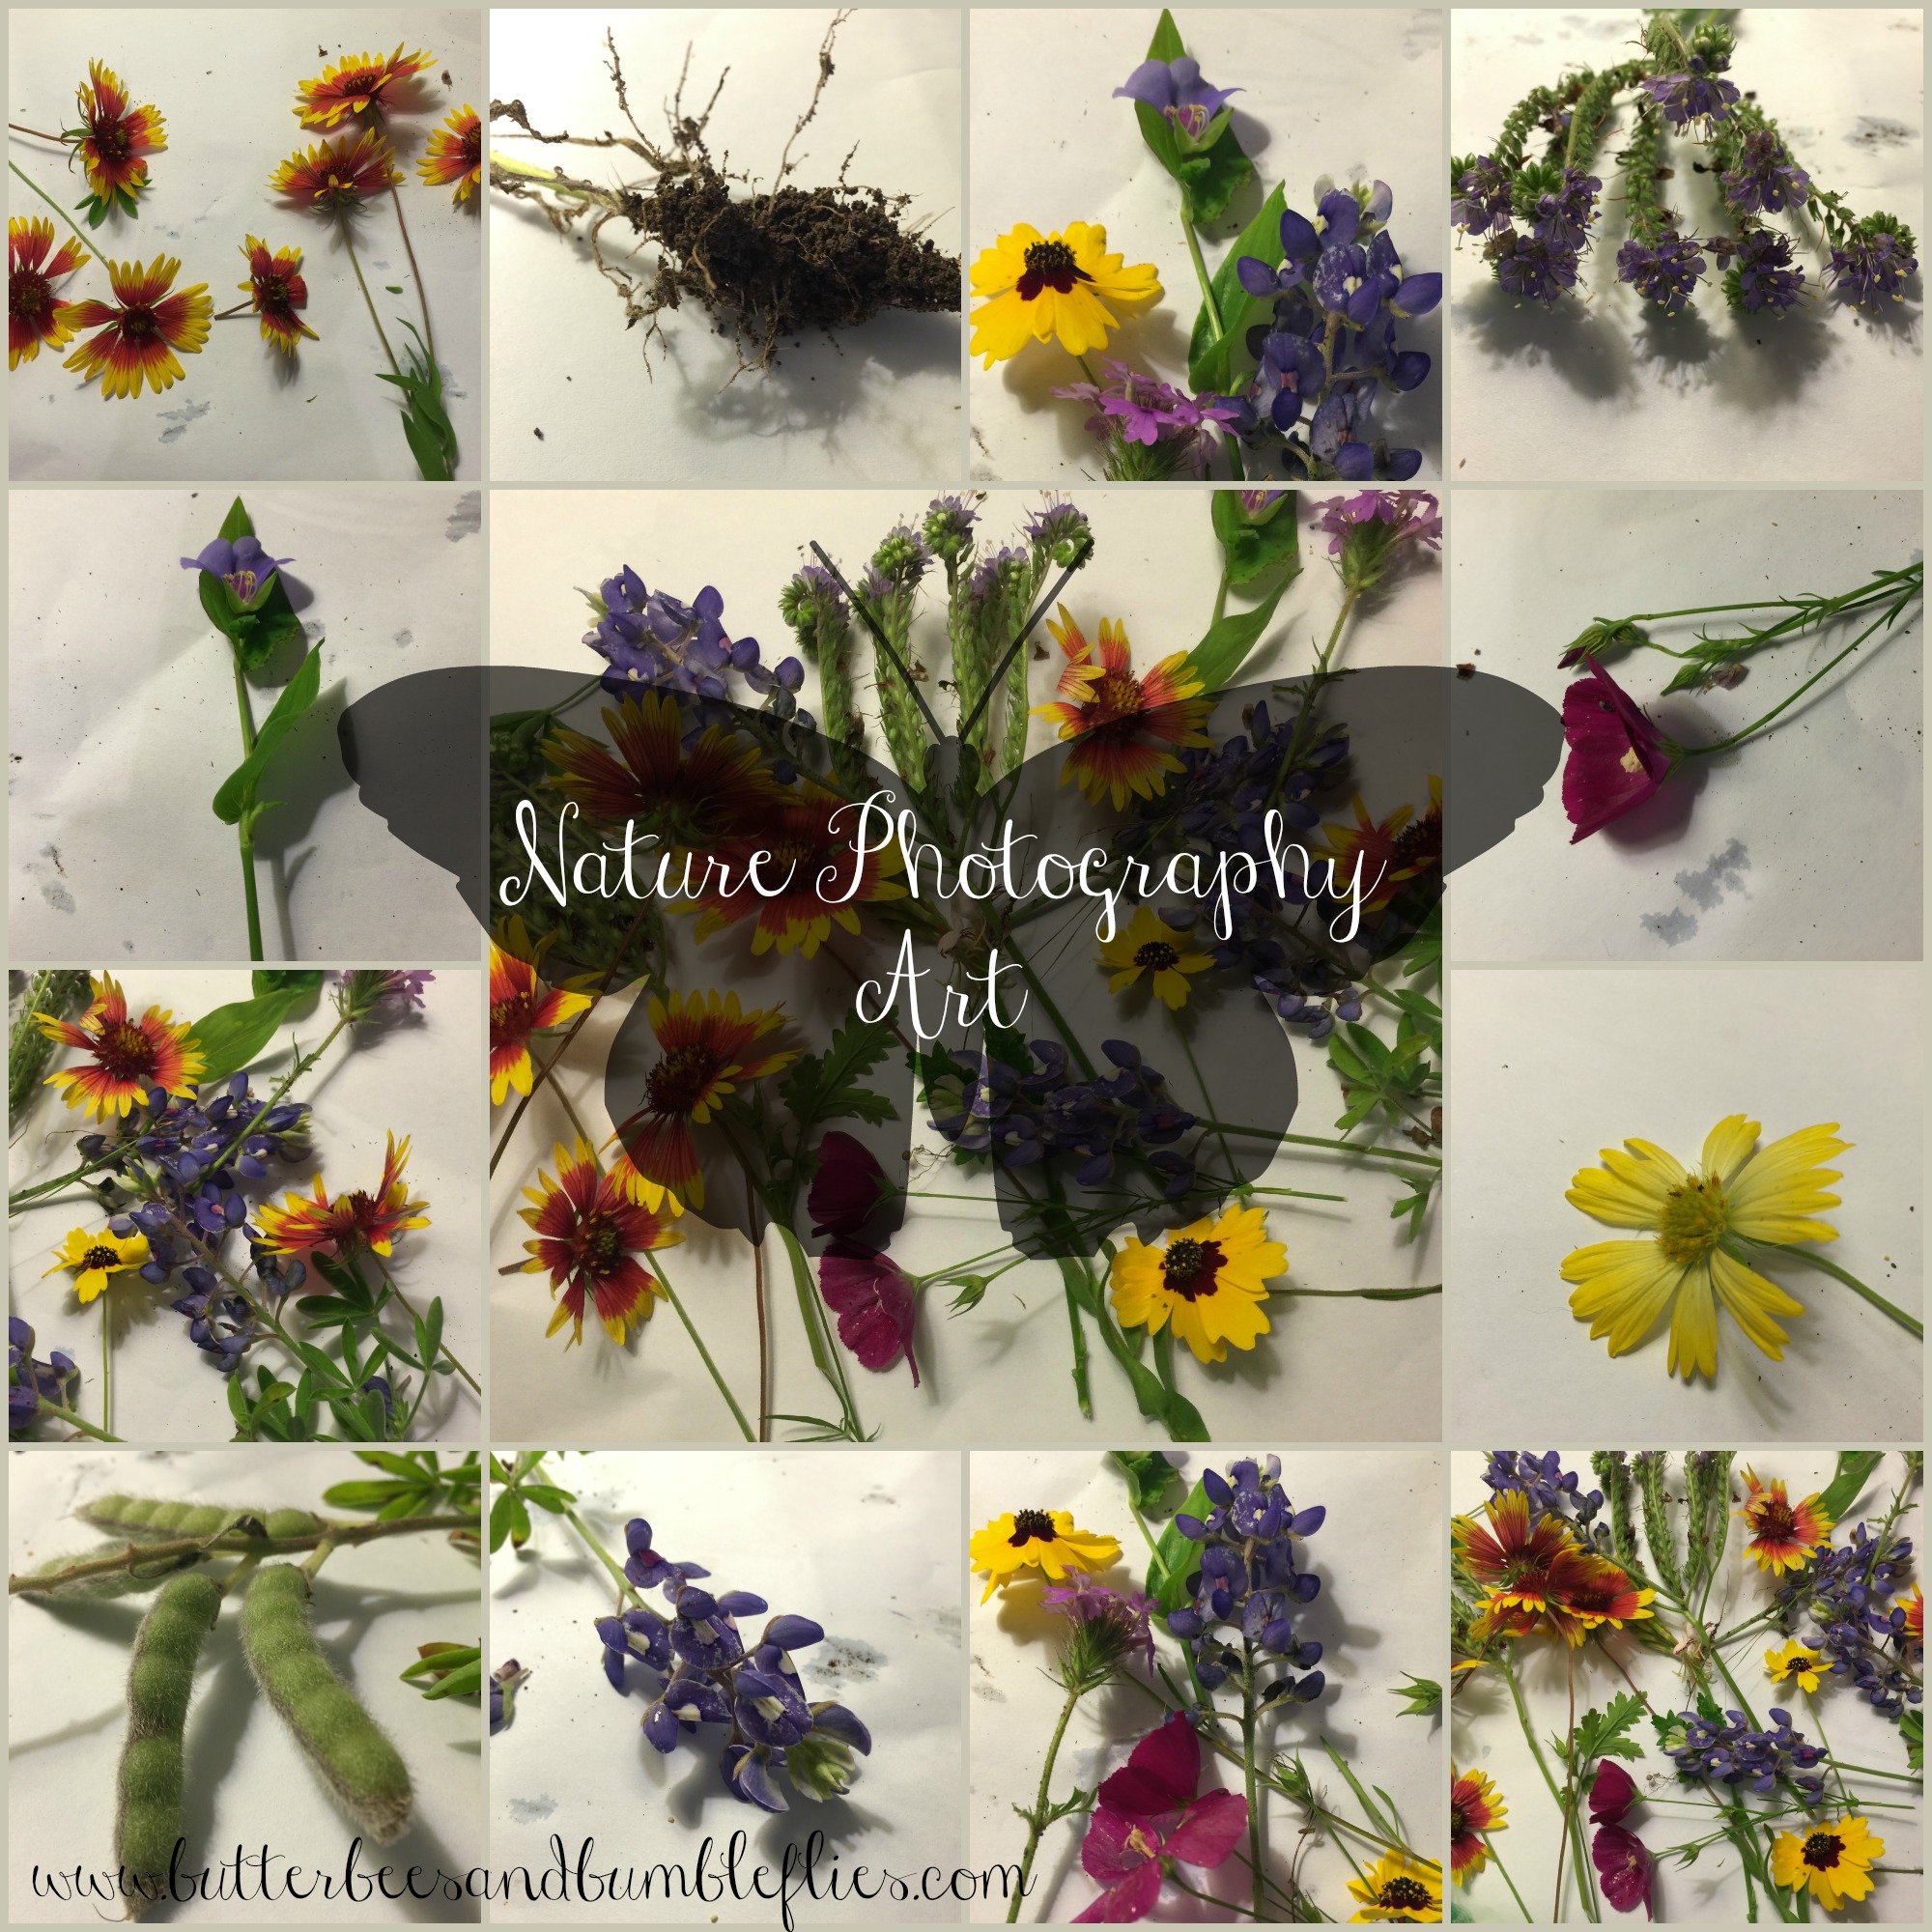
Here are some of the beautiful pieces we came up with together:

apr 30 nature photography art

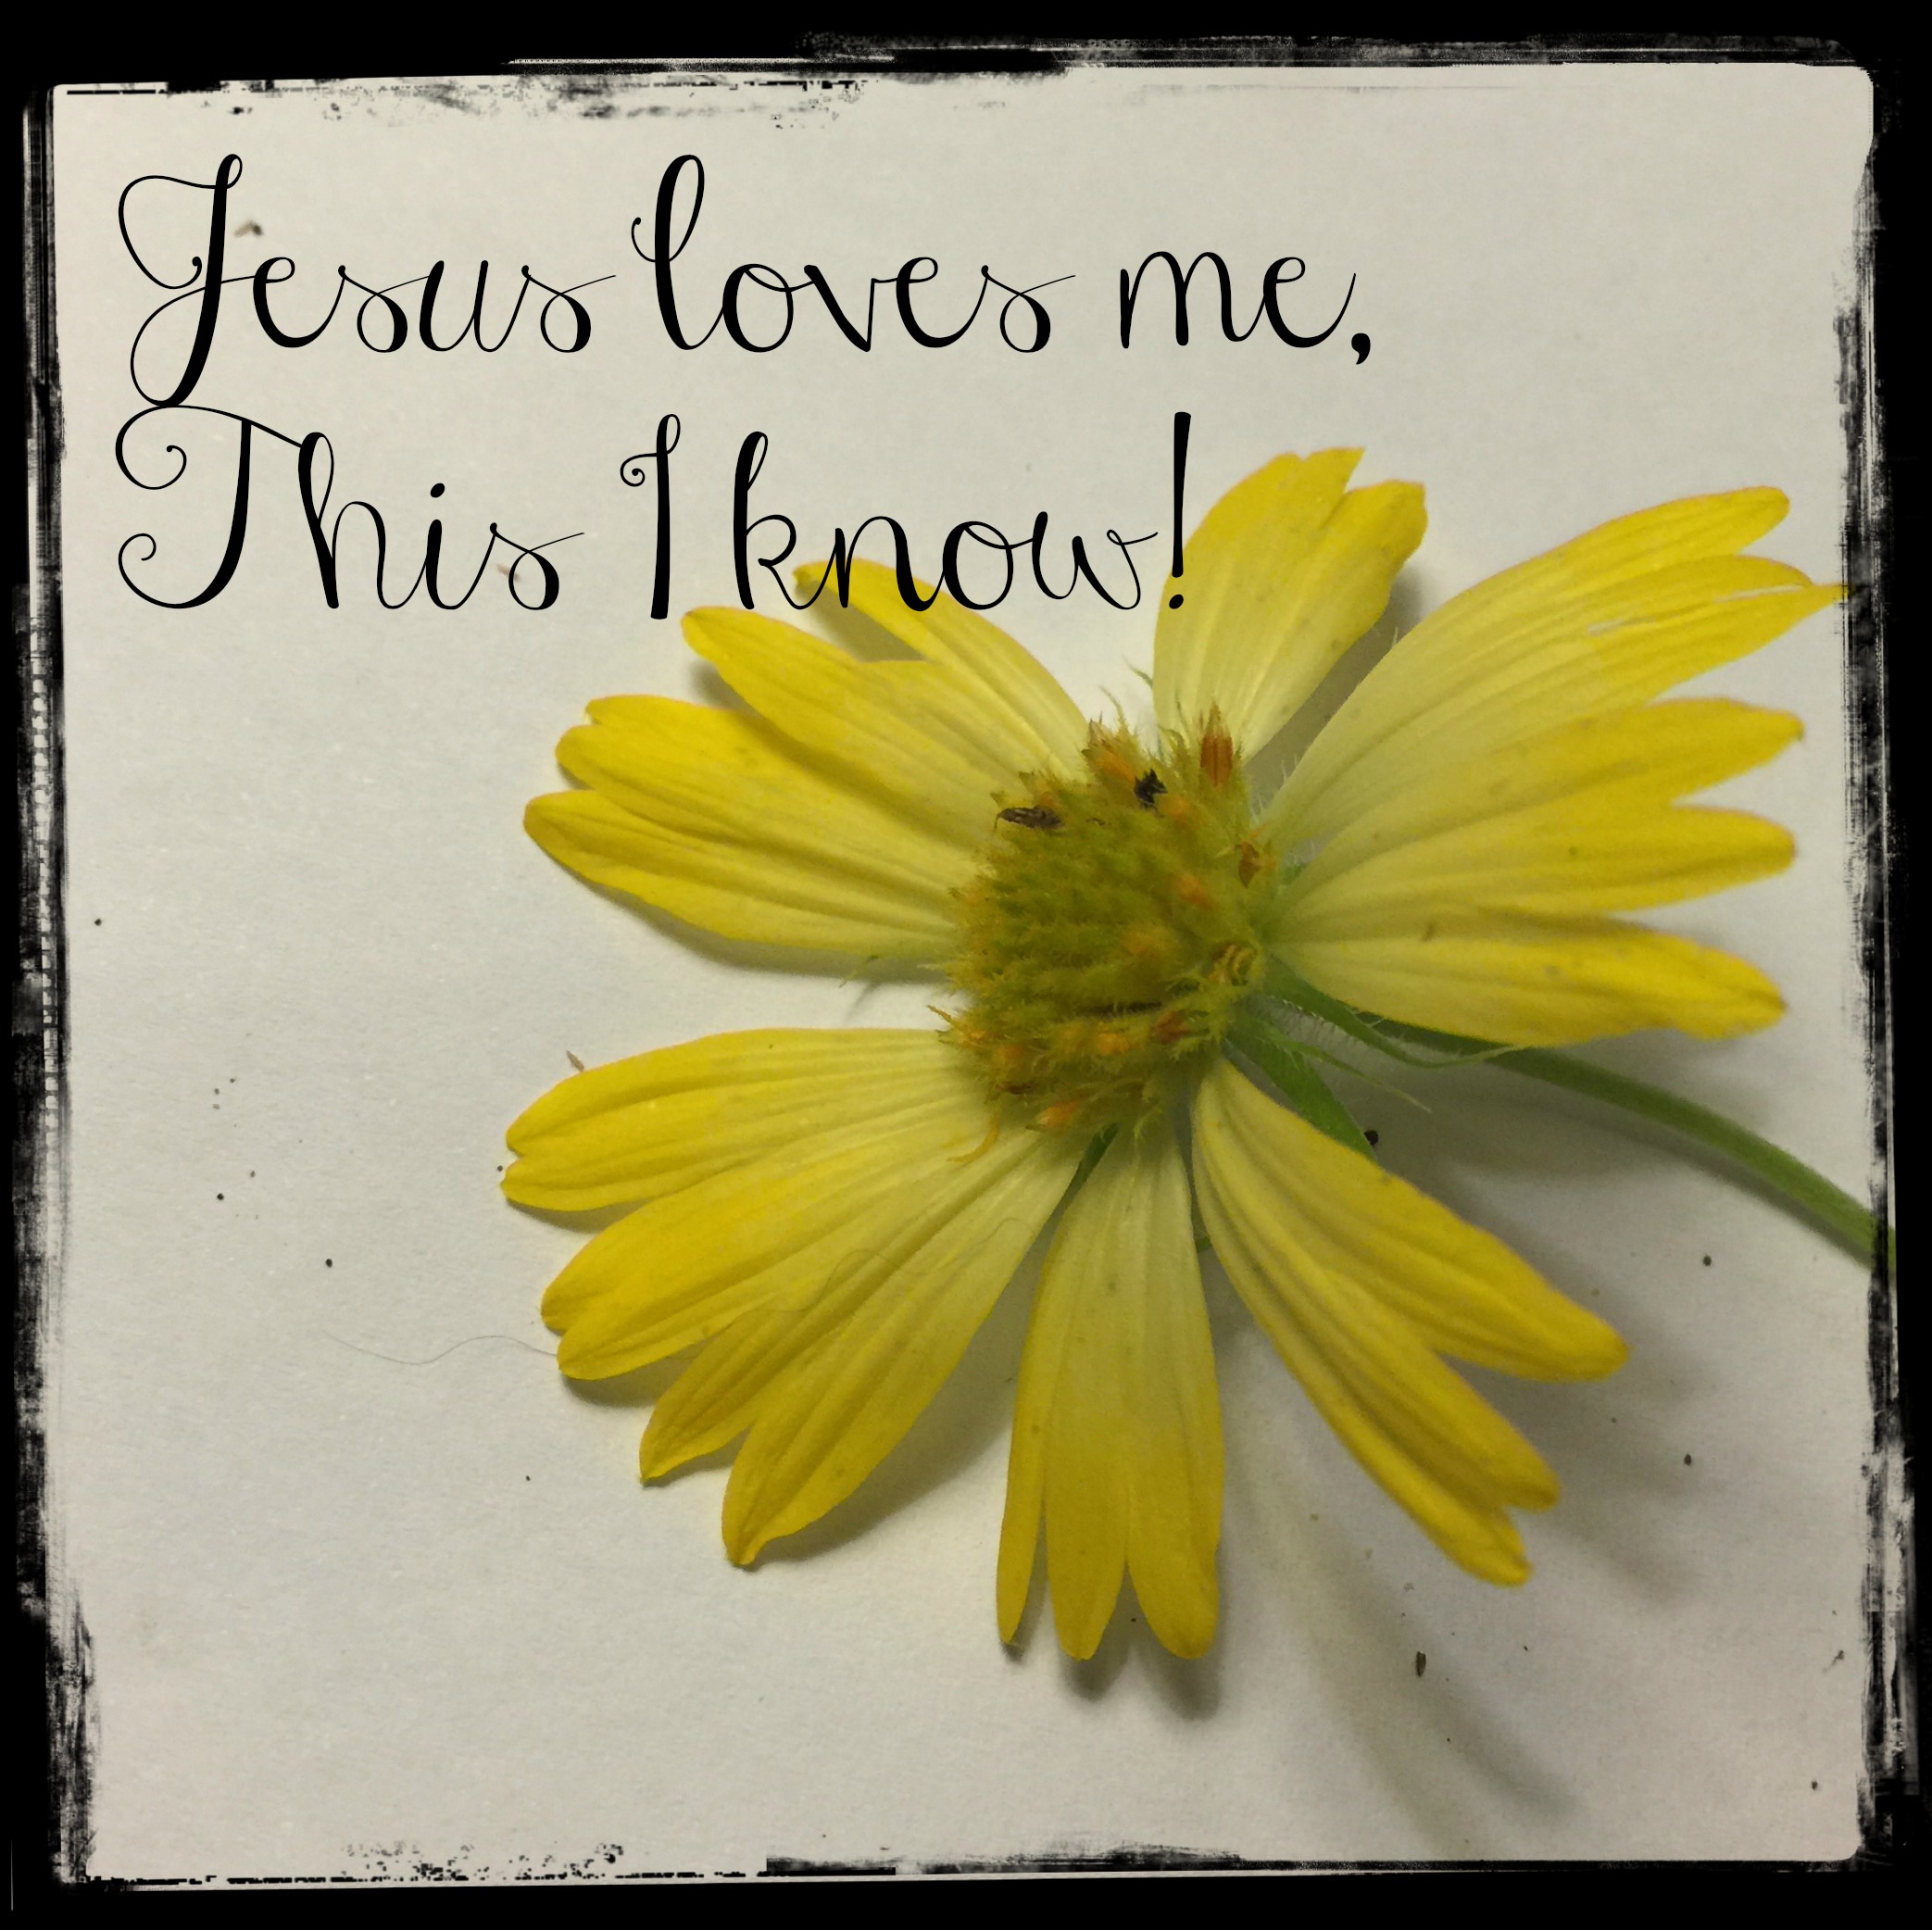
Jesus Loves Me

rejoice

Becca Door SignI am truly so excited about this activity, and I can’t wait to do it with her again with other objects and different flowers!!  I especially loved her root picture (she wasn’t that fond of it, but she loved examining the roots and playing with the shadows!)  IMG_8446


I hope that you will try this activity with your kids, and that you’ll SHARE your results on my Facebook page!!!  I would love to see what you are doing!!!  Check back next week – I’m hoping to get more posts up before then for the start of our next new month!!

Priorities and Flexibility

From the Heart title

It was in the fall of 2006 that I learned the meaning of the word flexibility.  That I learned how to truly be a “team player.”  I guess you could say, “Everything I needed to learn about life, I learned in Kindergarten.”  But you see, since you know I’m in my 30s… it wasn’t the first time around in Kindergarten that taught me the most.  I learned a lot from Mrs. Smith, mind you.  I learned the importance of communication, I learned how to read, and I learned how to make and keep friends.  I learned how to determine a true friend from a surface friend, and so much more.  Those are important life skills.  But it was the day that our principal sat us down and said those fateful words… someone was going to have to switch from 2nd grade to Kindergarten.  The decision had been made for her because “only one of you is Early Childhood certified.”  My world began to crumble around me.  Having desired to teach older kids, 2nd grade had been a mental leap for me.  Kindergarten?  Kindergarten would teach me everything I needed to know about life.  And much, much more.

That first year in Kindergarten would set me on a course for the rest of my life.  I would learn valuable lessons that year that I find myself using over and over with my own kids.  Lessons about flexibility, and setting priorities, that I still pull from today as I struggle to keep all the frisbees spinning atop those long, spindly sticks… sometimes I feel like a circus act.  Trying to entertain, keep everyone happy… and make money in the process.  It’s a challenge.  And I learned enough from that first year in Kindergarten to know that I’m not done learning.  Every single day my kids and my clients teach me new things about myself, and about life in this big wide world.  I think that the day I finally know everything will be the day that I walk through Heaven’s gates.  Because here on this Earth, there’s just always something new.

I had a sweet little girl in my class named C.  She was kinda big and bumbly, and she taught me that the best way to remove an old metal soap dispenser top from the finger it’s stuck around is with dental floss.  She taught me that hunger doesn’t always look the same in every kid.  And she tested my patience to no end.  I had a sweet little boy in my class named Ch.  He taught me what pain looks like and the importance of Mommy and Daddy fighting to stay together, not fighting against each other.  I had a little fighter named K.  He taught me that pain can come in so many different forms, and can lash out in anger trying to be tough and disguise itself.  He also taught me the importance of making sure my son knows that it’s not ok to pee in the sandbox on the playground.  (yup, seriously ya’ll)  I had a little boy named M.  He taught me the importance of never giving up.  And that a drop of honey goes MUCH farther than a gallon of vinegar.  He taught me how to carefully peel back the layers of an onion until finally I can reach the heart.  I had a little girl named P.  She taught me to look for determination inside and encourage it – and foster a love of learning even if it’s not visible at the beginning.  She taught me that it’s not about milestones reached, but rather the striving to GET to the milestone that matters.  I had a little girl named N.  She taught me that no matter how hard I try, there will be some people in my life that I just can’t change.  And when I come across them, I need to learn to appreciate their strengths and not focus on their weaknesses.  Because if I focus on their weaknesses, I’ll only bring out my own.

So you see, I learned so many valuable lessons from those kids.  They taught me truly everything I needed to know about life.  Twenty four little angels, who didn’t always act like angels.  They wore my patience through to its raveled end every. single. day.  And I swore I’d never teach Kindergarten again.  HA!  Little did I know.  I’d end up teaching several different Kindergarten classes before the end of my teaching career, and I’d end up teaching my own 2 year old much of that same kindergarten curriculum.  You see, all that I learned from them I am learning all over again as a mom of a highly gifted child.  Patience, flexibility, and that whole thing about a drop of honey going father than a gallon of vinegar?  Yeah, I’m learning that one all over again too.

But the new thing I’m learning daily as a mom of two who works from home is how to set and tackle my priorities.  Let me tell you – that is the biggest lesson I’m learning.  How to juggle my “career” as a mom and housewife with my career of being a travel agent.  I WANT to be successful at both things.  I want to be the BEST at both things.  Have I had to lower my standards on the “housewife” part of the resume?  You bet.  But have I had to compromise who I am and what I believe in in the process?  NO.  I’ve just had to realize that getting laundry processed through is a three day process.  By the time it all gets folded and then put away, it’s time to wash again.  But that’s ok.  It’s ok for dishes to sit in the sink a couple days.  I try to rinse them off so they don’t stink.  I try to wipe down my counters every day.  I try to pick up and tidy our items daily and we’re teaching the kids to pick up and tidy their items daily.  I try to vacuum as frequently as is possible, realizing that it’s not going to be every day, or even every week.  Our house might not be the most deeply cleaned house in the world (ok, ok, so it’s FAR from it!), but we keep it tidy.  Everything has a place.  And it goes in its place.  That is a priority.  When I let it get out of control, I start struggling with being depressed and feeling physically ill.  There’s just something wonderful about setting a timer for ten minutes and diving in and straightening things up.

So that’s a priority.

Work is a priority.  My career has to take a front seat in my life.  Which is hard in today’s modern vehicles.  I’d like to think I’m in an old reliable Ford pickup truck with a bench seat – there’s room for family AND career in the front.  All the baggage just gets tossed in the back.  It’s hard to maintain that priority, but it’s important to me to offer fabulous customer service, and to keep happy clients coming back for more vacation planning in the future.  I means so much to me when people come back, and/or when they send their friends to me.  That says I’ve made a difference in their life in some small way, and that is just incredible.  It also keeps supporting our family in a small financial way, and it makes me feel like I’m making a difference in our family as well.

So that’s definitely a priority.

But the beauty of working from home is that my number one priority can be my kids.  It’s a challenge to have one who still prefers to nap two hours, and one who can sleep 20-45 mins and be good to go for the rest of the day.  When do I fit the work priority in?  Well, there’s the flexibility.  Being a work at home mom is HARD.  It’s probably the most challenging undertaking I’ve ever taken on.  But I’m determined to meet my kids where they are, while meeting my clients where they are.  Do I always succeed?  No.  But the amazing thing is that I’m starting to see my kids catching on to the flexibility part of having a mom that works from home.  Gray is content to play by himself while I work.  (A true blessing that is really a requirement if you’re gonna be living in this house… Mommy can NOT play with you for three hours while your sister naps and plays in her room.)  He’s learning that he really can entertain himself.  Becca has learned how to entertain herself in her room, and loves room time.  While some moms would love to have some time to themselves but struggle to get their kids to understand, it’s a priority around here.  It HAS to happen, so that my work priorities can be met.  I’ve had to be flexible to change my work hours around when they are able to nap and play, and sometimes it involves me getting up early and working, and/or working after they go to bed.

But it’s a priority.  And I’ve had to figure out how to be flexible enough to fit it in.

That’s honestly part of why I haven’t had a whole lot of time to blog recently.  With getting ready for the big consignment sale that I help with each spring and fall, and work, and kids, and housework… well, I had to throw the blog in a bag in the back of the truck for a while.  I’m seriously hoping to be able to pull it back into the front of the truck with me and have some more “me” time in the mornings with my coffee before the kids wake up.  I love blogging.  It’s a fabulous outlet for my emotions as well as for all the wonderful activities that we do together that hopefully inspire you and your kids.  It’s not something I plan to ever quit, but I sure to appreciate YOUR being flexible as my readers and understanding that I may not have as much time to be posting on my Facebook Page or writing here some weeks.. and that’s a good indication that my priorities of family and work have shoved the blog back to the back of the truck again.  And I hope as parents you can appreciate that.

I’m looking for more parents to share their hearts here – about struggles, victories, and anything in between!  Would you like to share?  Contact me today!

blog signature

Flower Addition

marvelous math header

Whew.  What a crazy busy month it has been!  I’m not really sure how it’s already the end of the month!  When I was a kid, April was the longest month of the year after December… since my birthday is the 30th!  But as an adult, it seems that the month gets shorter and shorter every year!

Because it’s been so crazy around here, my posts this month have been sporadic at best… so I’ve decided to continue my Marvelous Math mini series through the month of May, because I really do have a lot of wonderful ideas to share with you.  I’m not a huge fan of math myself, but Becca certainly is, so I’m learning new ways to make it fun and exciting for her using materials and games that she loves.  Today’s flower addition activity is no exception.  She loved it, and I’m already thinking I need to make her another set of these.

apr 28 addition flowers

This idea was born on a rainy day when we were stuck inside, but looking out at the beautiful colors of the wildflowers around our house as they soaked in the moisture… Becca loves adding and subtracting – we do it all day long with food, toys, couch pillows, etc… but it’s usually with smaller numbers, and because it’s verbal, she doesn’t see it written out on paper.  So this activity combines what she is used to (adding the “flower” pompoms) with the visual aid of seeing the addition process as well as the vertical math problem in written form.

All you need is THIS FREE PRINTABLE (looks best printed in color/works best on card stock- but not required), a bunch of pompoms and glue, and you are set!  I wrote the vertical problems on paper with a marker as we went through and did the activity, and then just cut out around them and taped to the wall next to the sheets.  You wouldn’t have to do that, but I feel like the visual of the vertical math problem is helpful to start making those connections that addition can take on many different formats.

If teaching math isn’t something you’re super familiar with, here’s how I talked Becca through this sheet:

  • First, we only looked at one page at a time (my original idea was to do these on four different days, but she got so excited about it that we ended up doing them all at one sitting!)
  • We would look at the number at the end, and I reminded her the equal sign means total – our total number of flowers will be 10.  SO, let’s figure out how we’re going to make 10.
  • Then we would count the first addend (the first set of flower stems).  Ok, so we need 5 pompoms.  She would pick a color and count them out.  You could mix your colors, but I liked Becca to use all the same color for the set so that she had the visual of them being alike – this will help when we get further down the road in math and start identifying the type of units we are adding.  (If your kids are ready for this topic, you’d of course want both sets to have the same color so that you are adding LIKE objects.)
  • Then we would count the second added and add them, counting up as we went (so the second set of 5, we started counting at 6, 7, 8, 9, 10).  I did glue dots above each flower stem as she counted them and then she would add the pompom to the glue.  Obviously, a good practice of fine motor skills would be to have the child handle the glue, but Becca was frustrated with the glue bottle, and our focus wasn’t on fine motor, but on math, so I did the glue so that she wouldn’t loose her focus in her frustration.
  • Then I would write the vertical math problem – Ok, so 5 flowers + 6 flowers equals 11 flowers.  Note that as I did it, I was already identifying the units verbally – so that she’ll start to get that idea.  She’s just not ready yet for me to explain the concept and make sure that we are adding like units.  Remember that you’re never too early to start planting an idea, they just might not grasp the full concept for a while, and that’s ok!!
    For example, she said the word strawberry sort of slowly yesterday, so I asked her how many parts she hears in that word, and did a teensy lesson on syllables right there while I was fixing her dinner.  Doesn’t mean she’s fully ready to grasp the concept, but it’s been mentioned and is working in her brain.  I’ll bring it up several more times over the course of the next few weeks, and judge when she’s ready for a more in-depth lesson based on her response.  As for the units, I’m waiting to hear her verbally adding something and adding unit names to it.  Yesterday she was adding Duplos and started to get there – she said, “I have three blocks and two and that’s five!”  So she started by naming her units, but isn’t fully there yet.  I encouraged her by repeating and saying, “That’s right, you have three blocks and two blocks, which makes five blocks!  Good adding!”  I’ll know she’s ready to start adding like units when she is regularly verbalizing her units… then we’ll talk about well, ok, so these are red blocks and these are blue blocks.  So you have three red blocks plus two blue blocks equals five blocks total.  Then, we’ll take the next step forward to discuss the concept of comparing apples to oranges.  Remember that it’s easy in our adult minds to make leaps forward that our kids aren’t ready for yet.  The term “baby steps” has been coined for a reason.  Take it slow and be patient… which is the pot calling the kettle black over here… I struggle with patience regularly!!

Need more tips on teaching your kids math, or more fun math activities?  Check out my math page here, and be sure to visit my Facebook page regularly for more tips that I share from other bloggers as well!

Kitchen Brush Flowers

art

We have the wonderful blessing of living on the edge of the Texas Hill Country.  The wildflowers this time of year are just incredible!  A while back, I got this cute little piggy kitchen brush at Dollar Tree for Becca, but I wasn’t sure just how I wanted her to use it.  Then I got to thinking what awesome paintings it would make… and the Mountain Laurels also inspired me!  So, I drew “bark” onto the paper, and then she had a blast dabbing green paint and then lavender paint, making her very own Mountain Laurel paintings!  You could easily do this with green and then any color to mimic any flowering bushes that you might have in your own yard.  I can also imagine it’d be great for fall colors as well – red and yellow would look incredible “stamped” this way to make fall trees!  Or, just use the kitchen brush to dab colors around on the paper and make a lovely collage just perfect for the background of one of your 2016 calendar pages!  So many fun options when you paint with a kitchen brush!!
apr 10 kitchen brush flowers